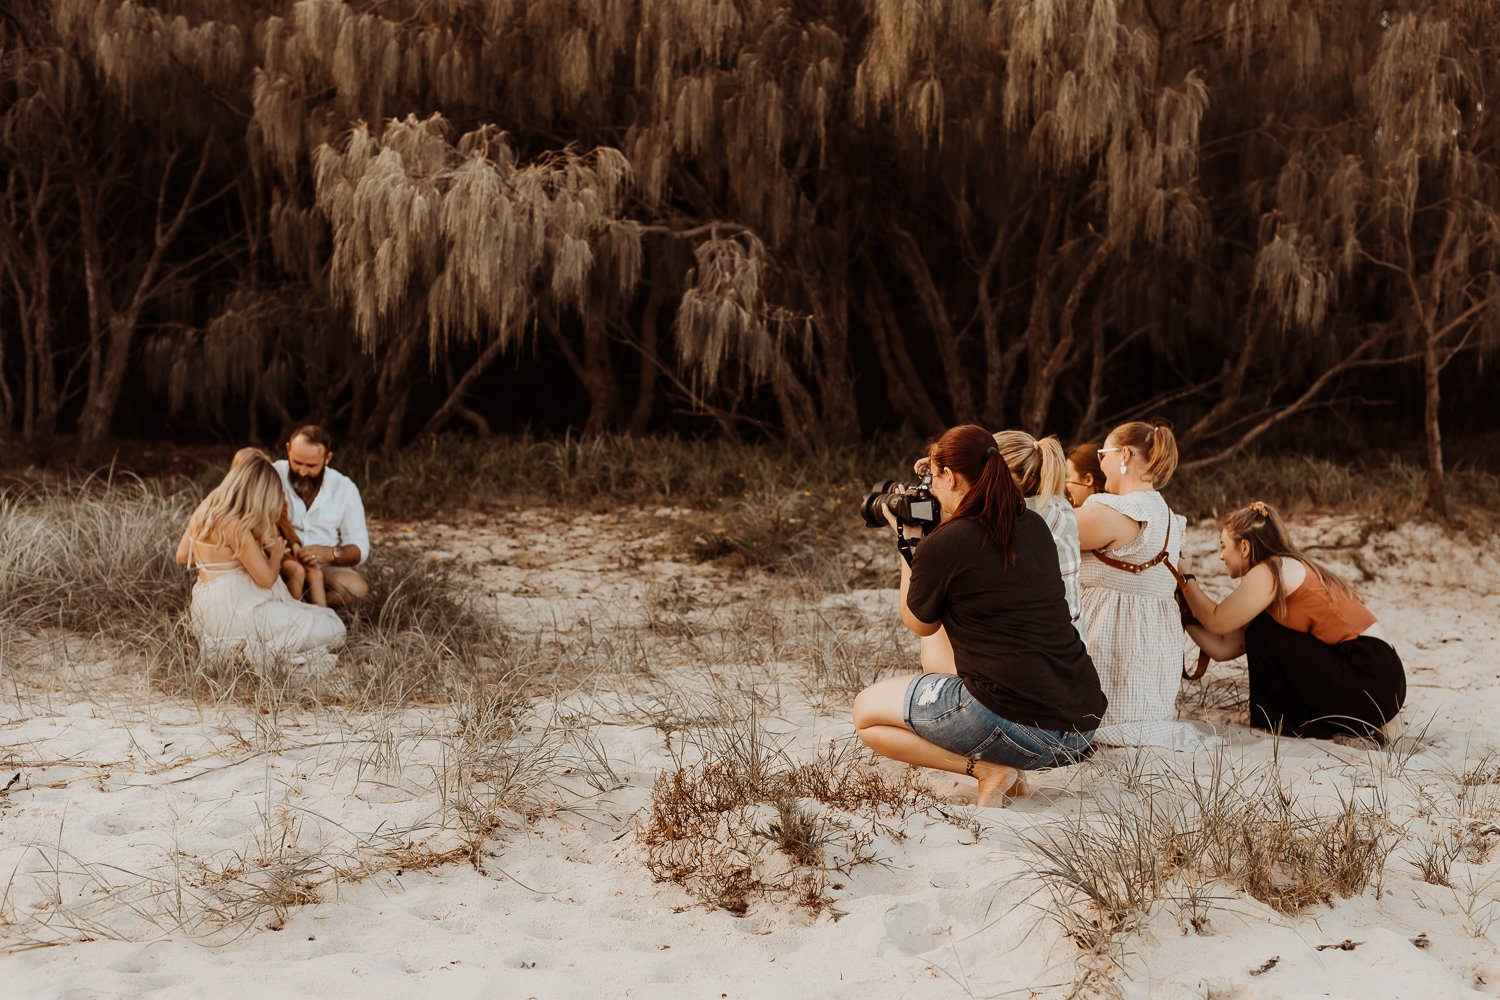
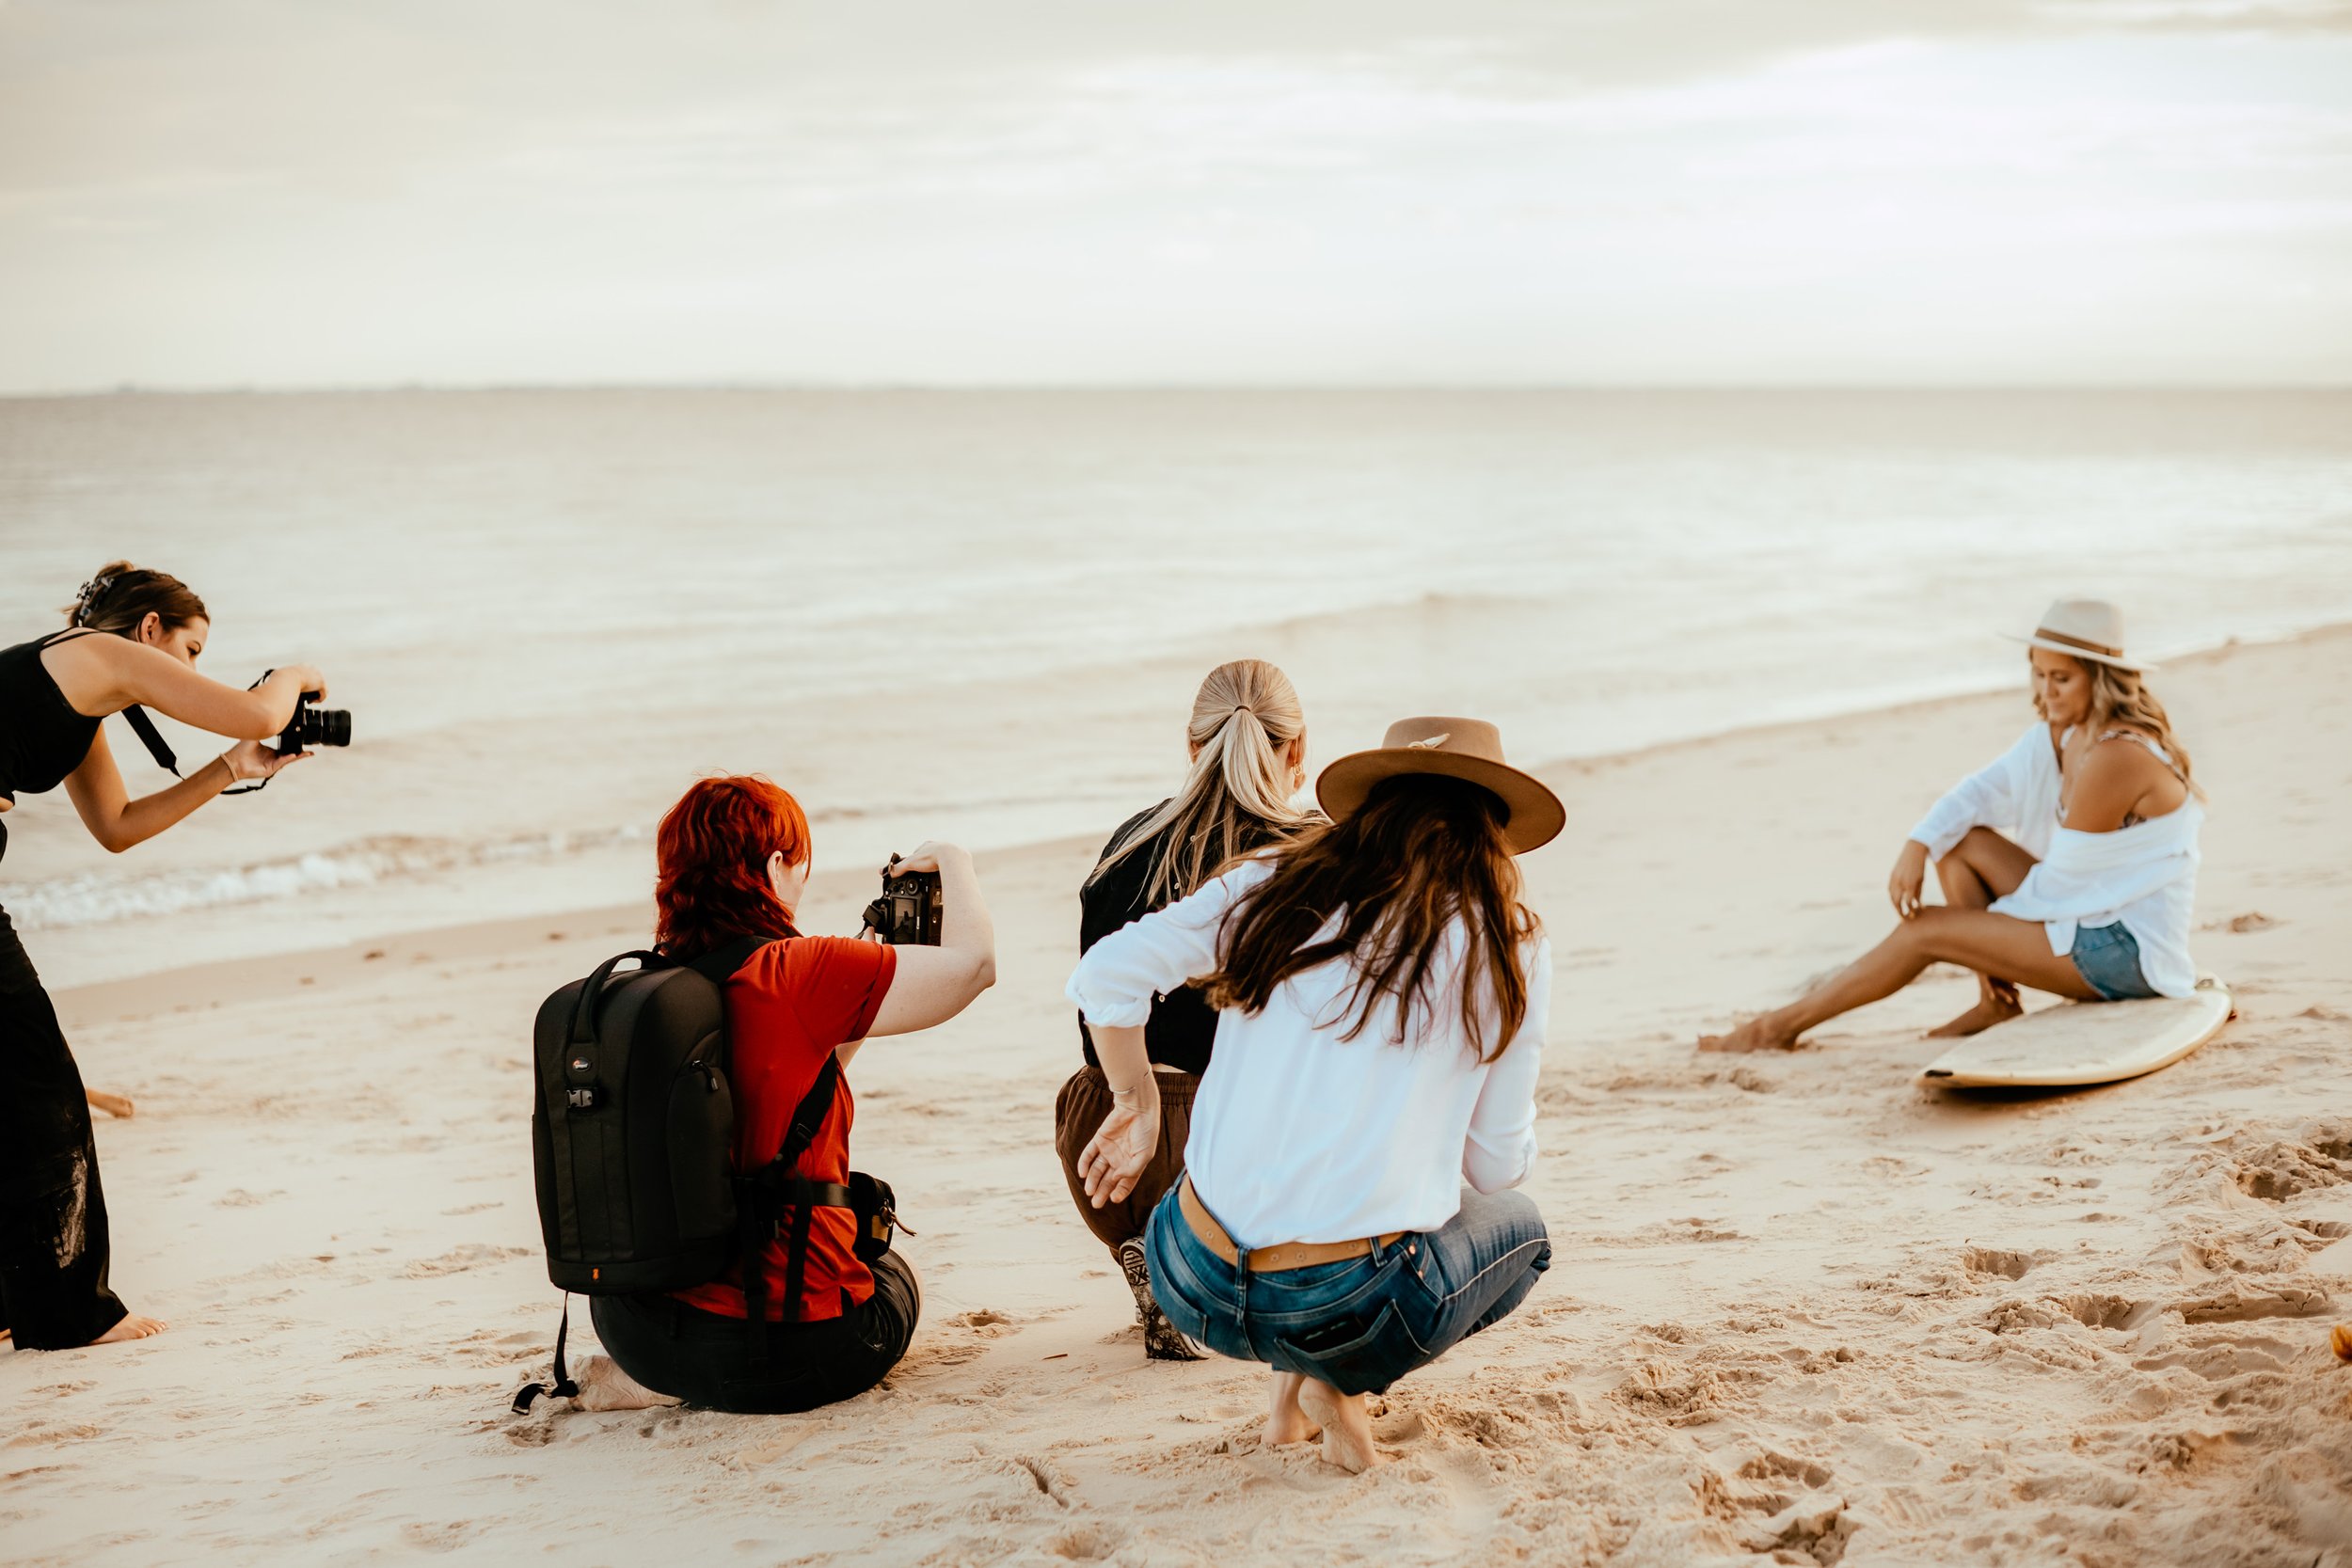
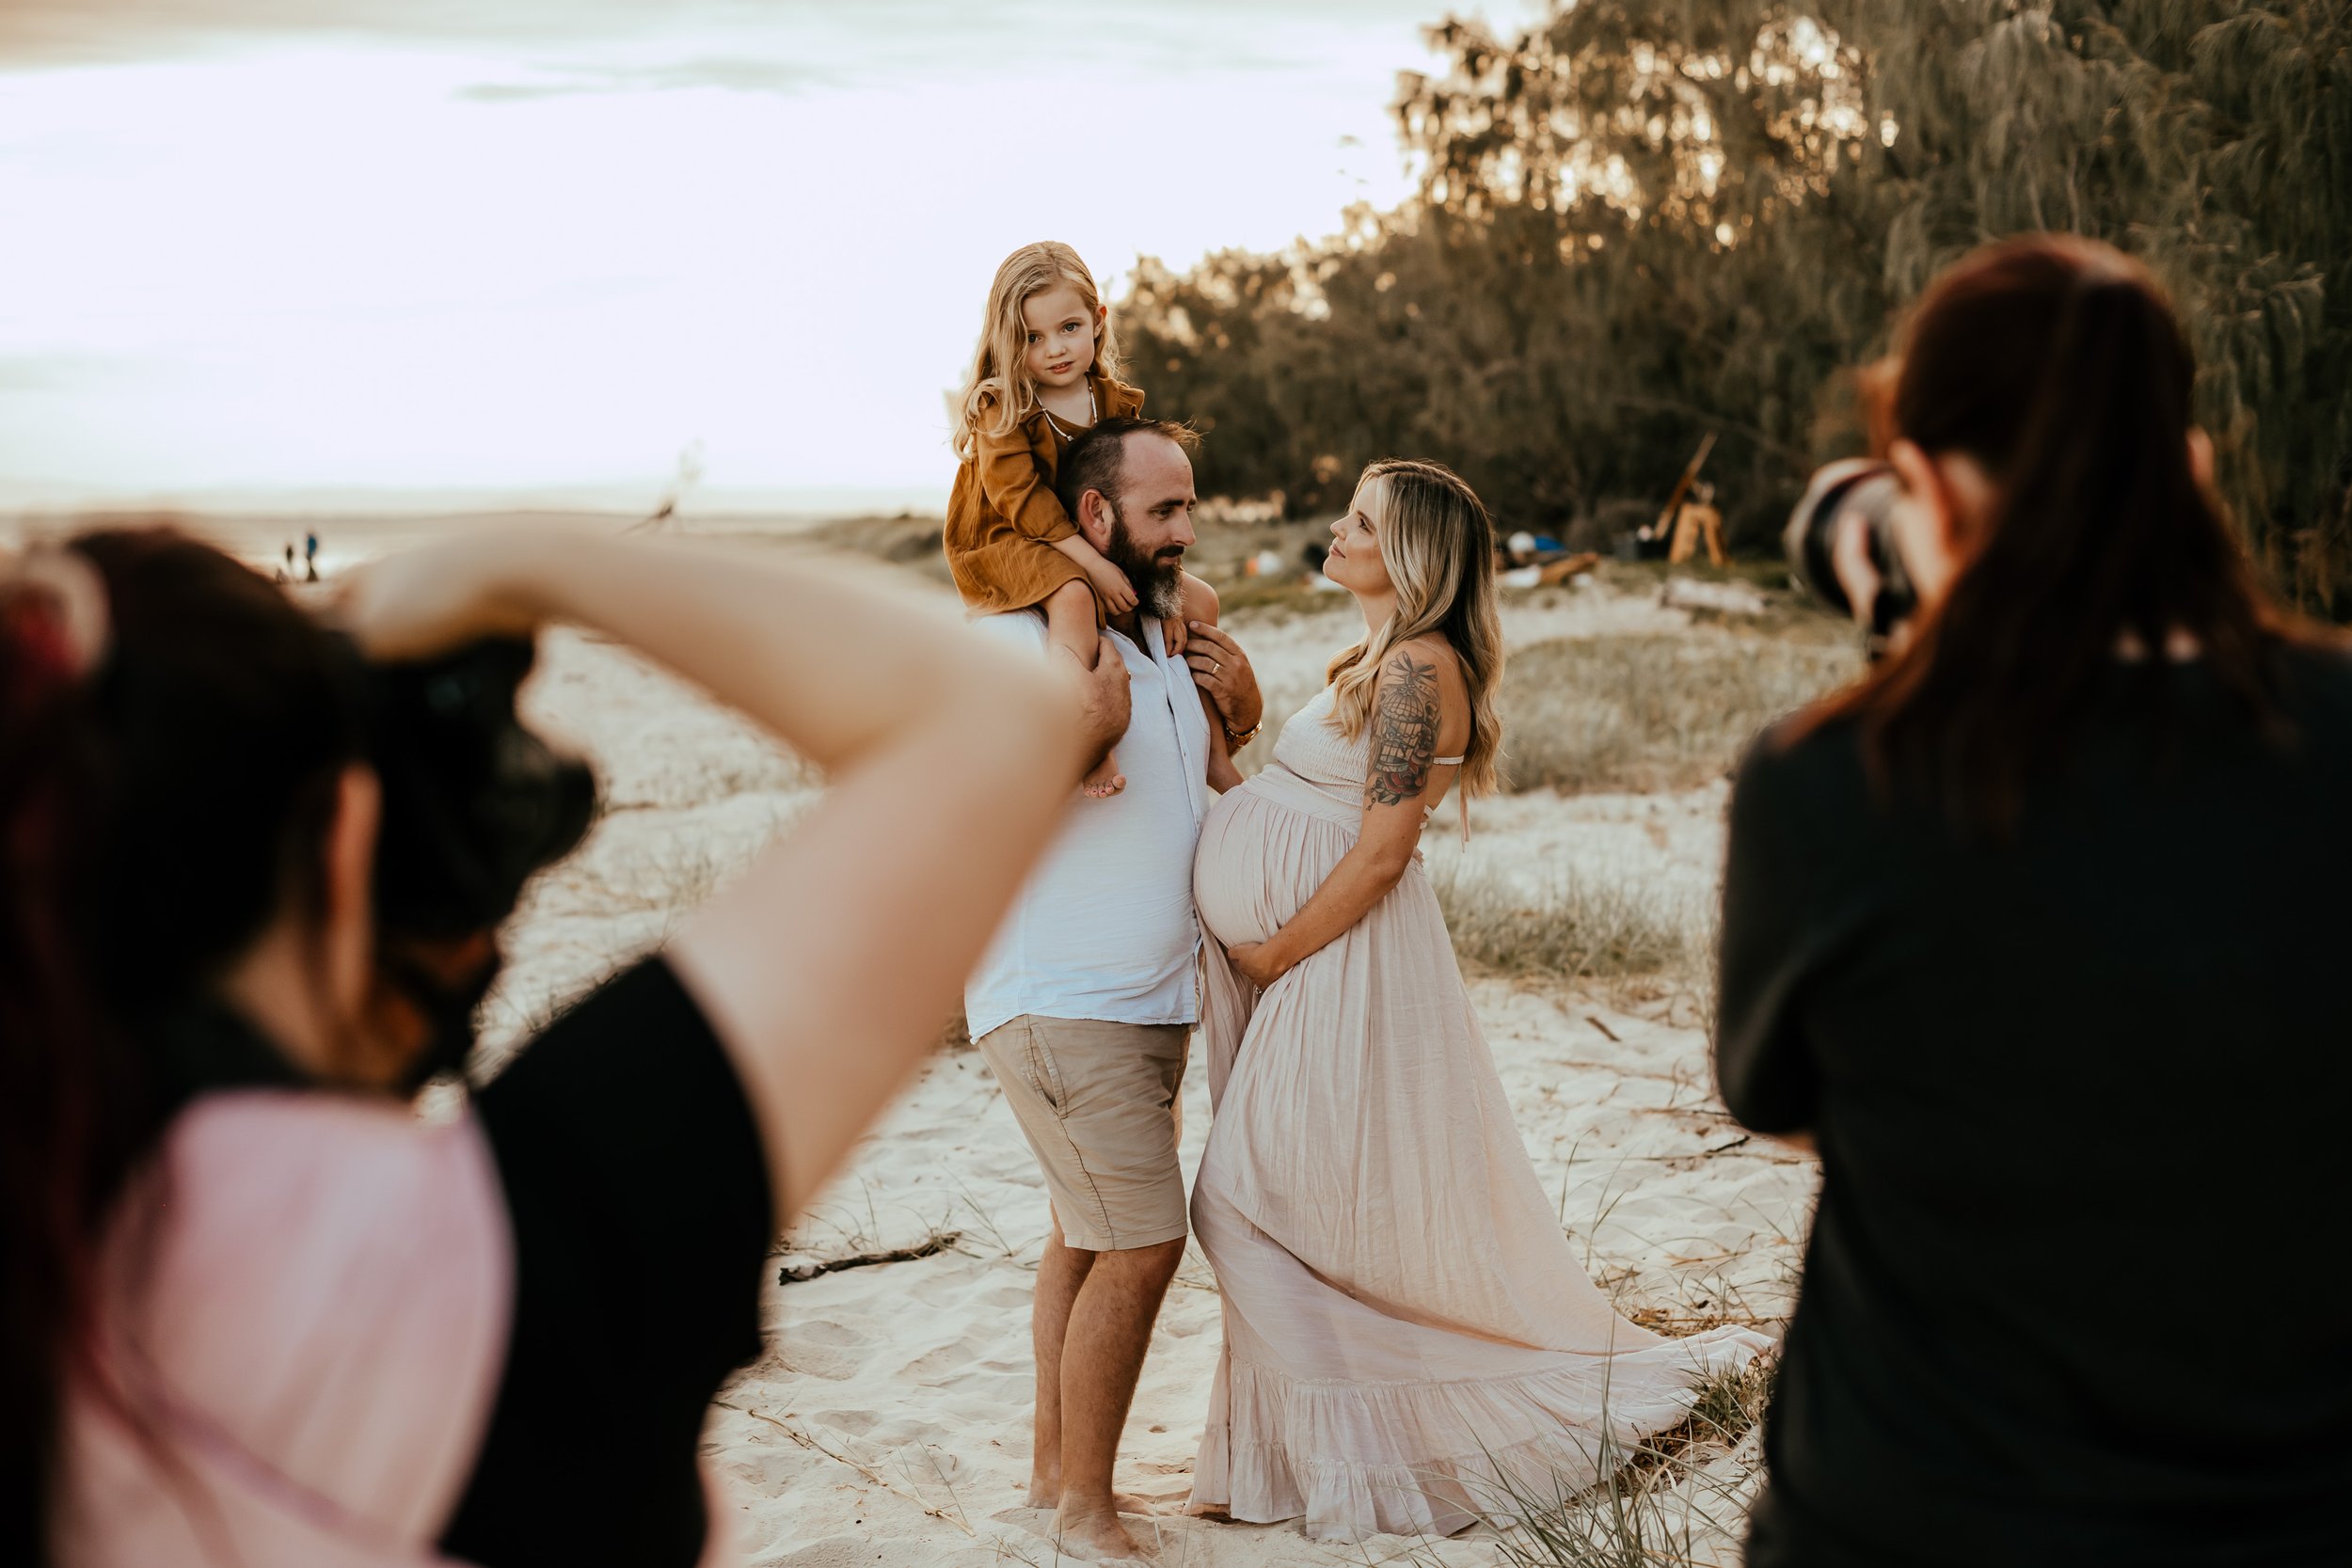
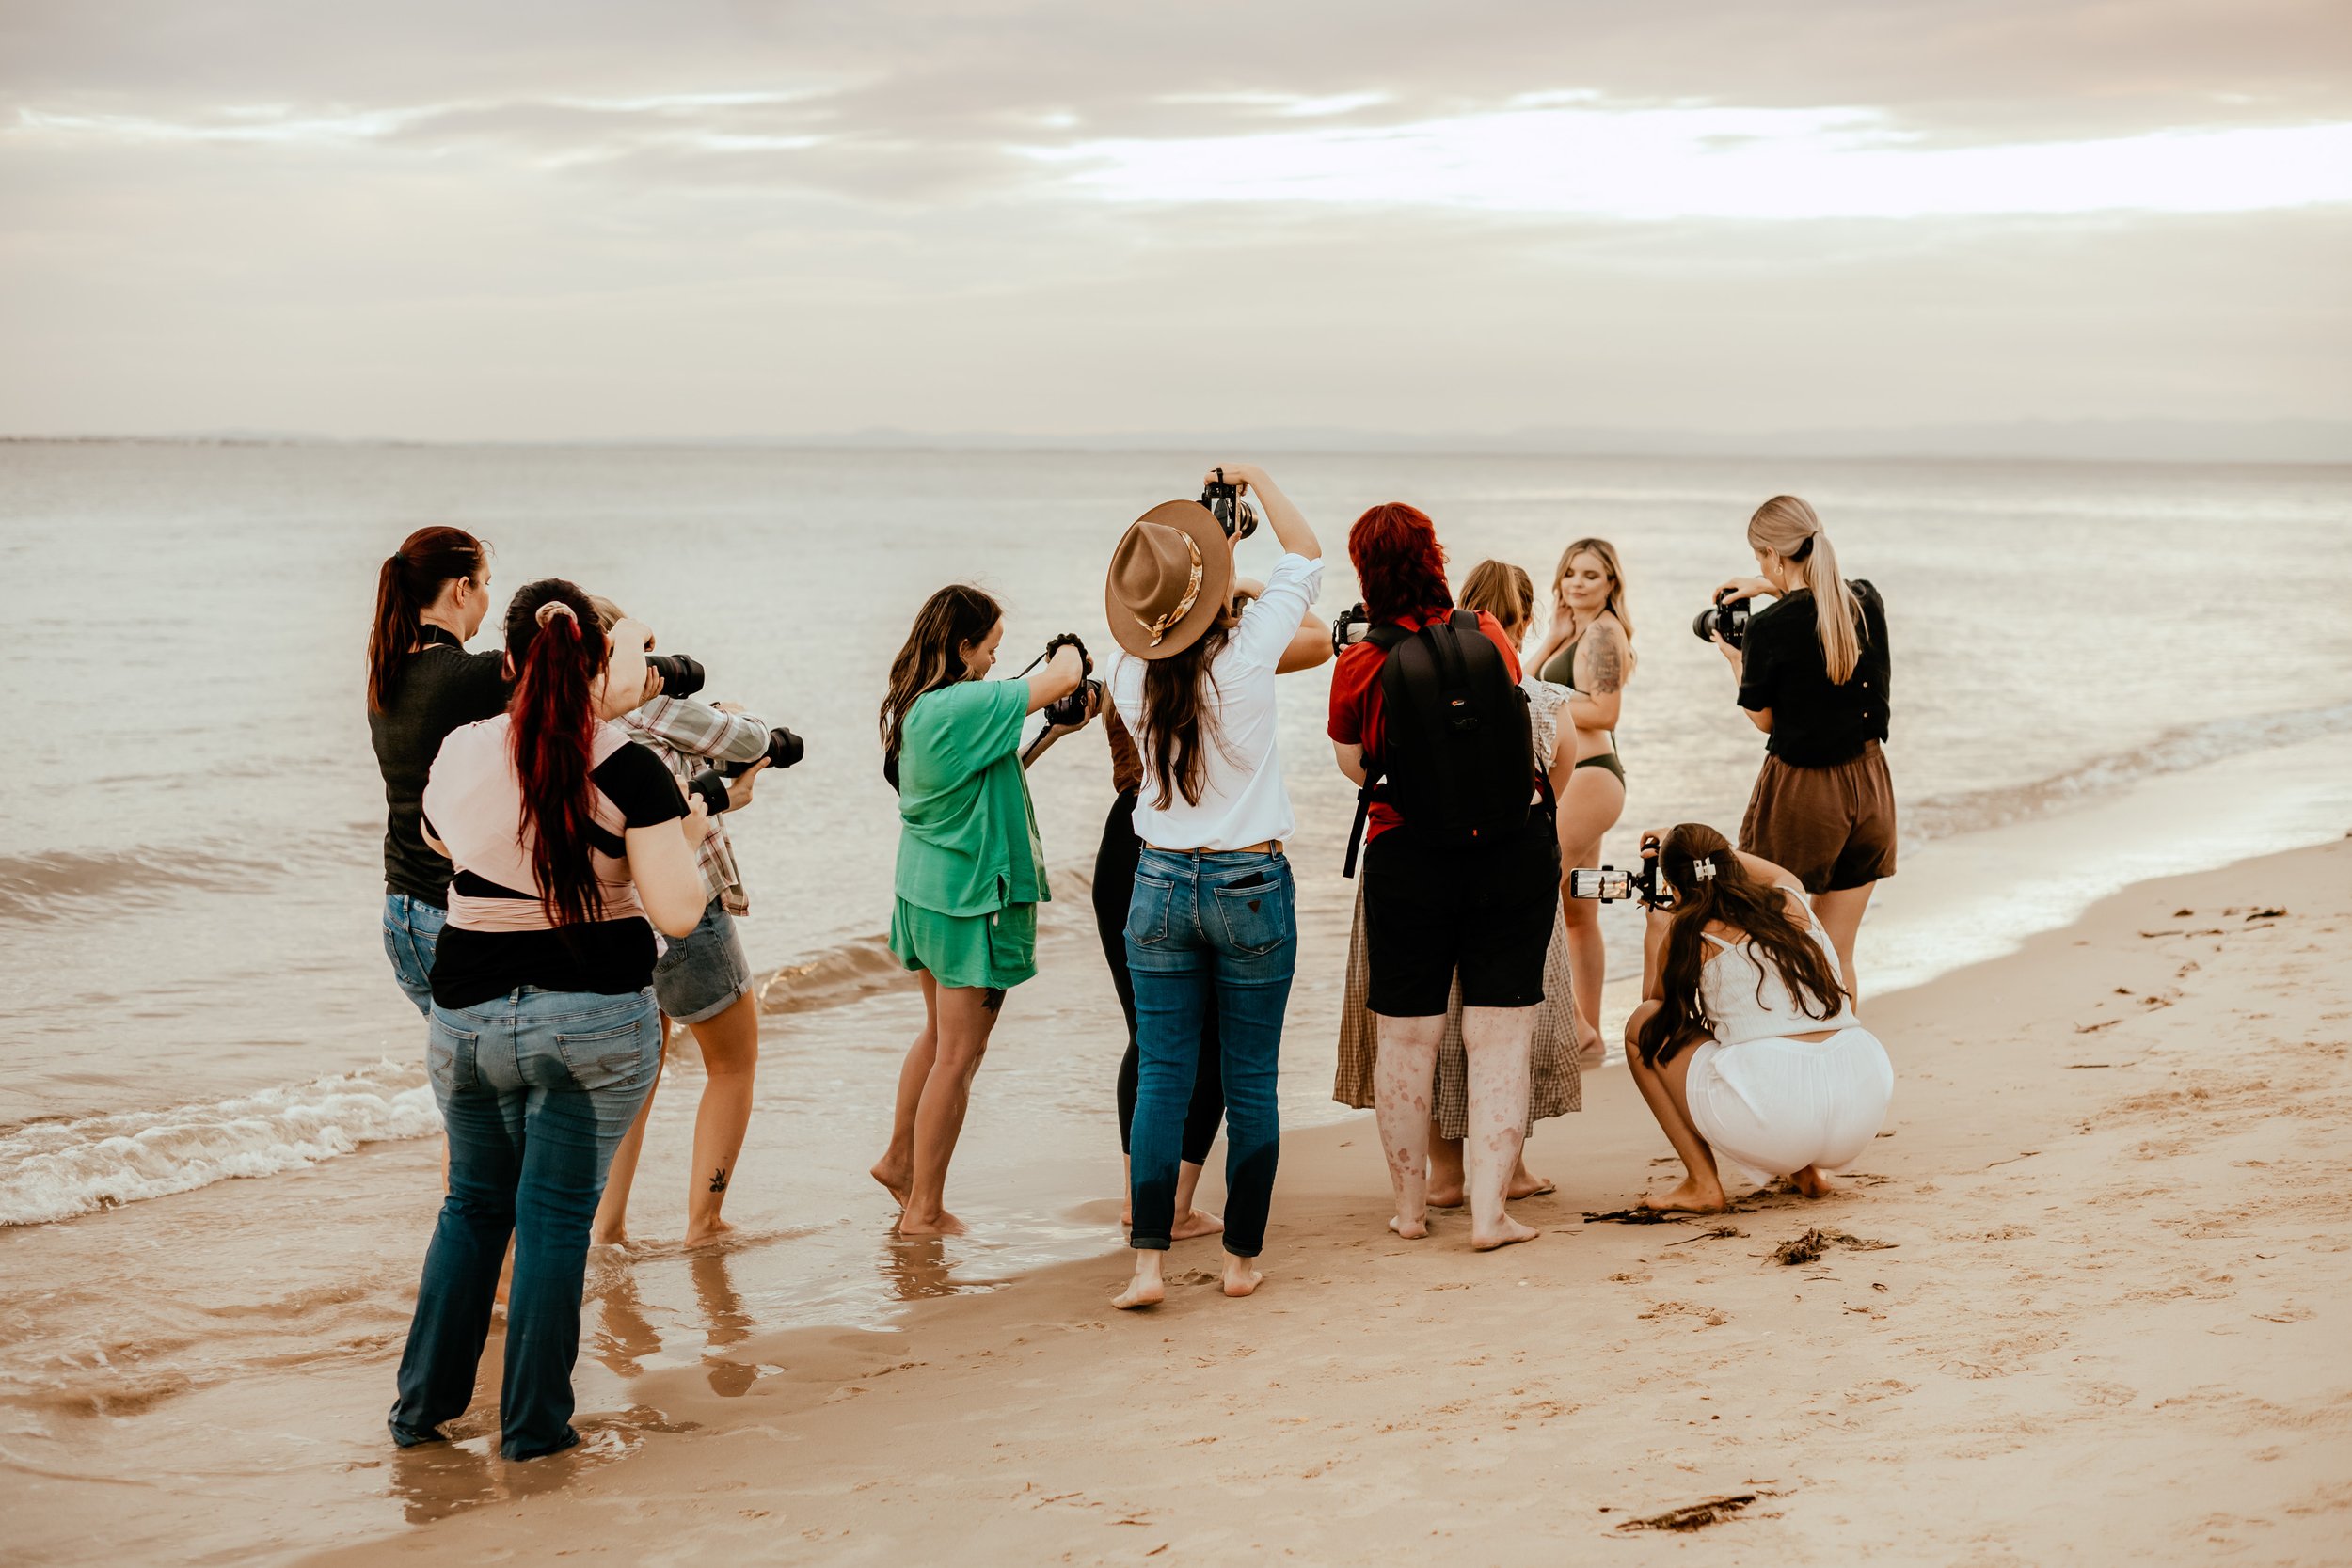
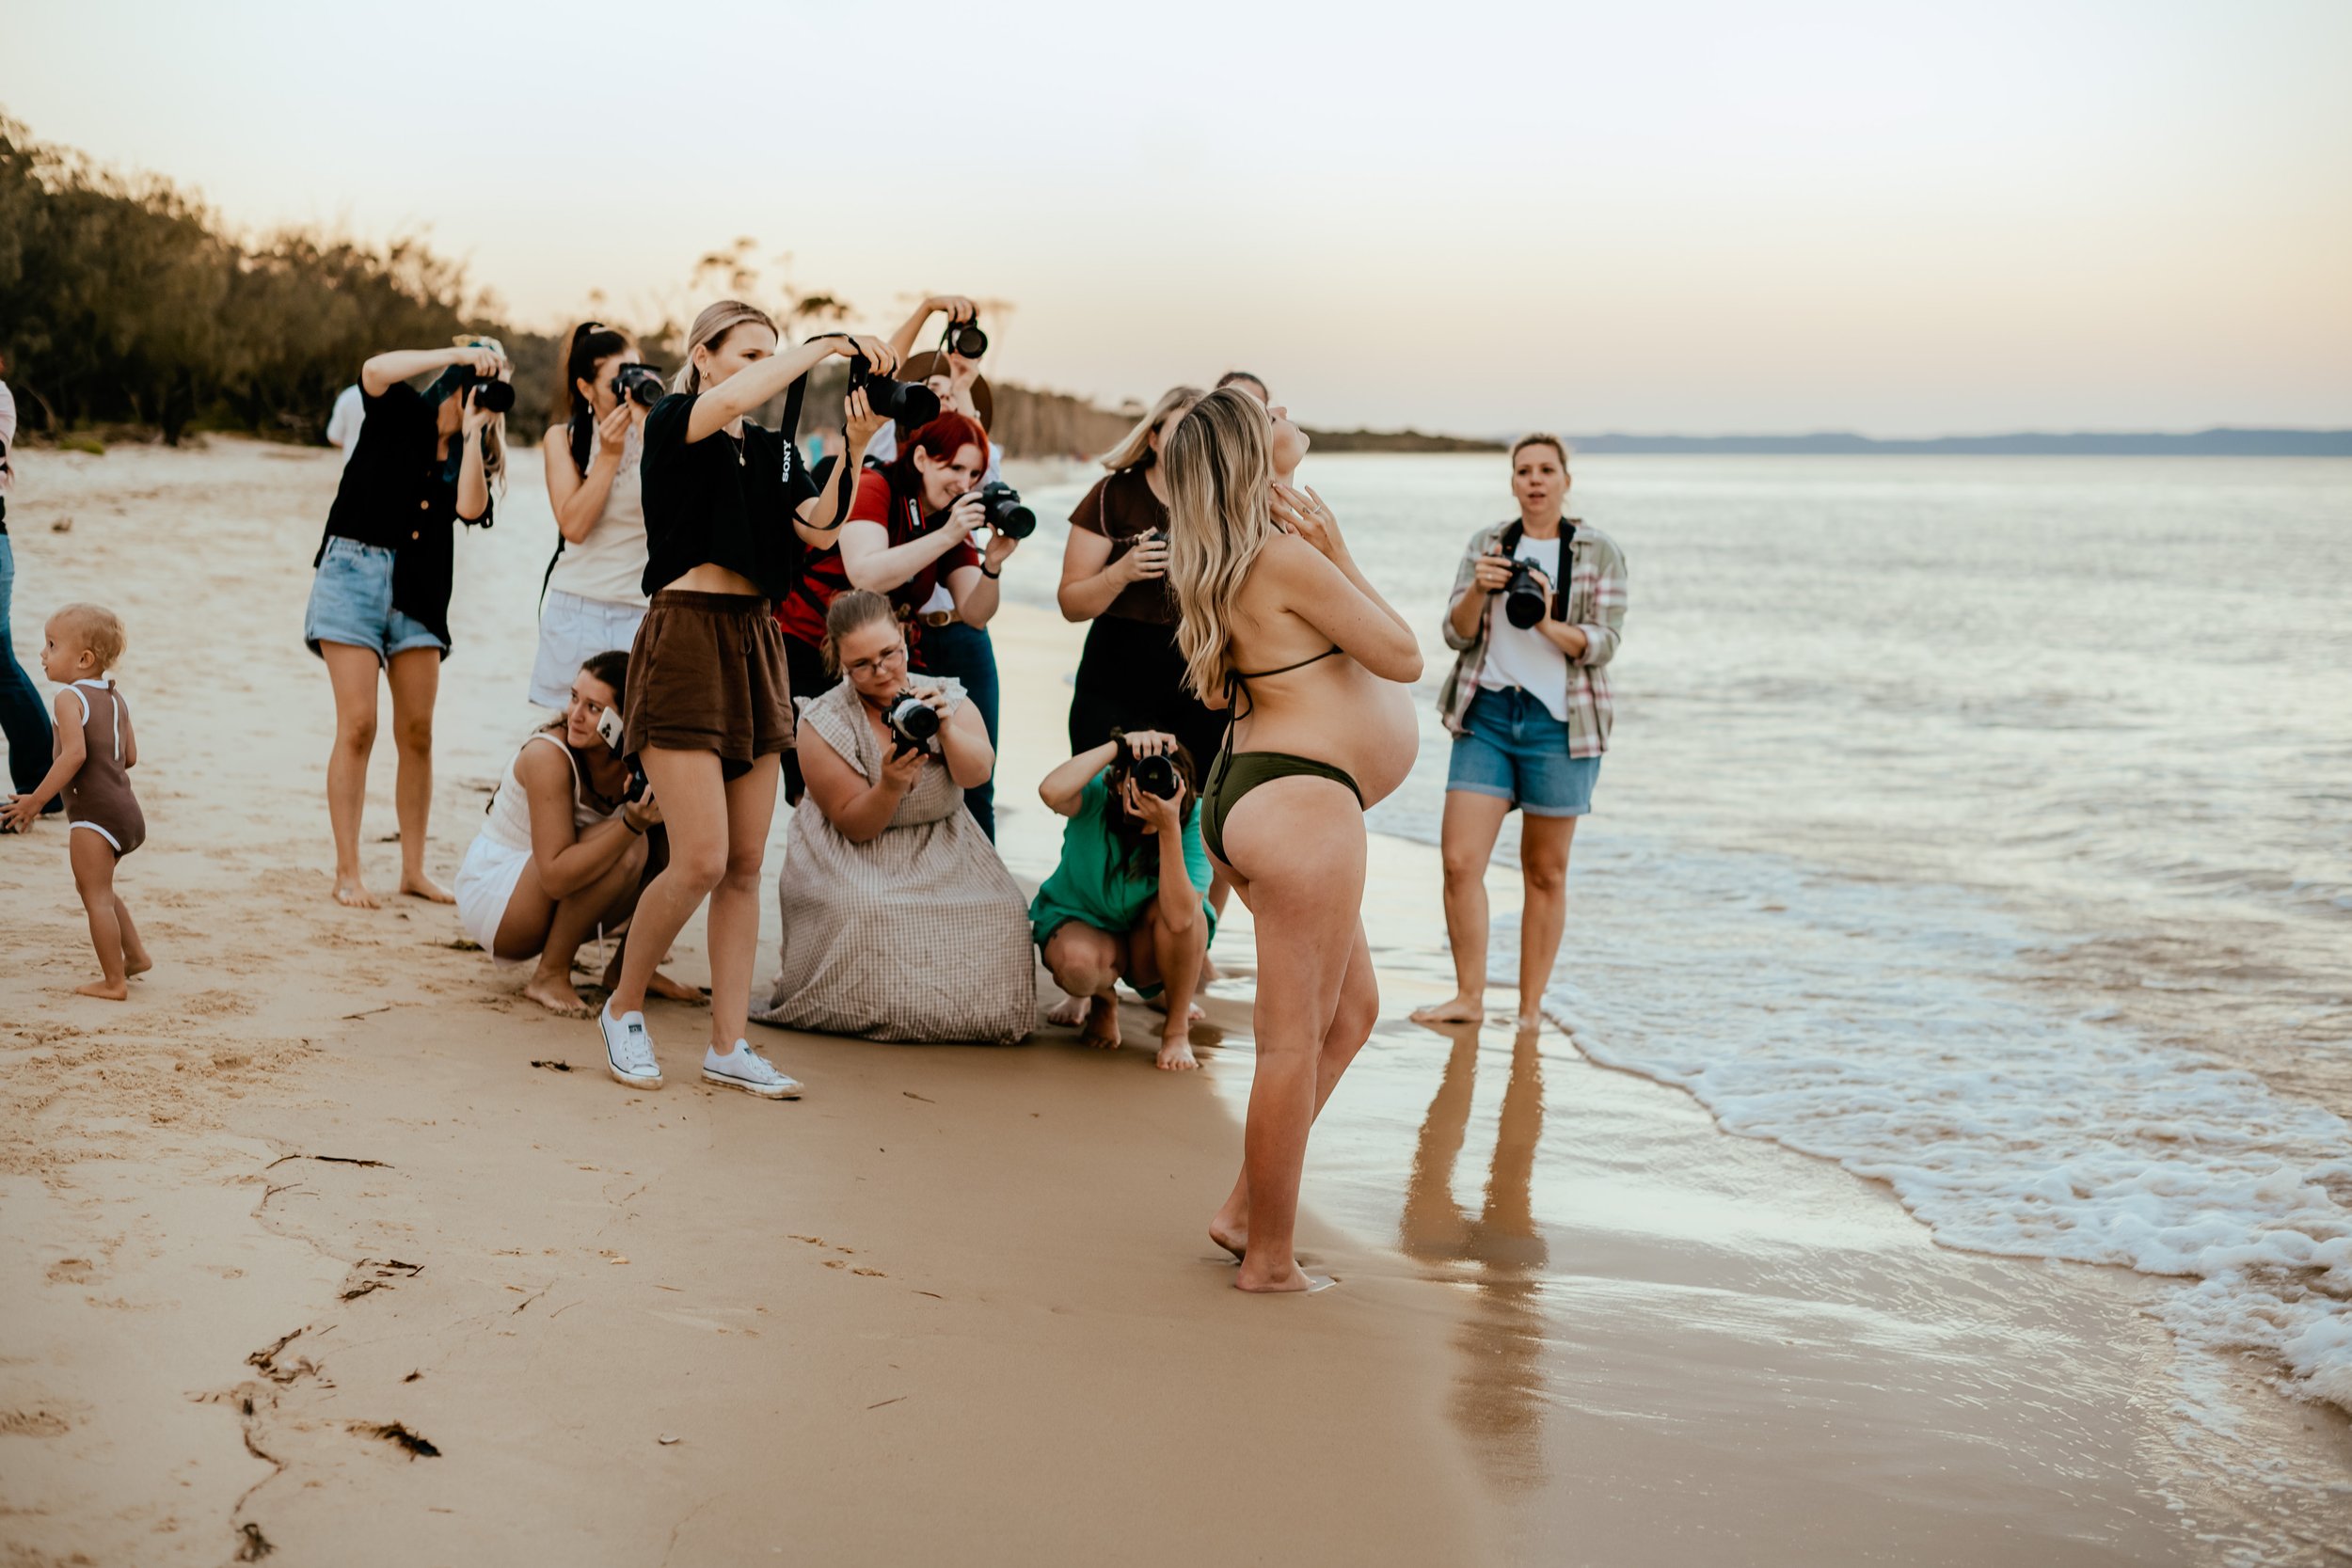
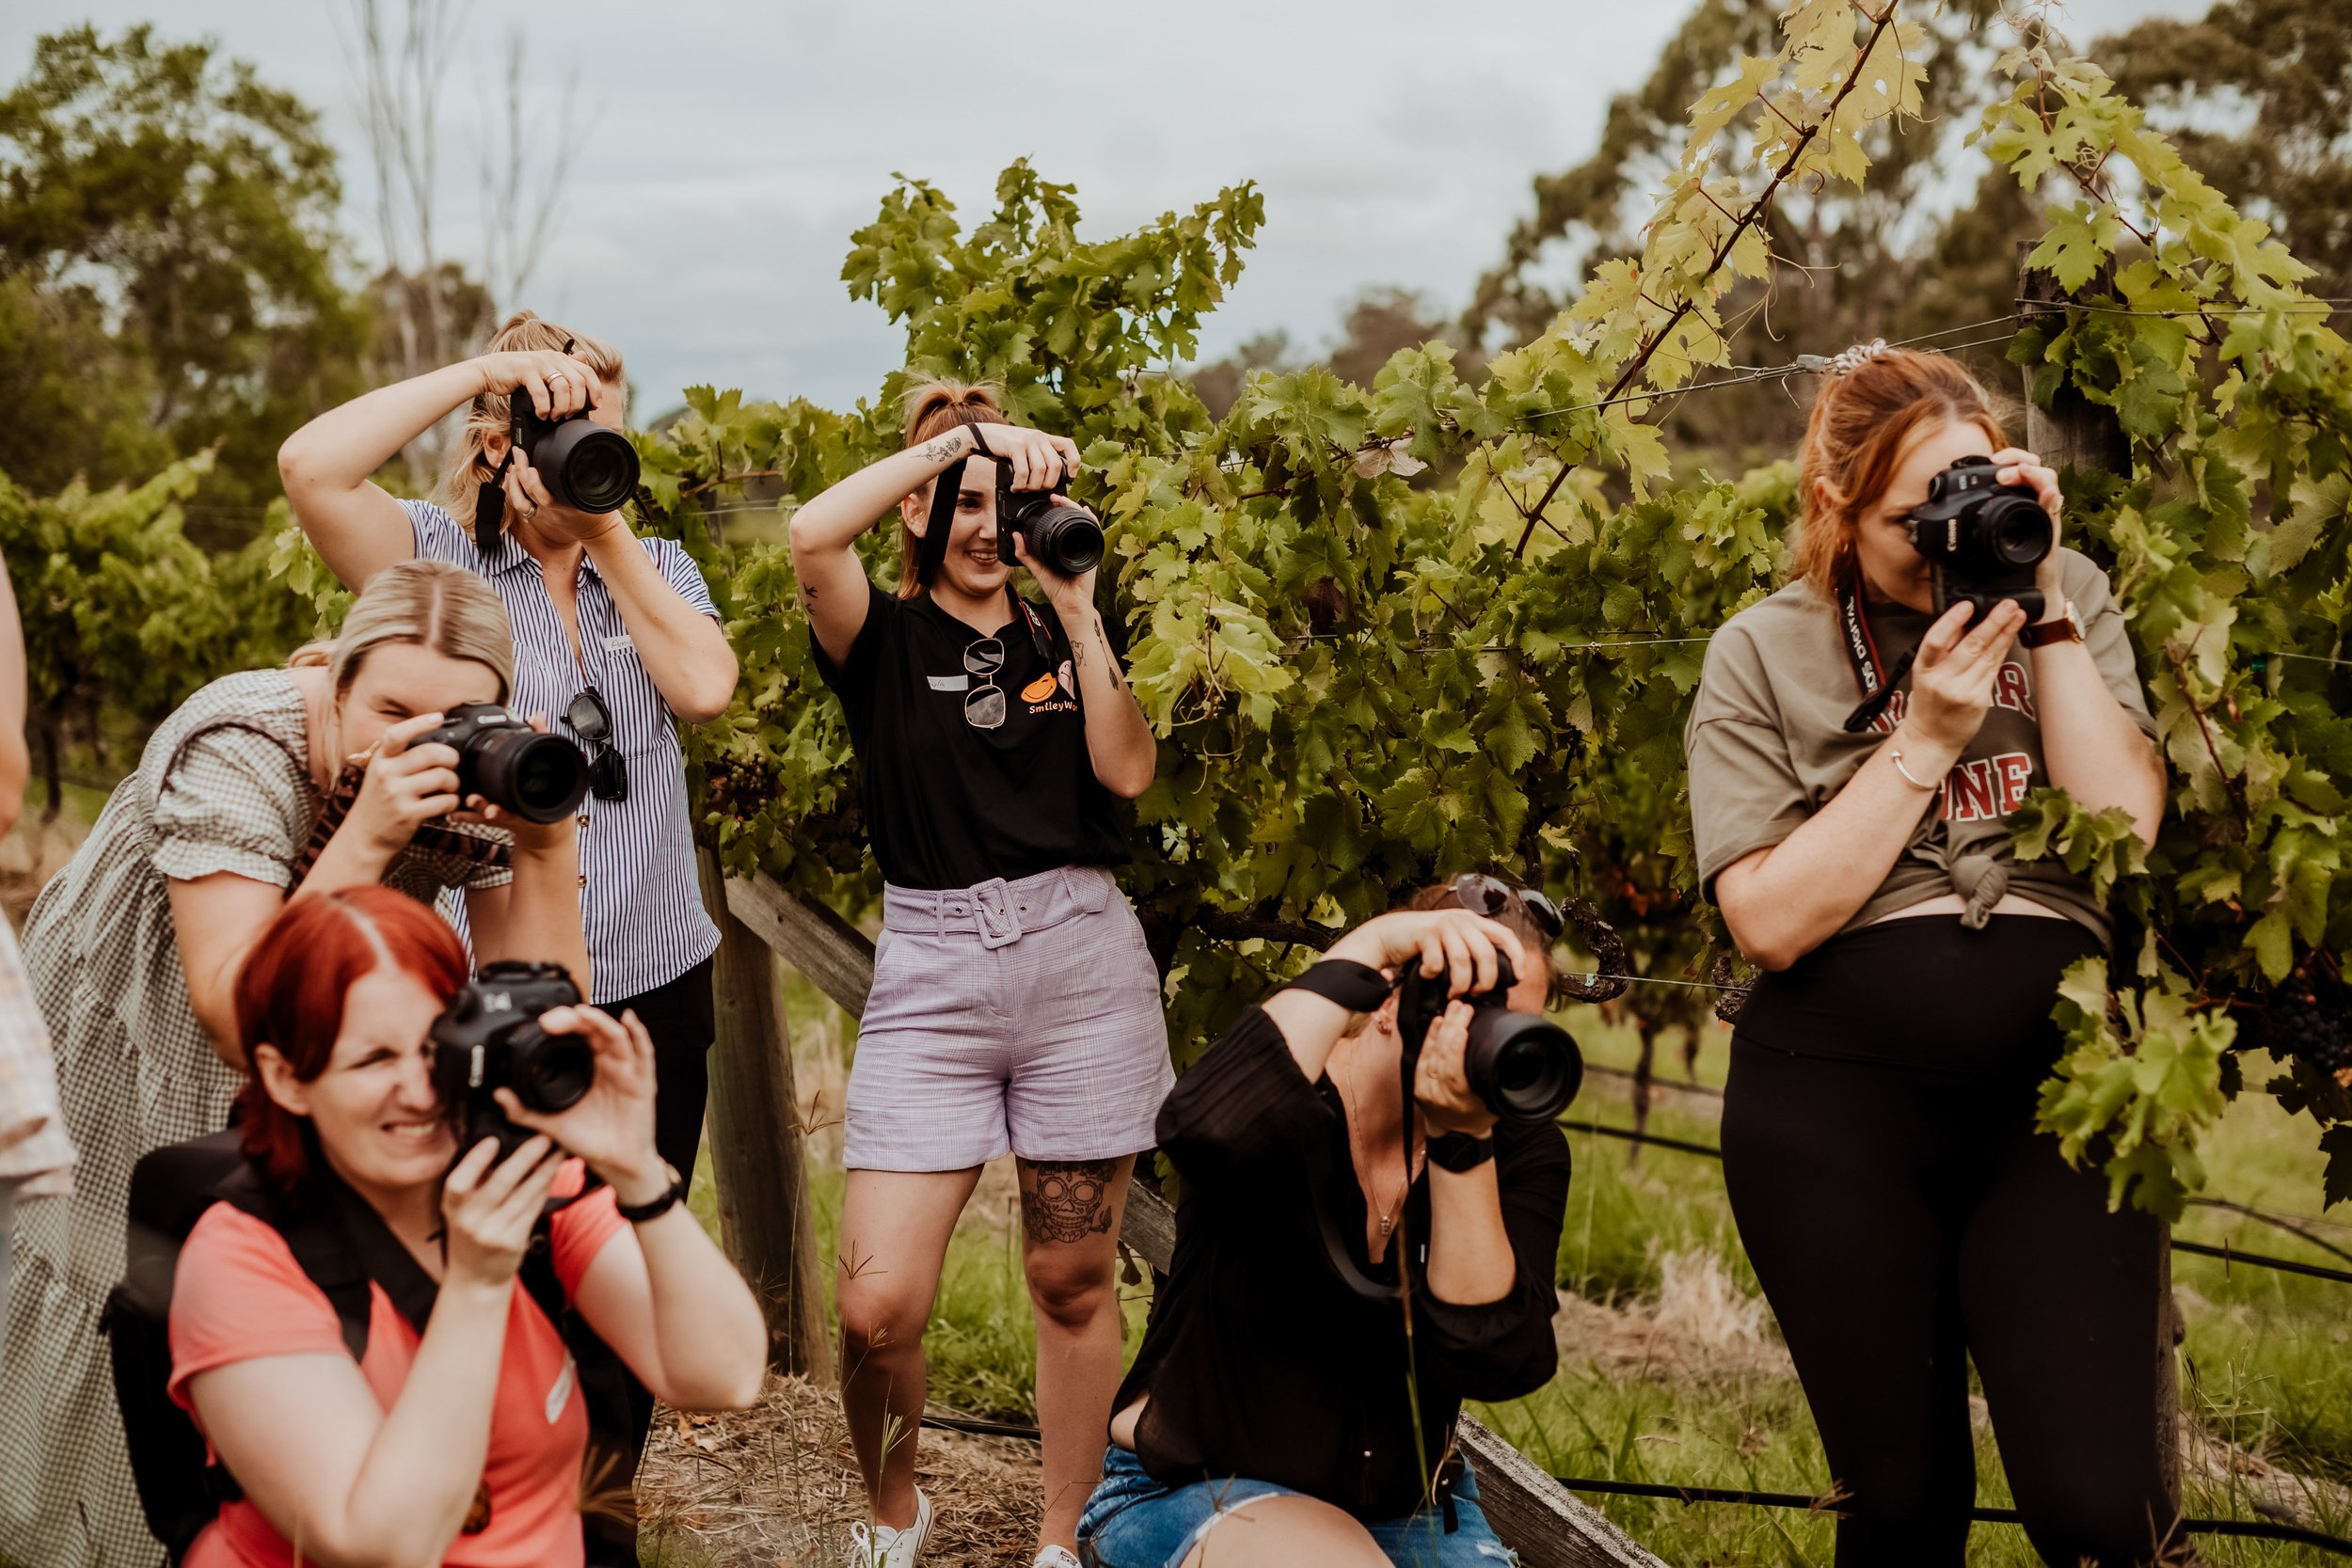
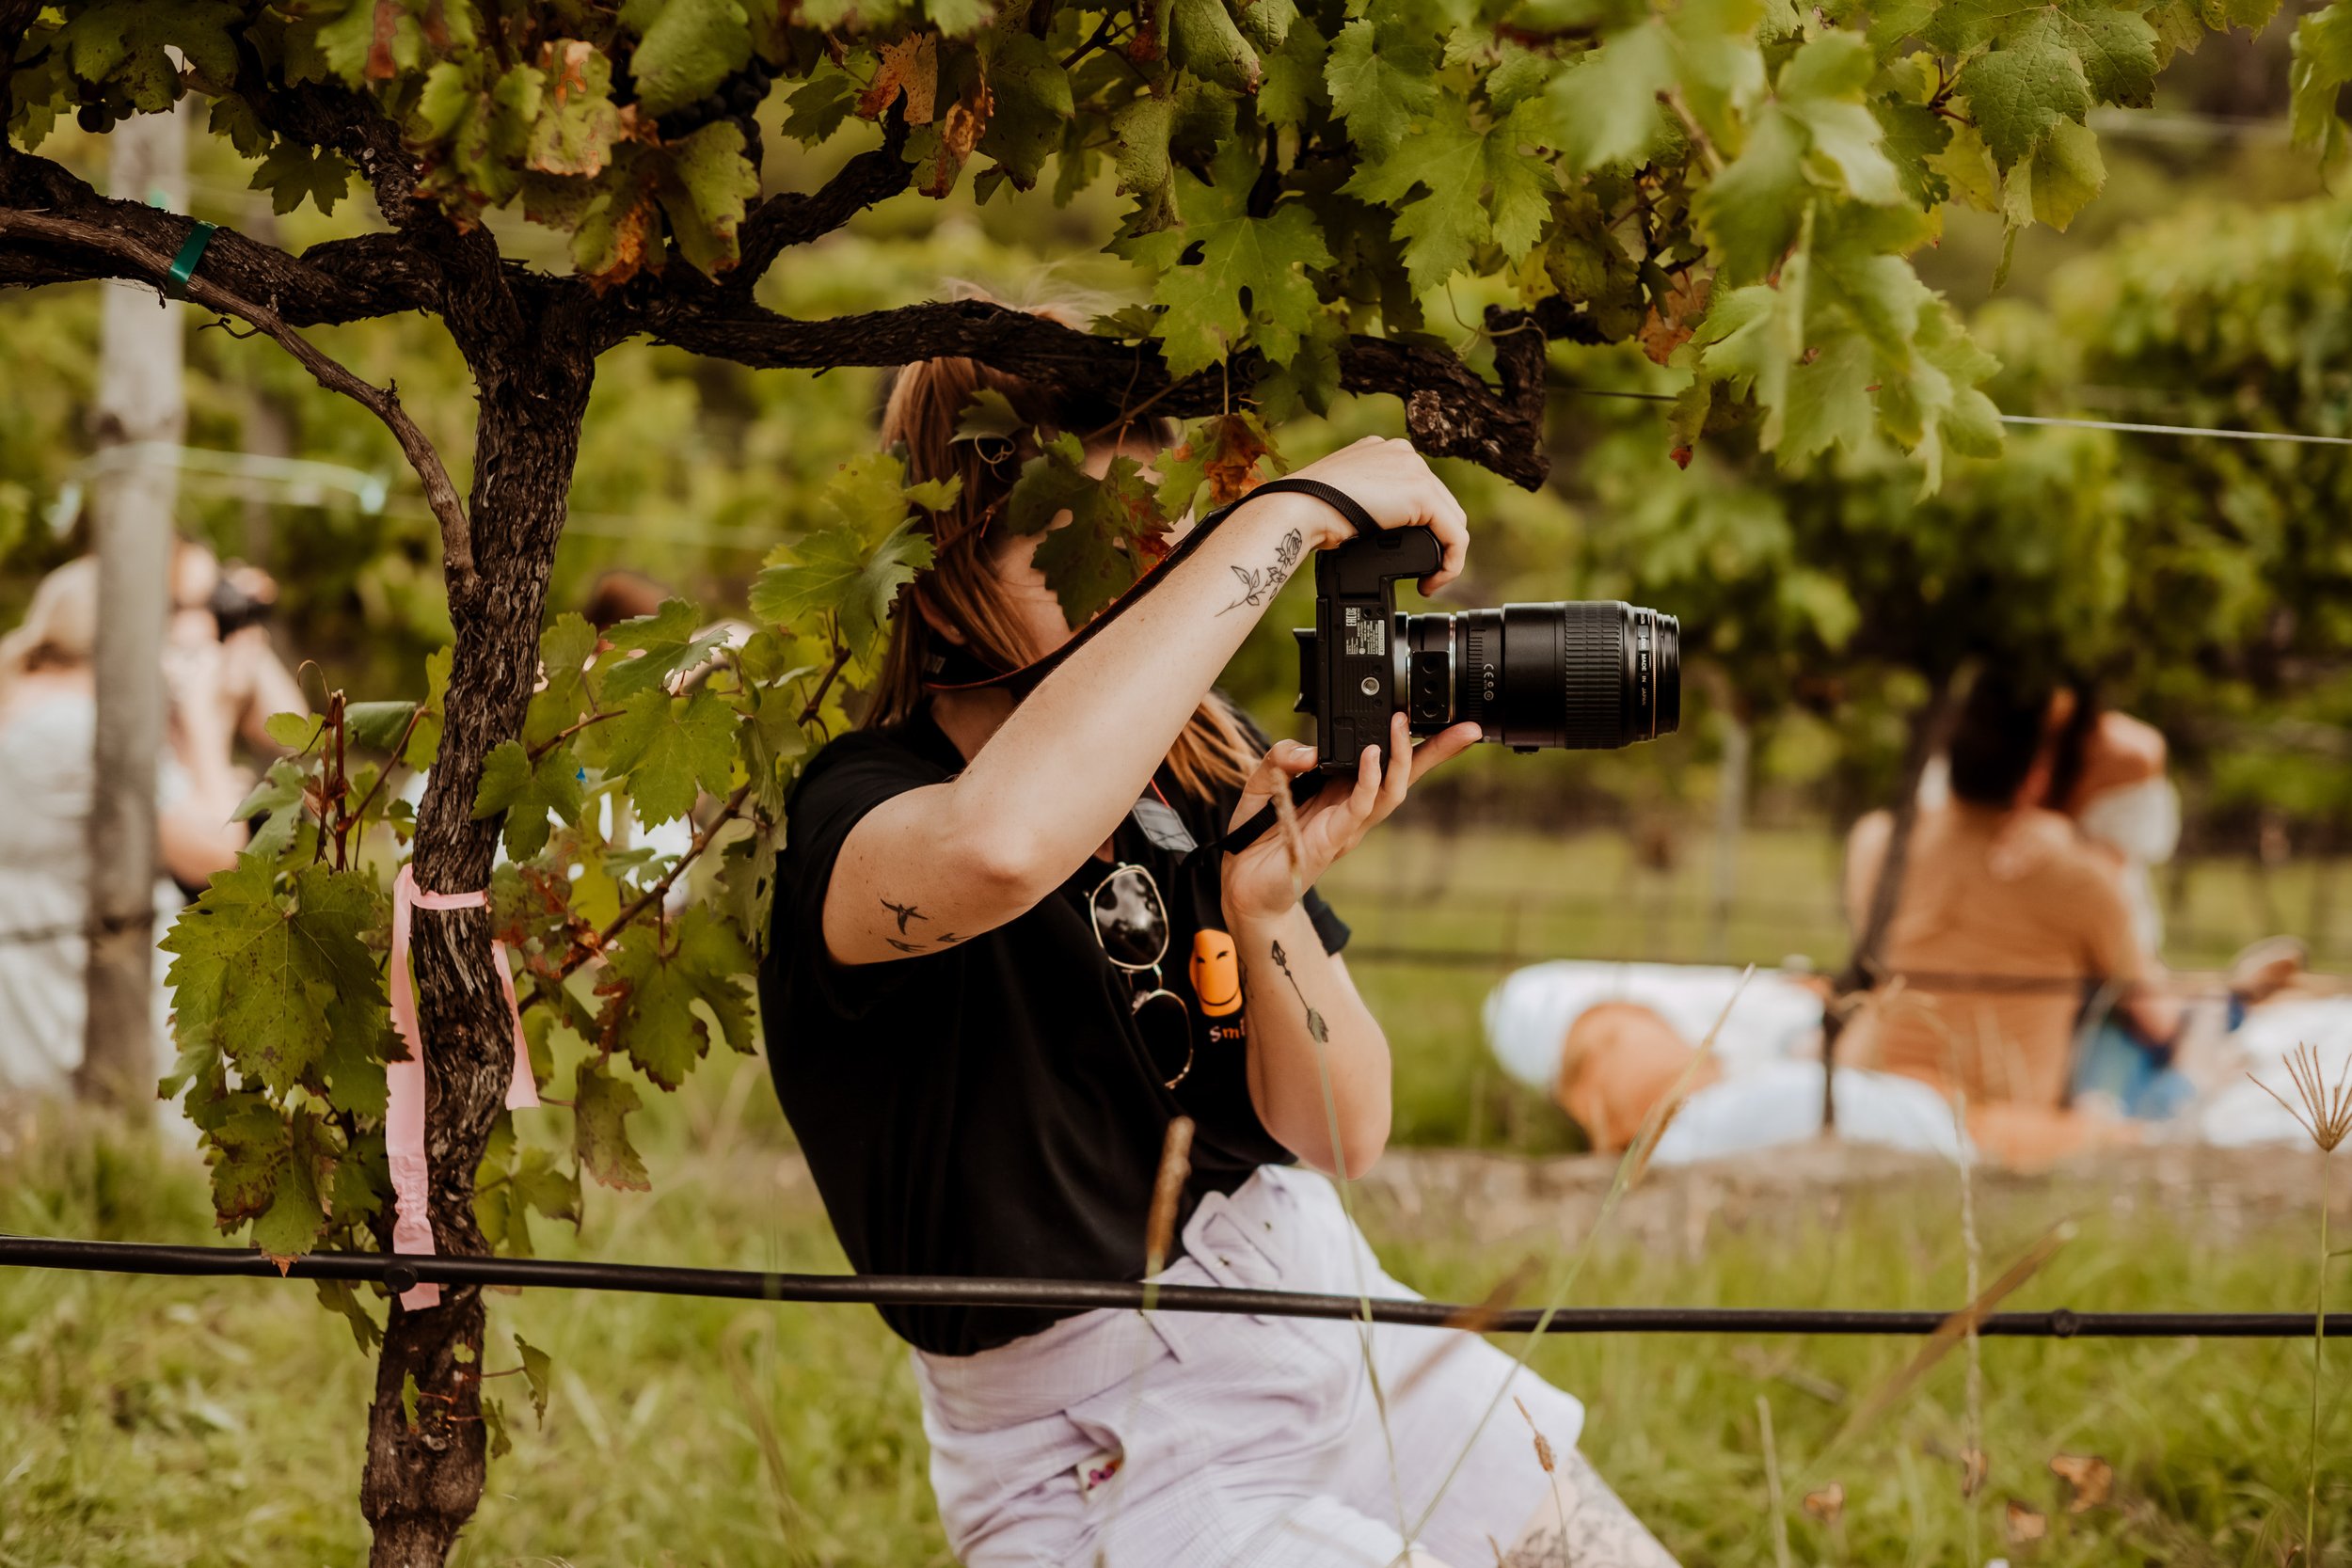
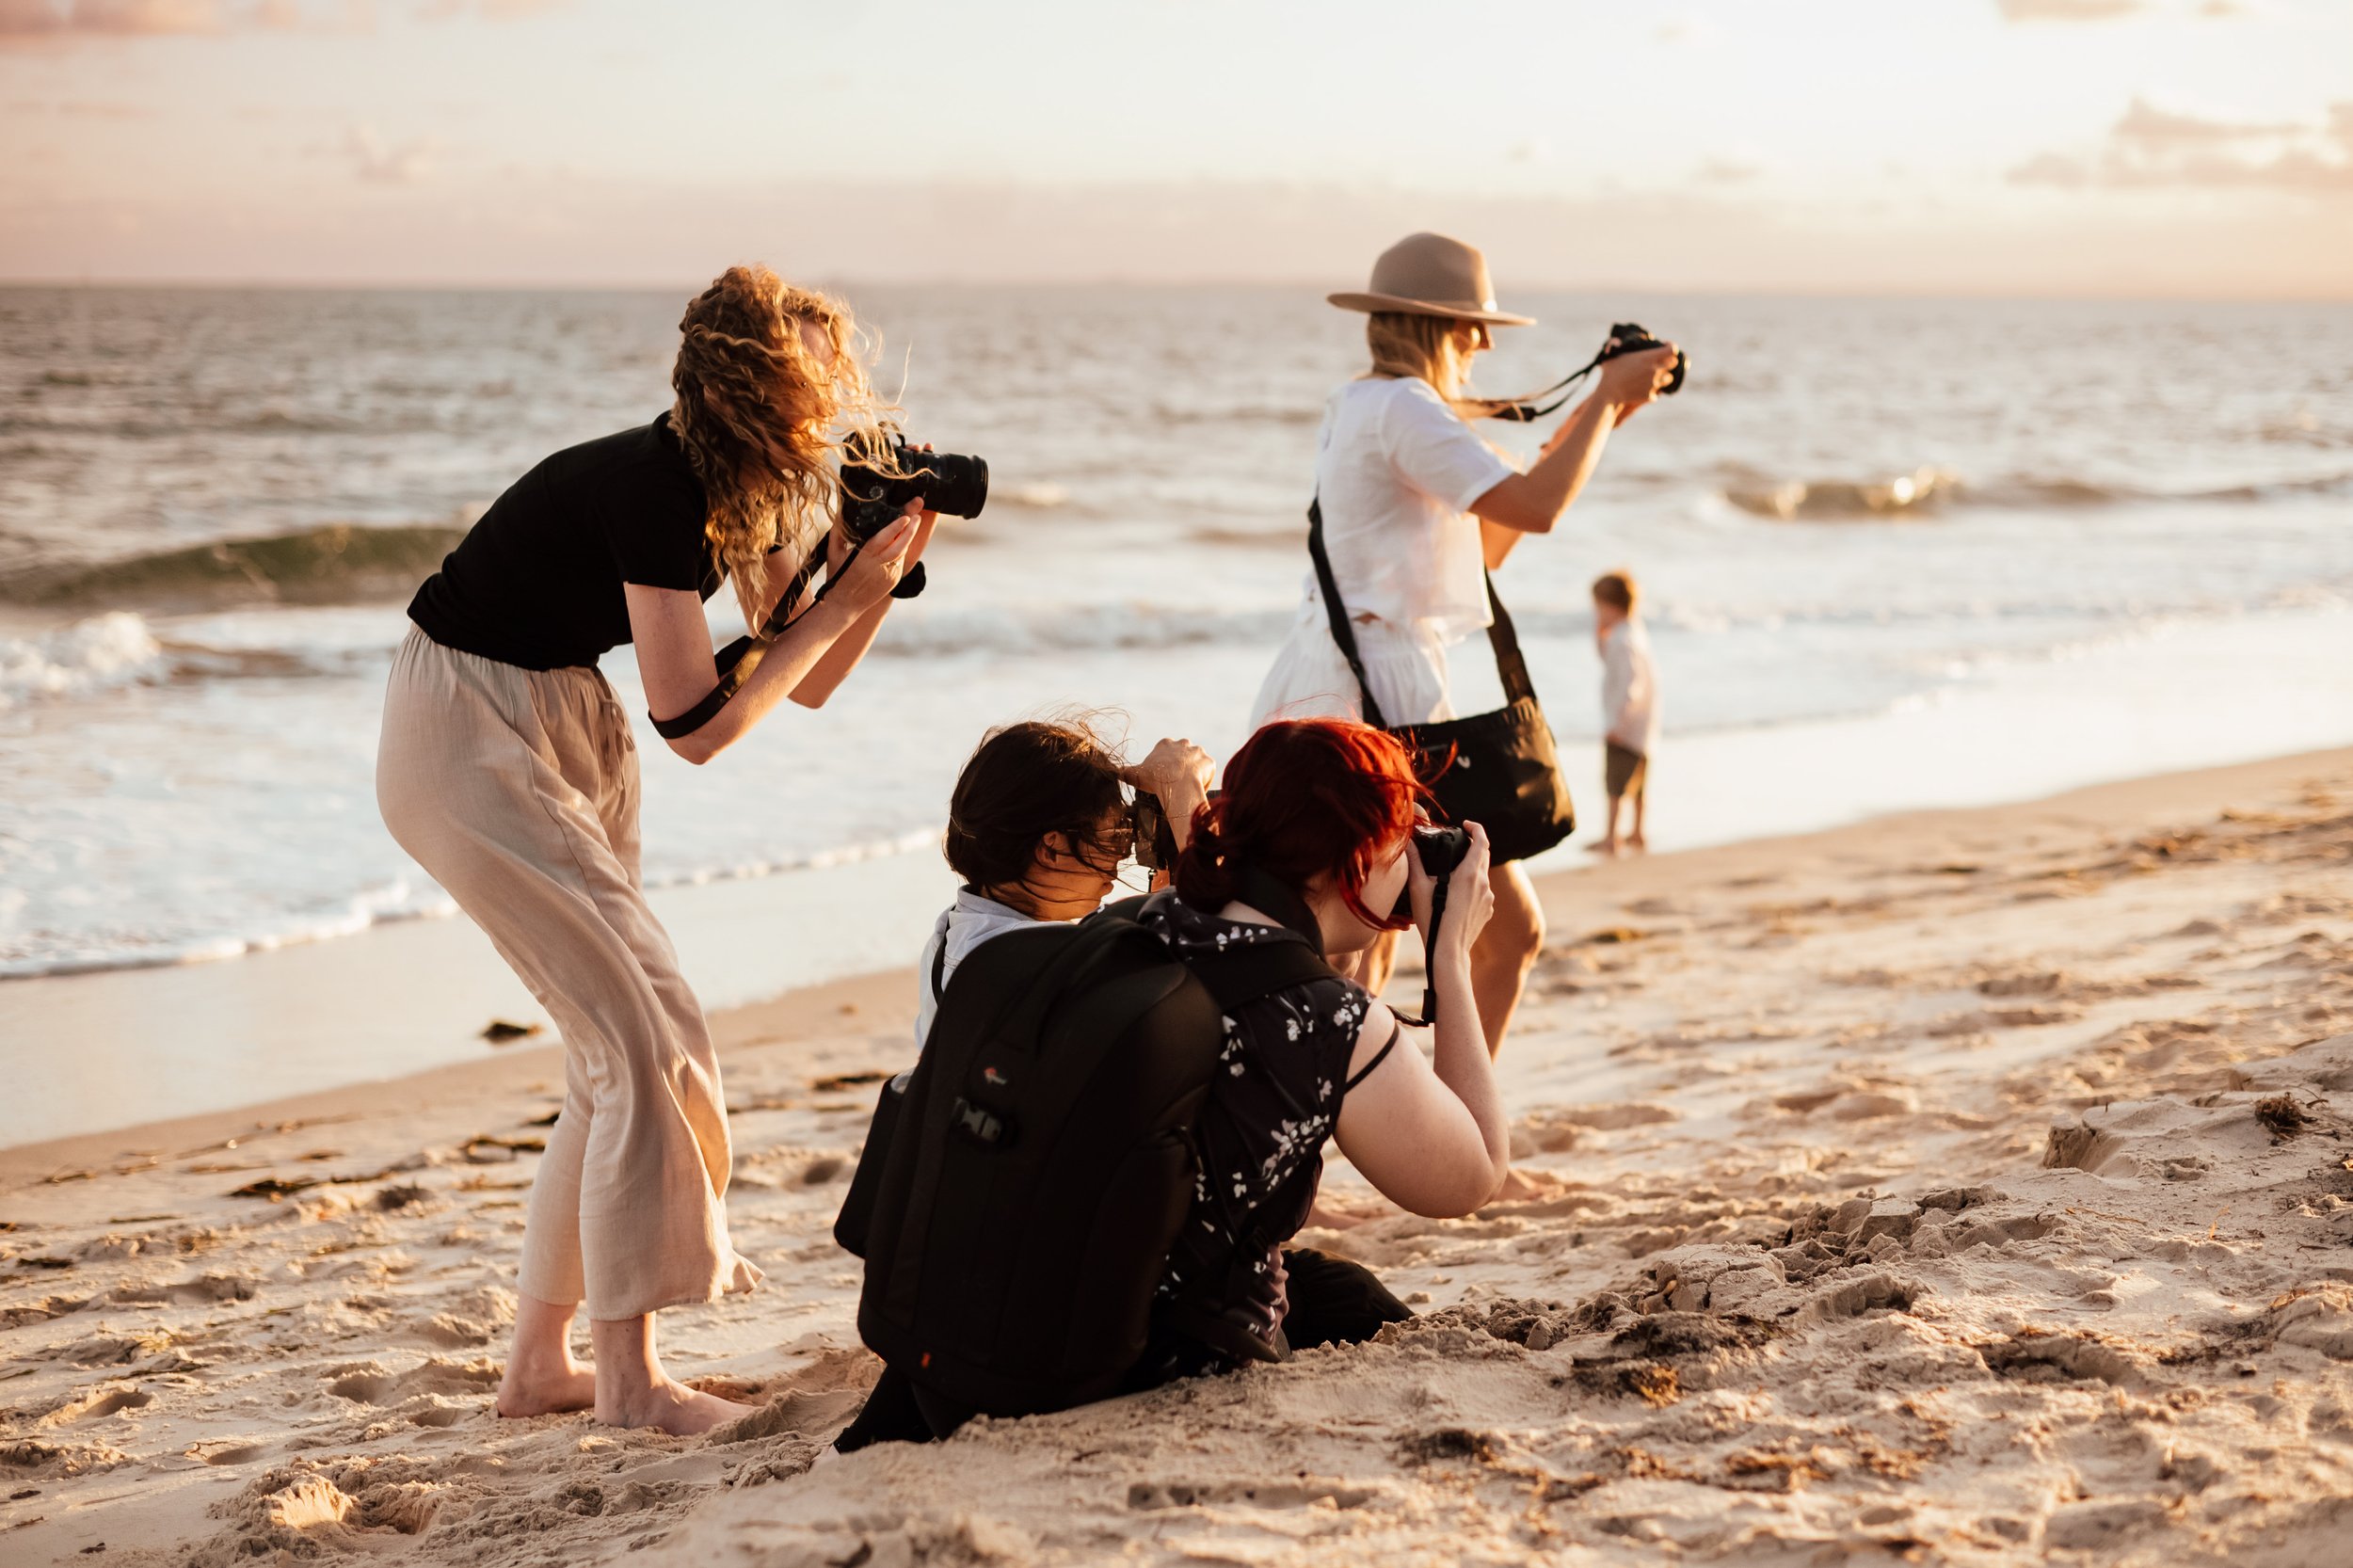
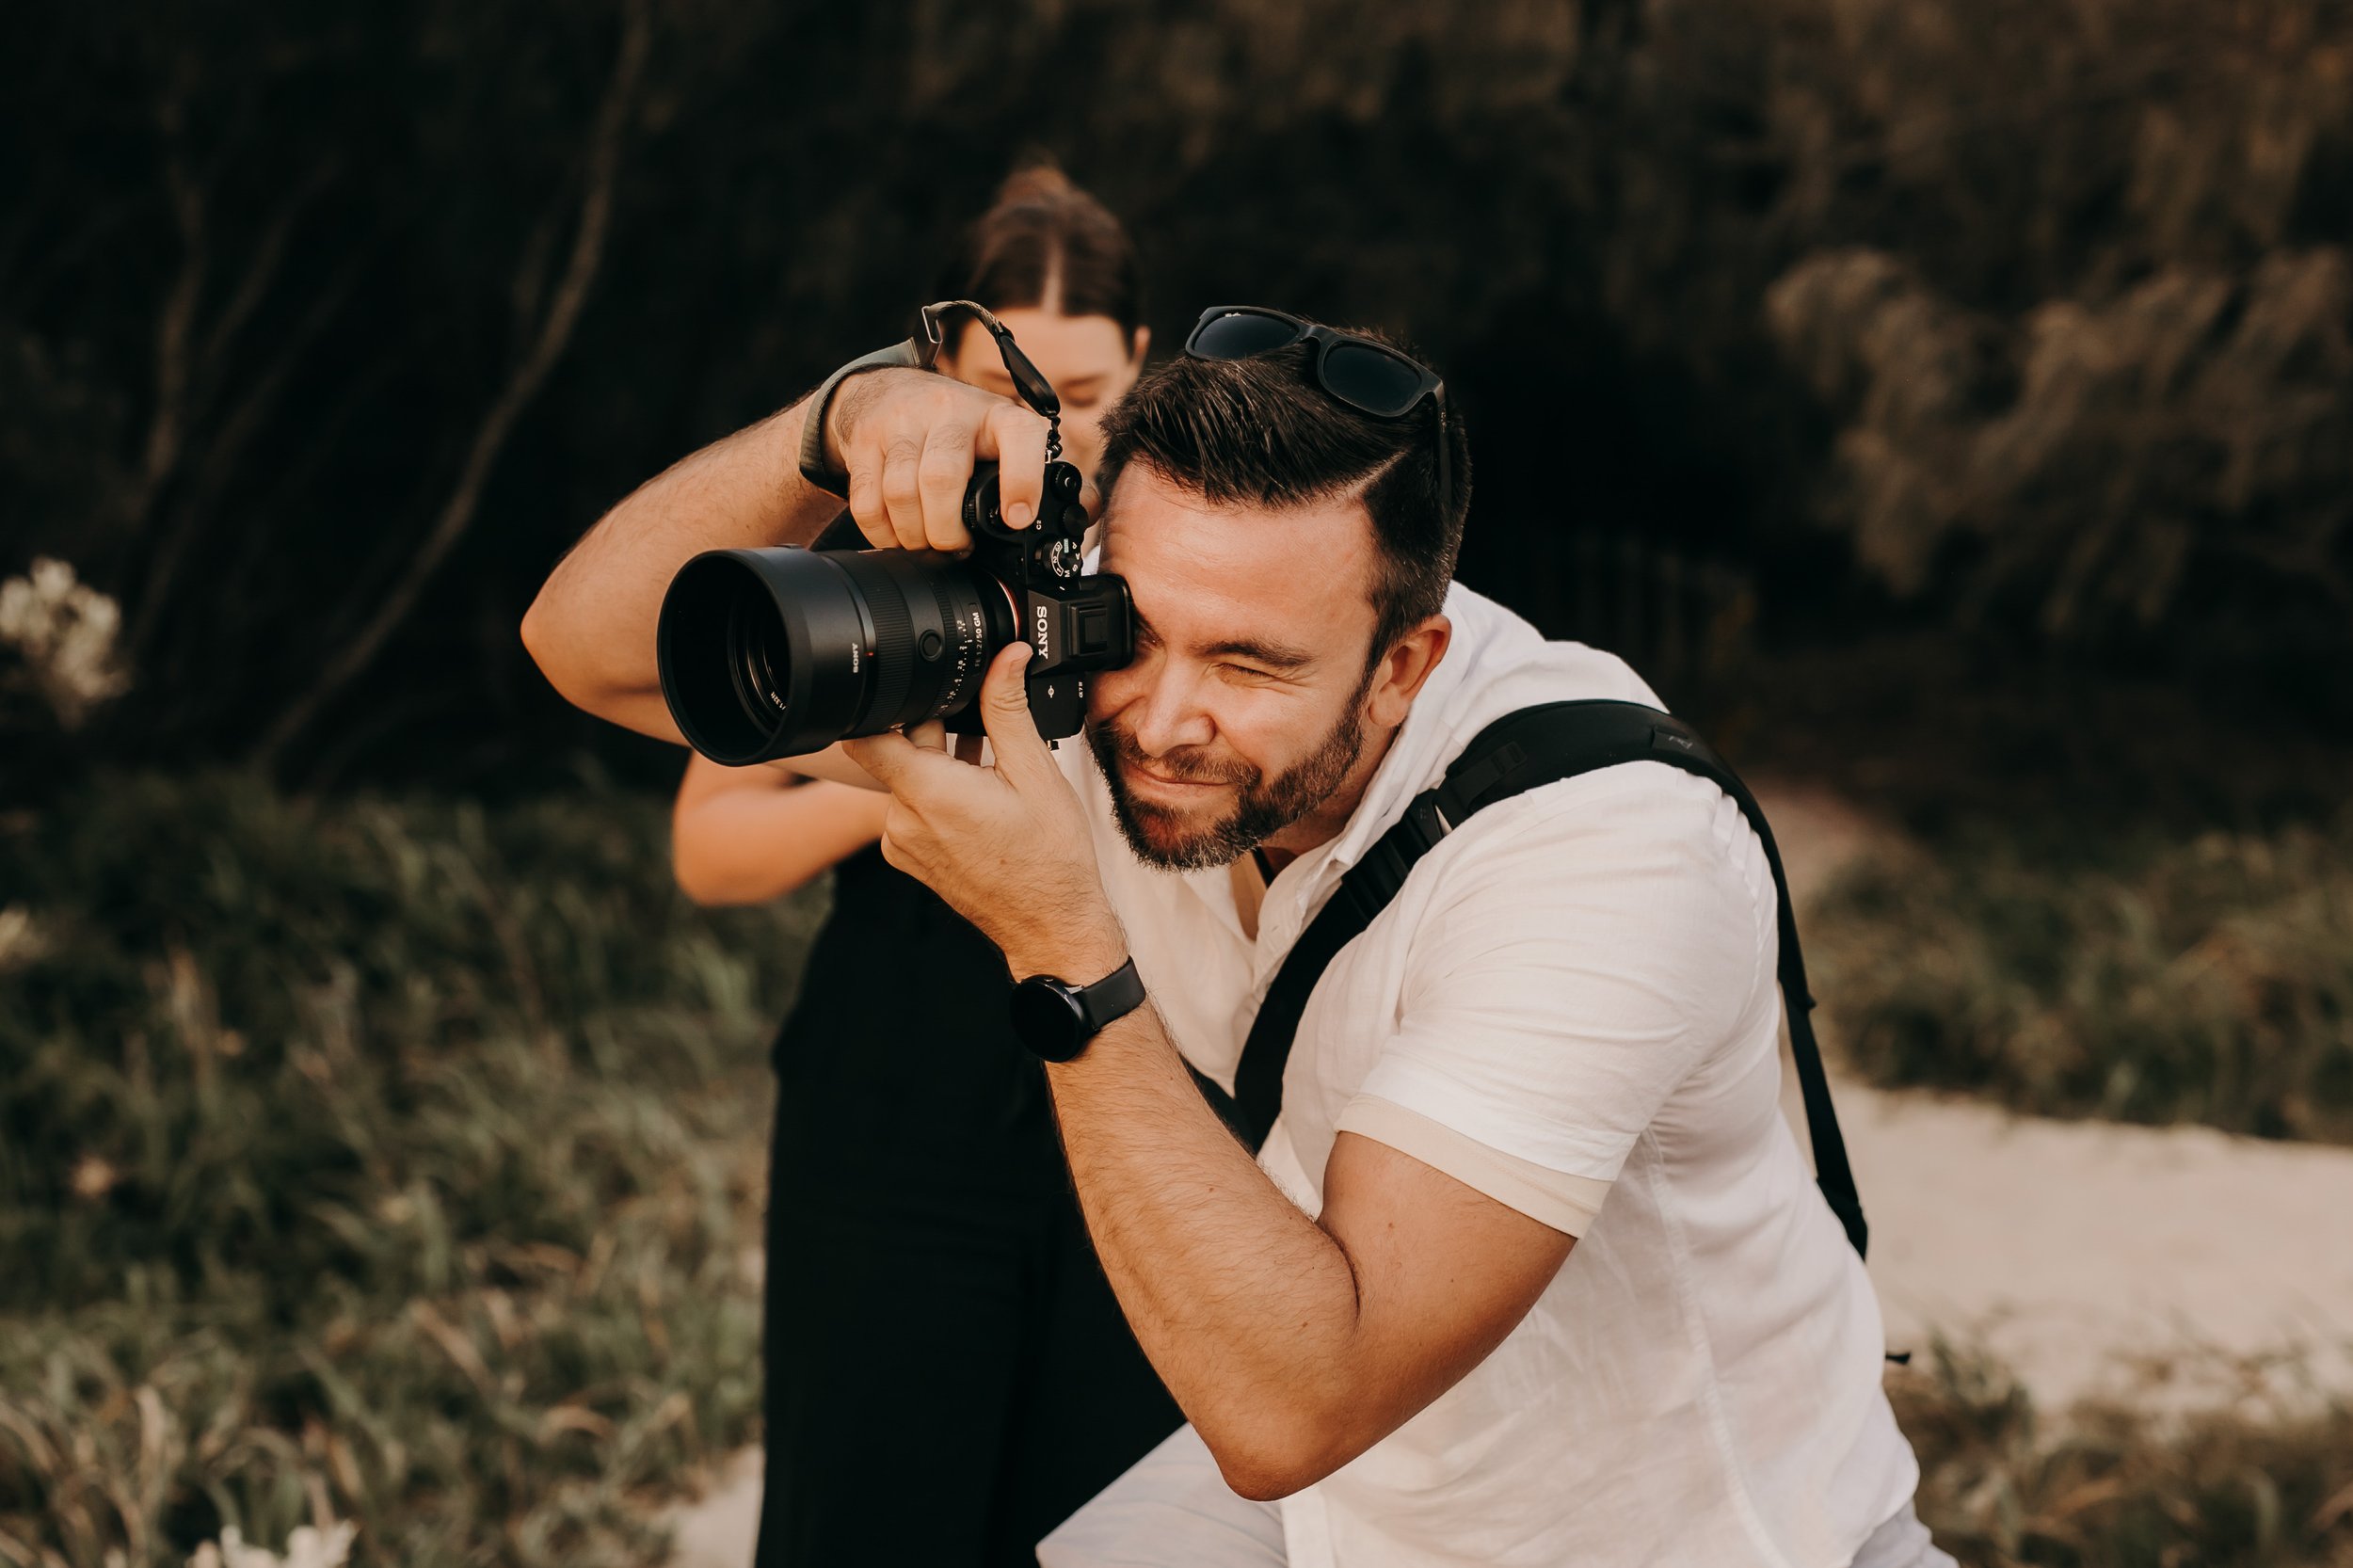
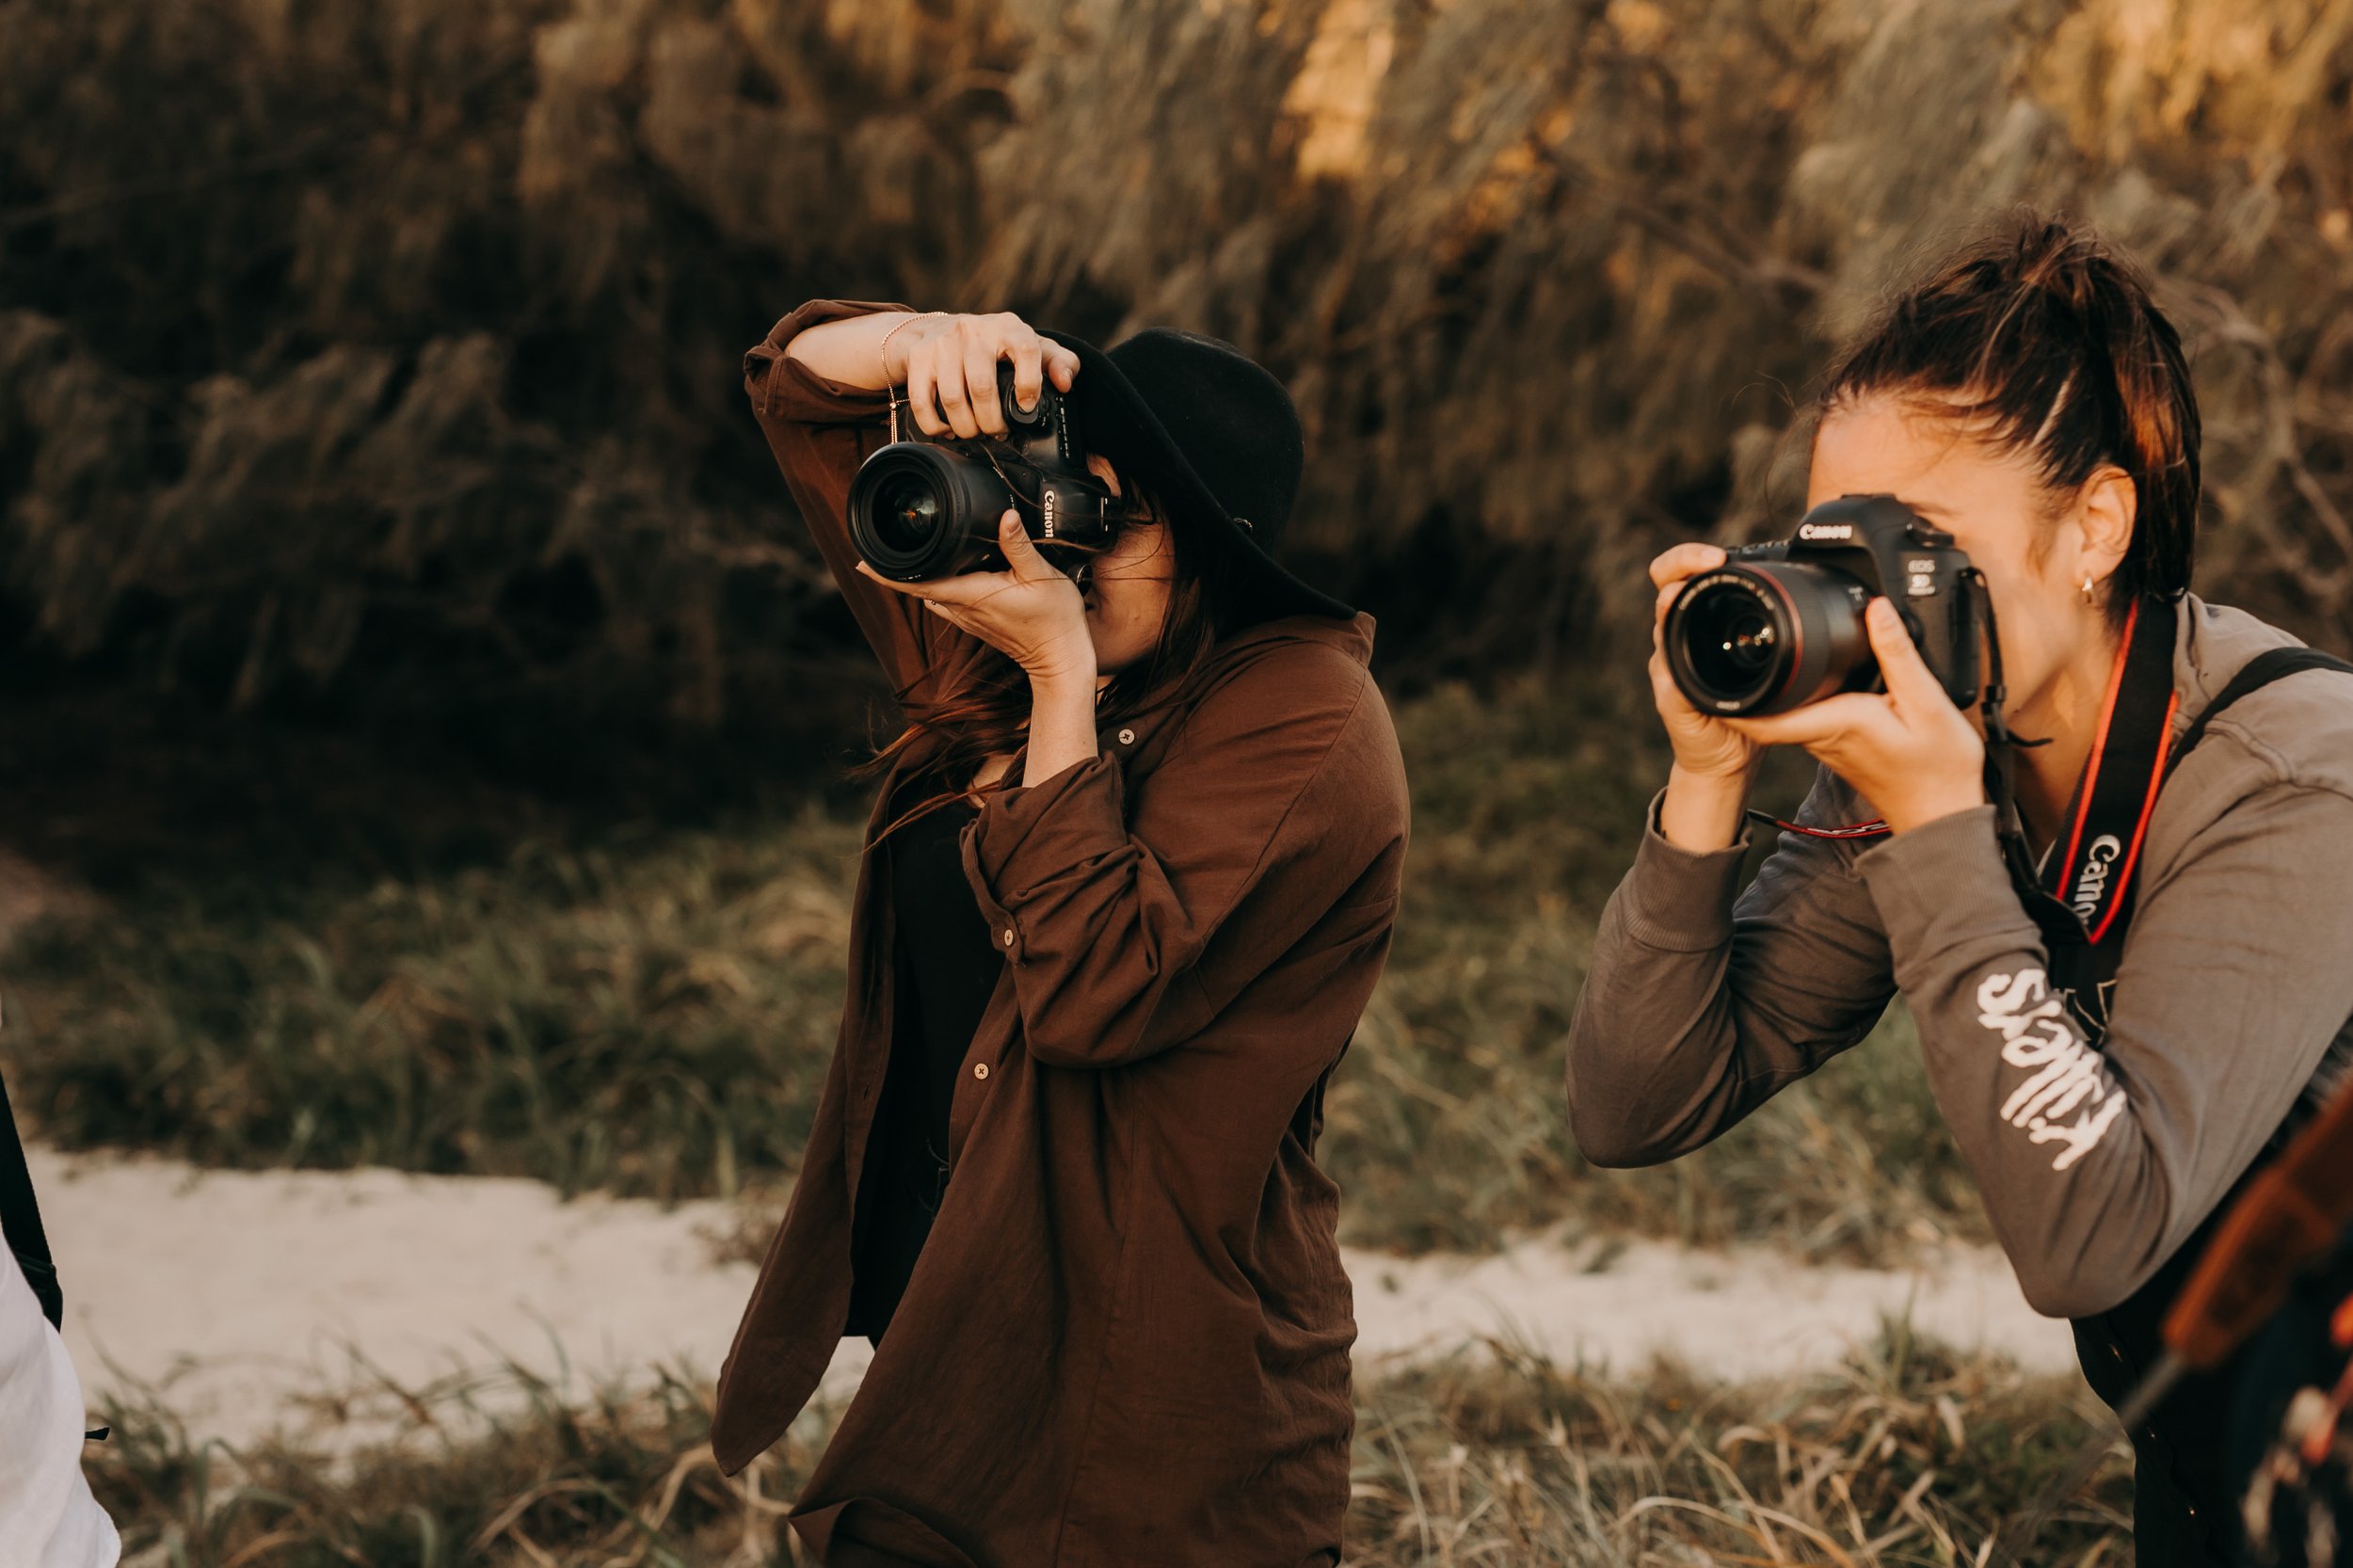
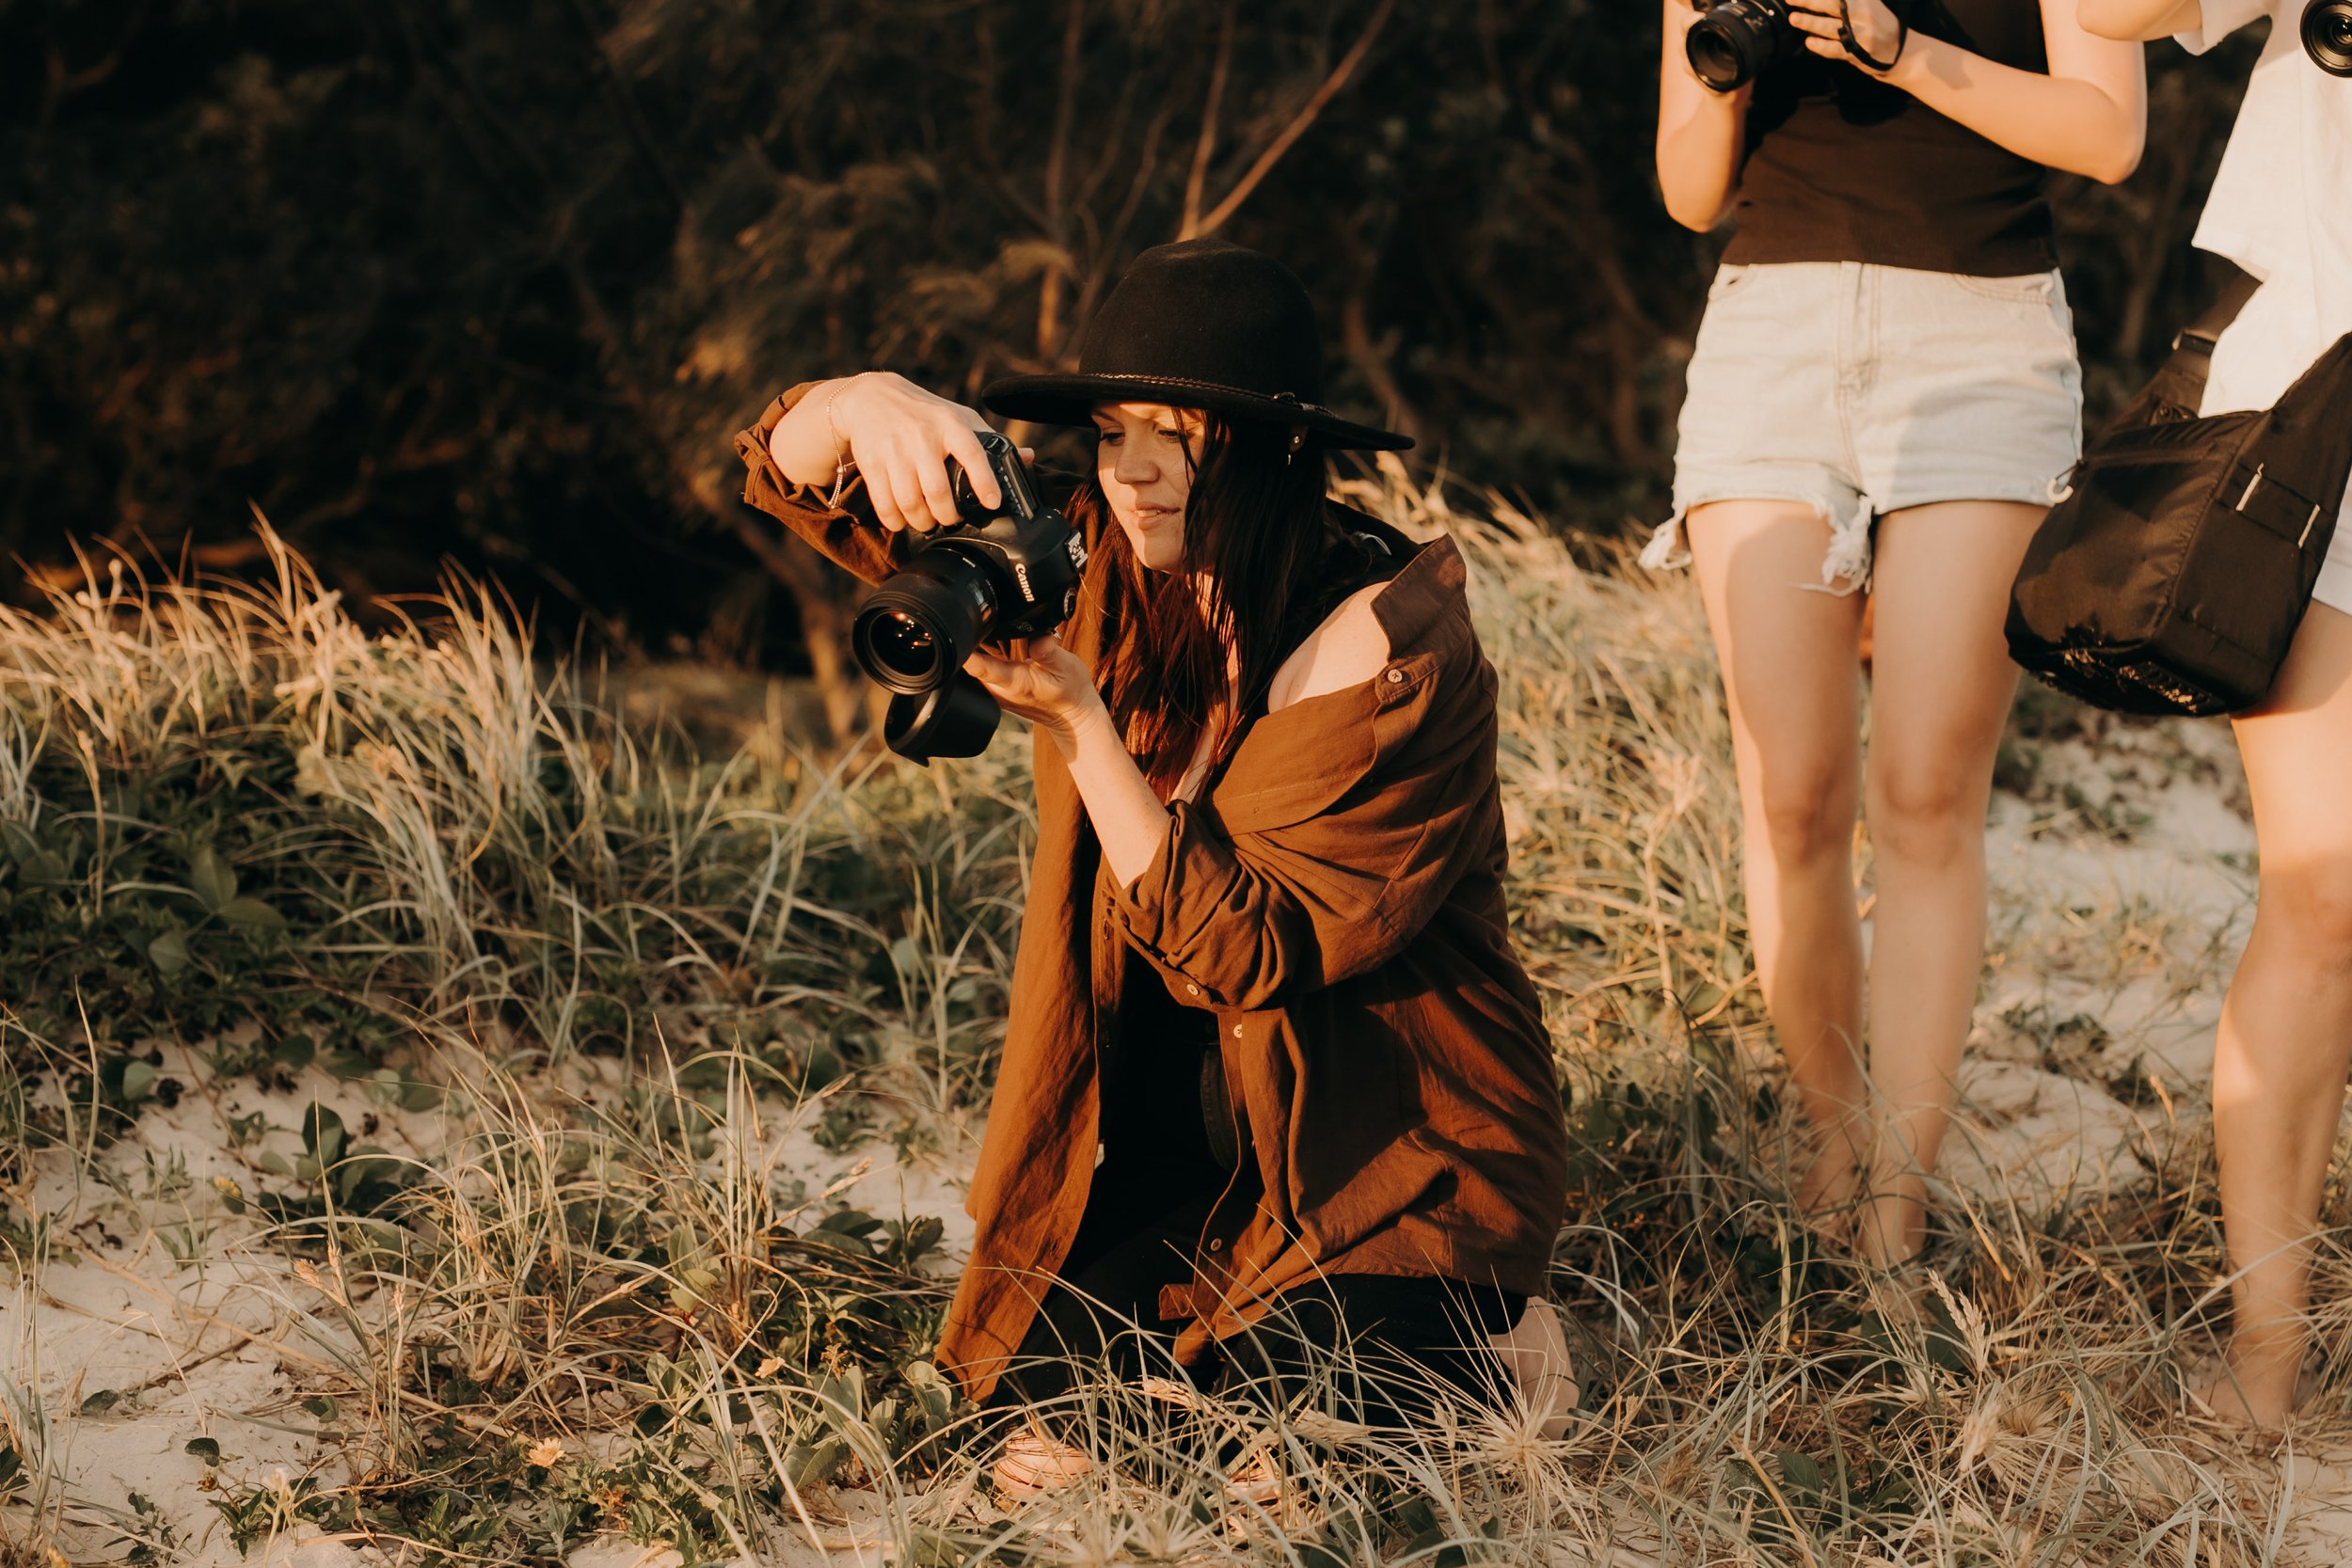
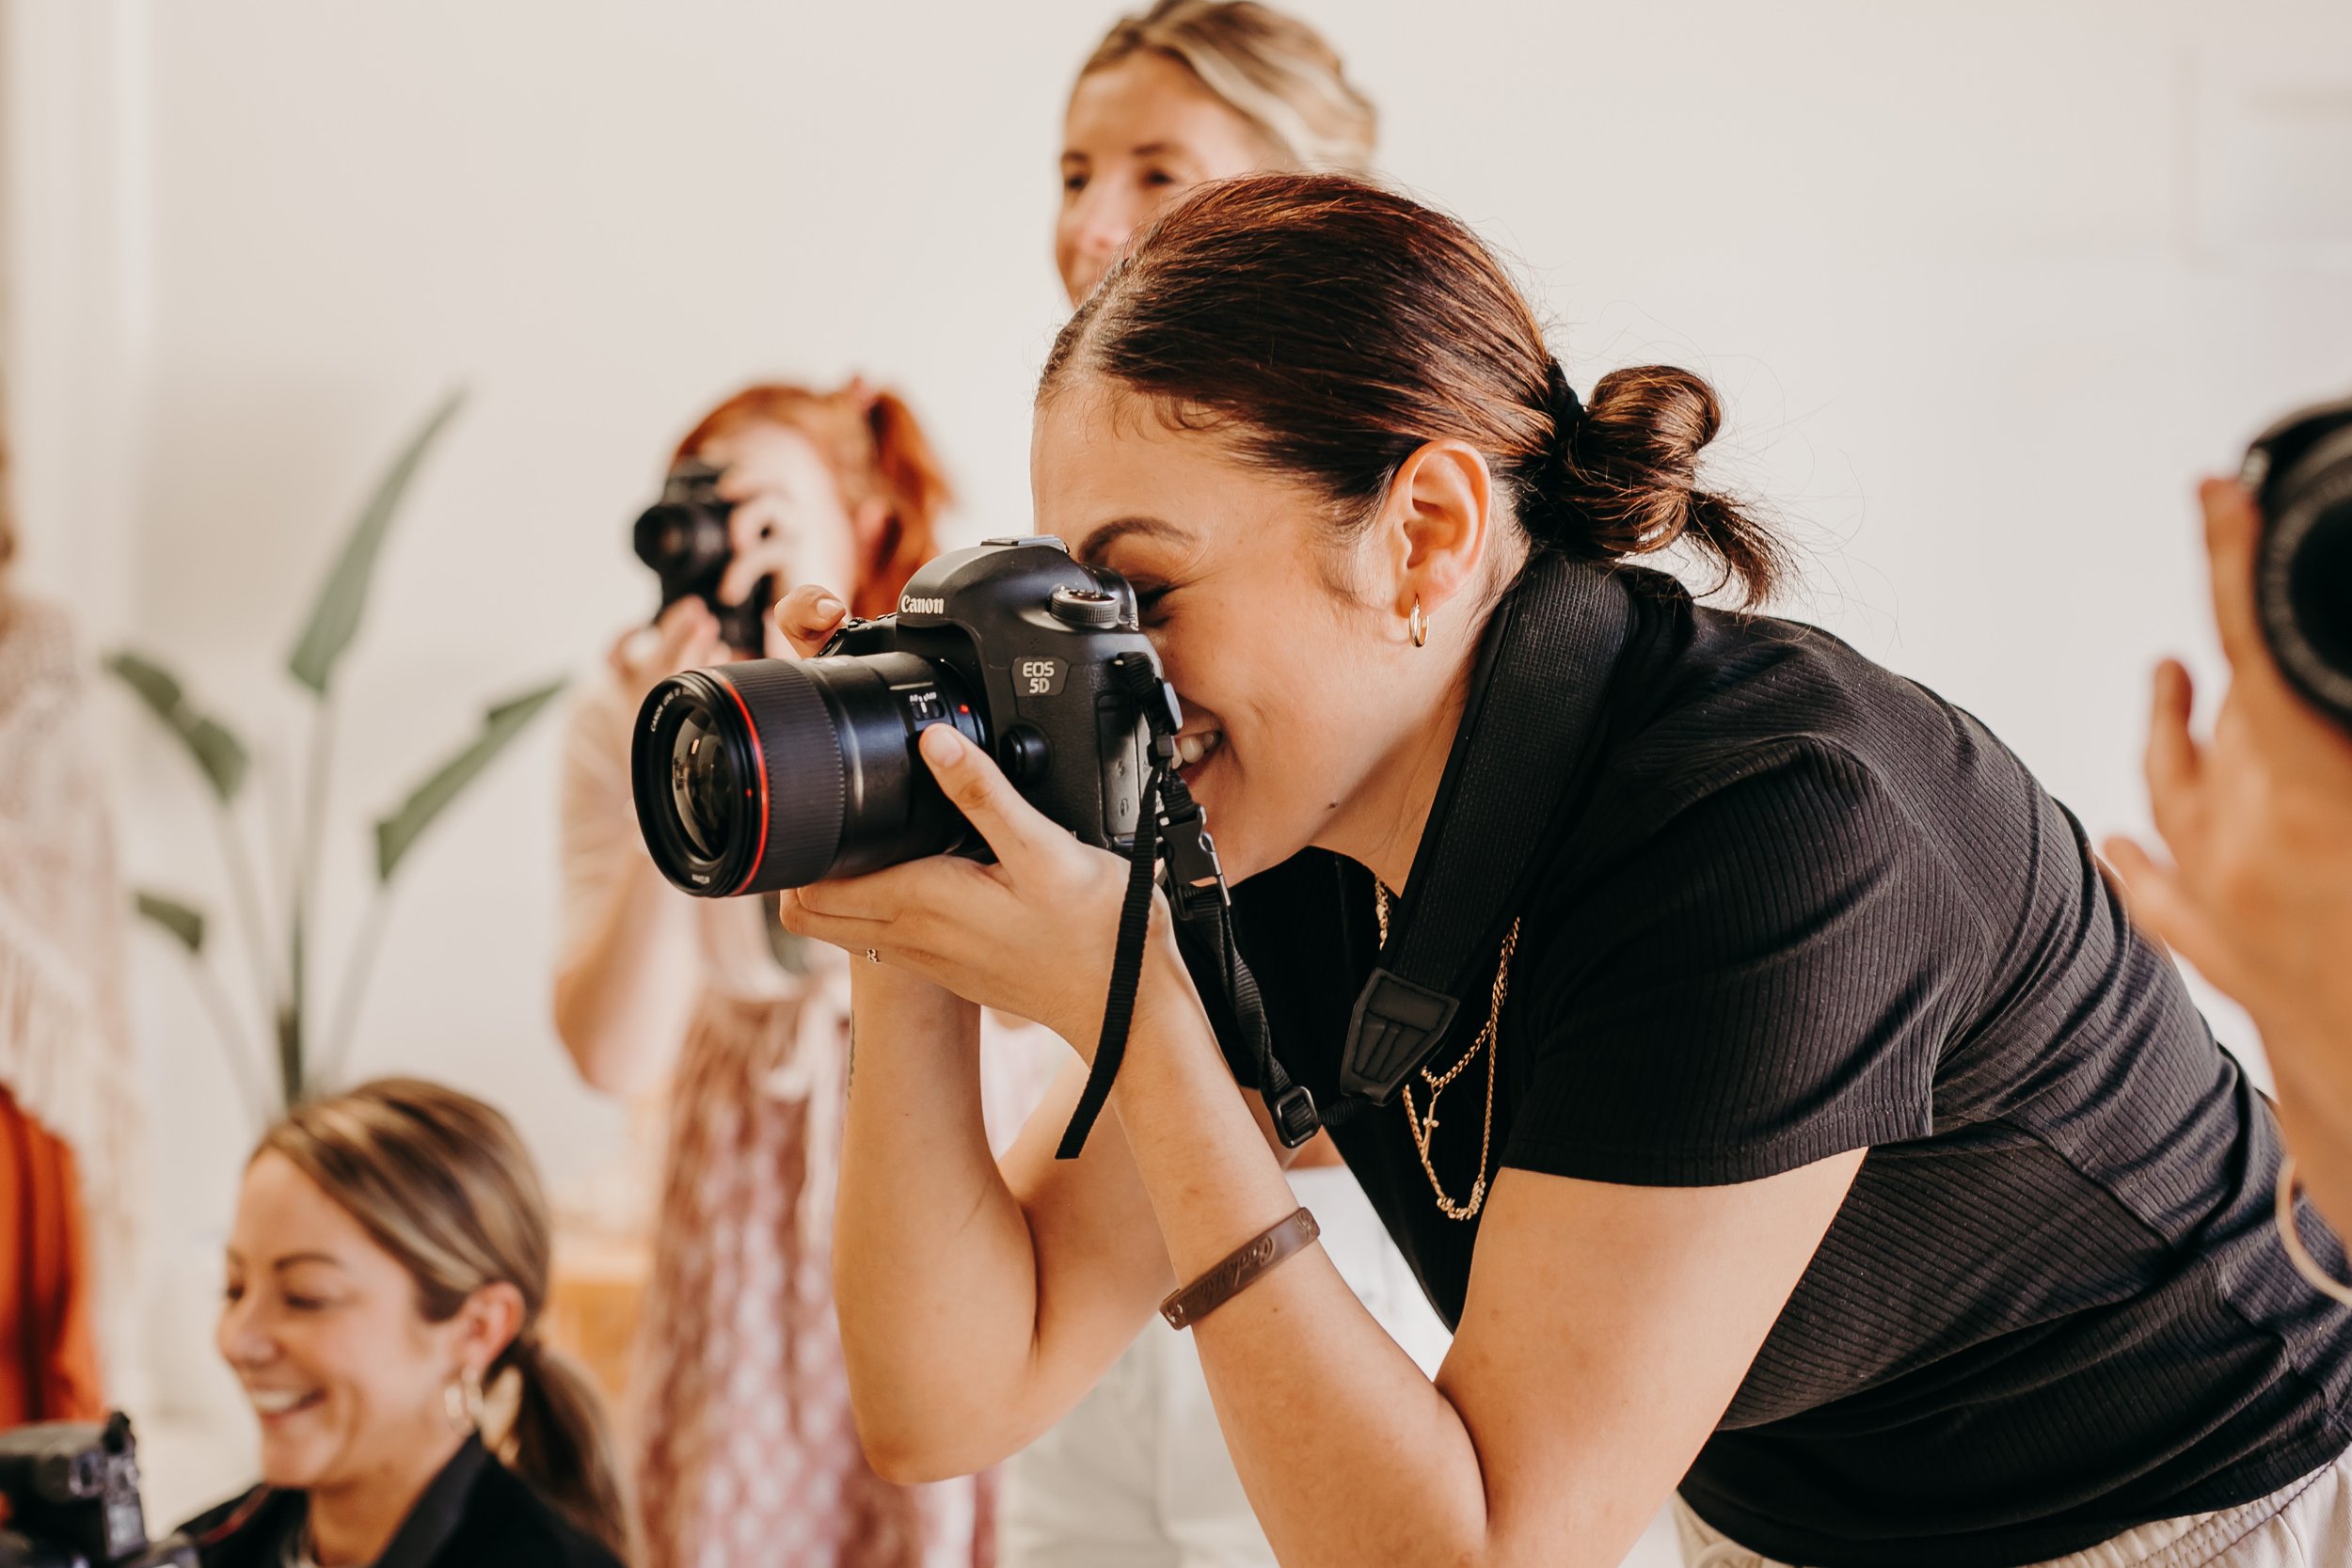
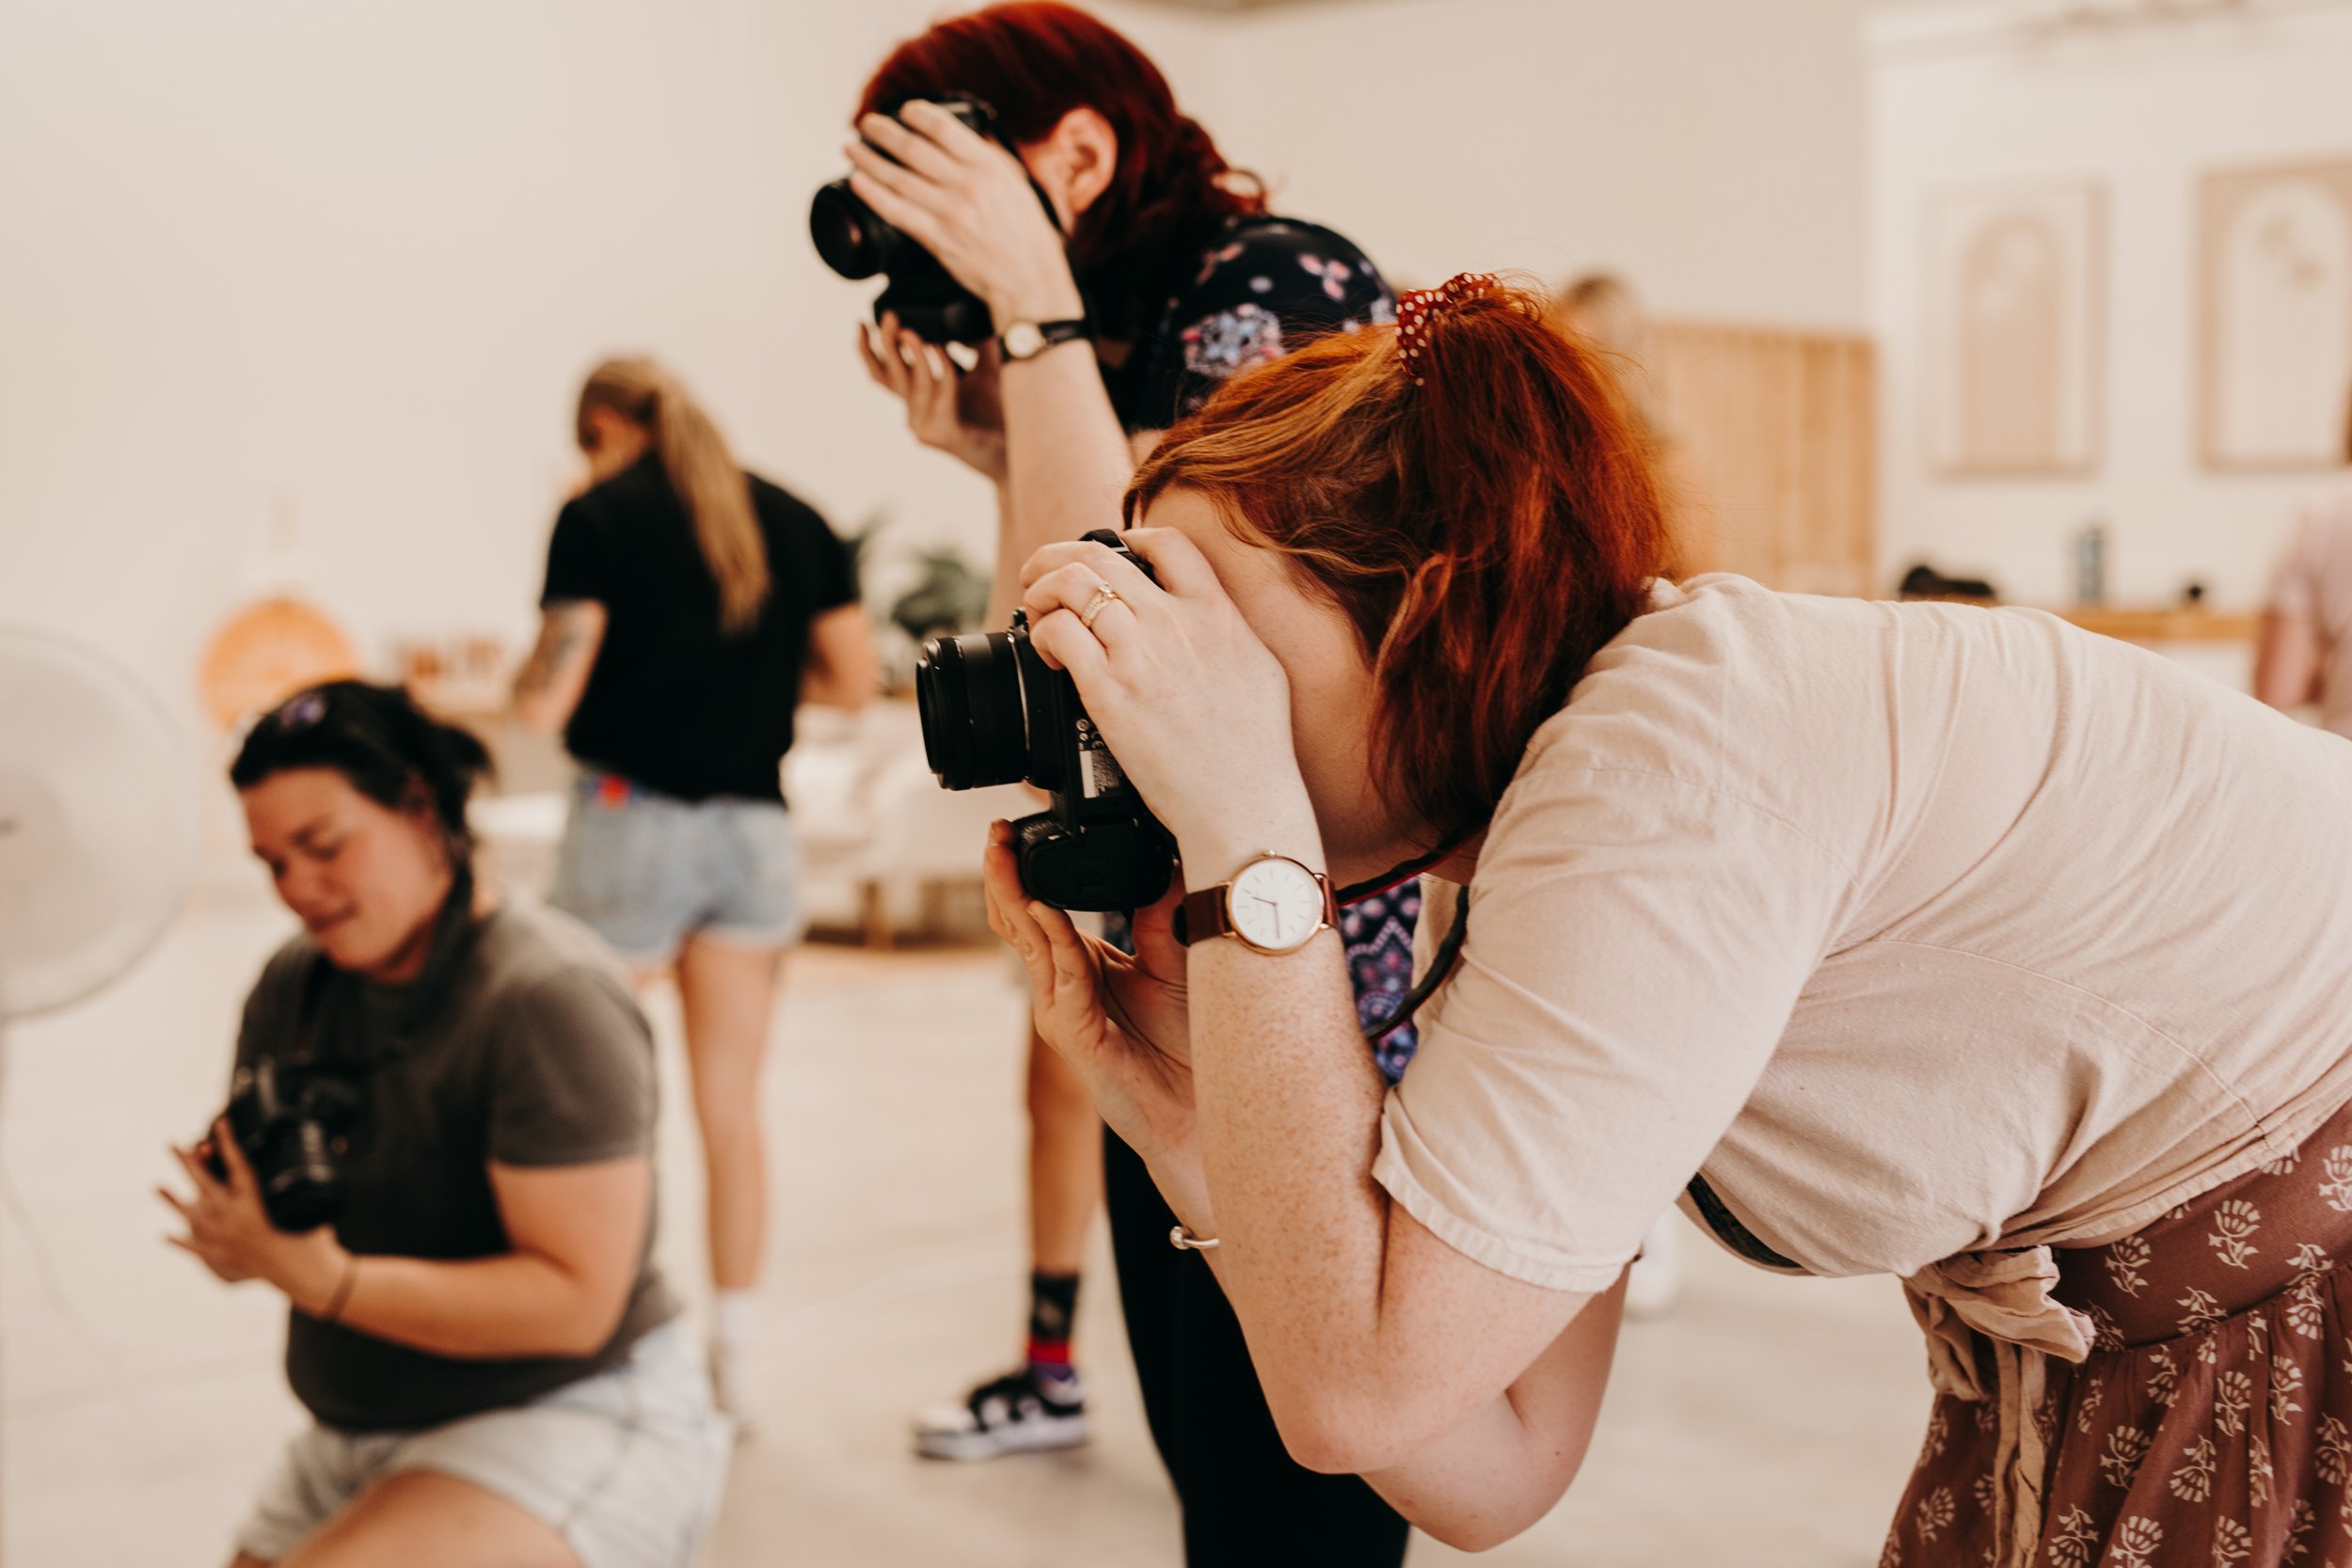
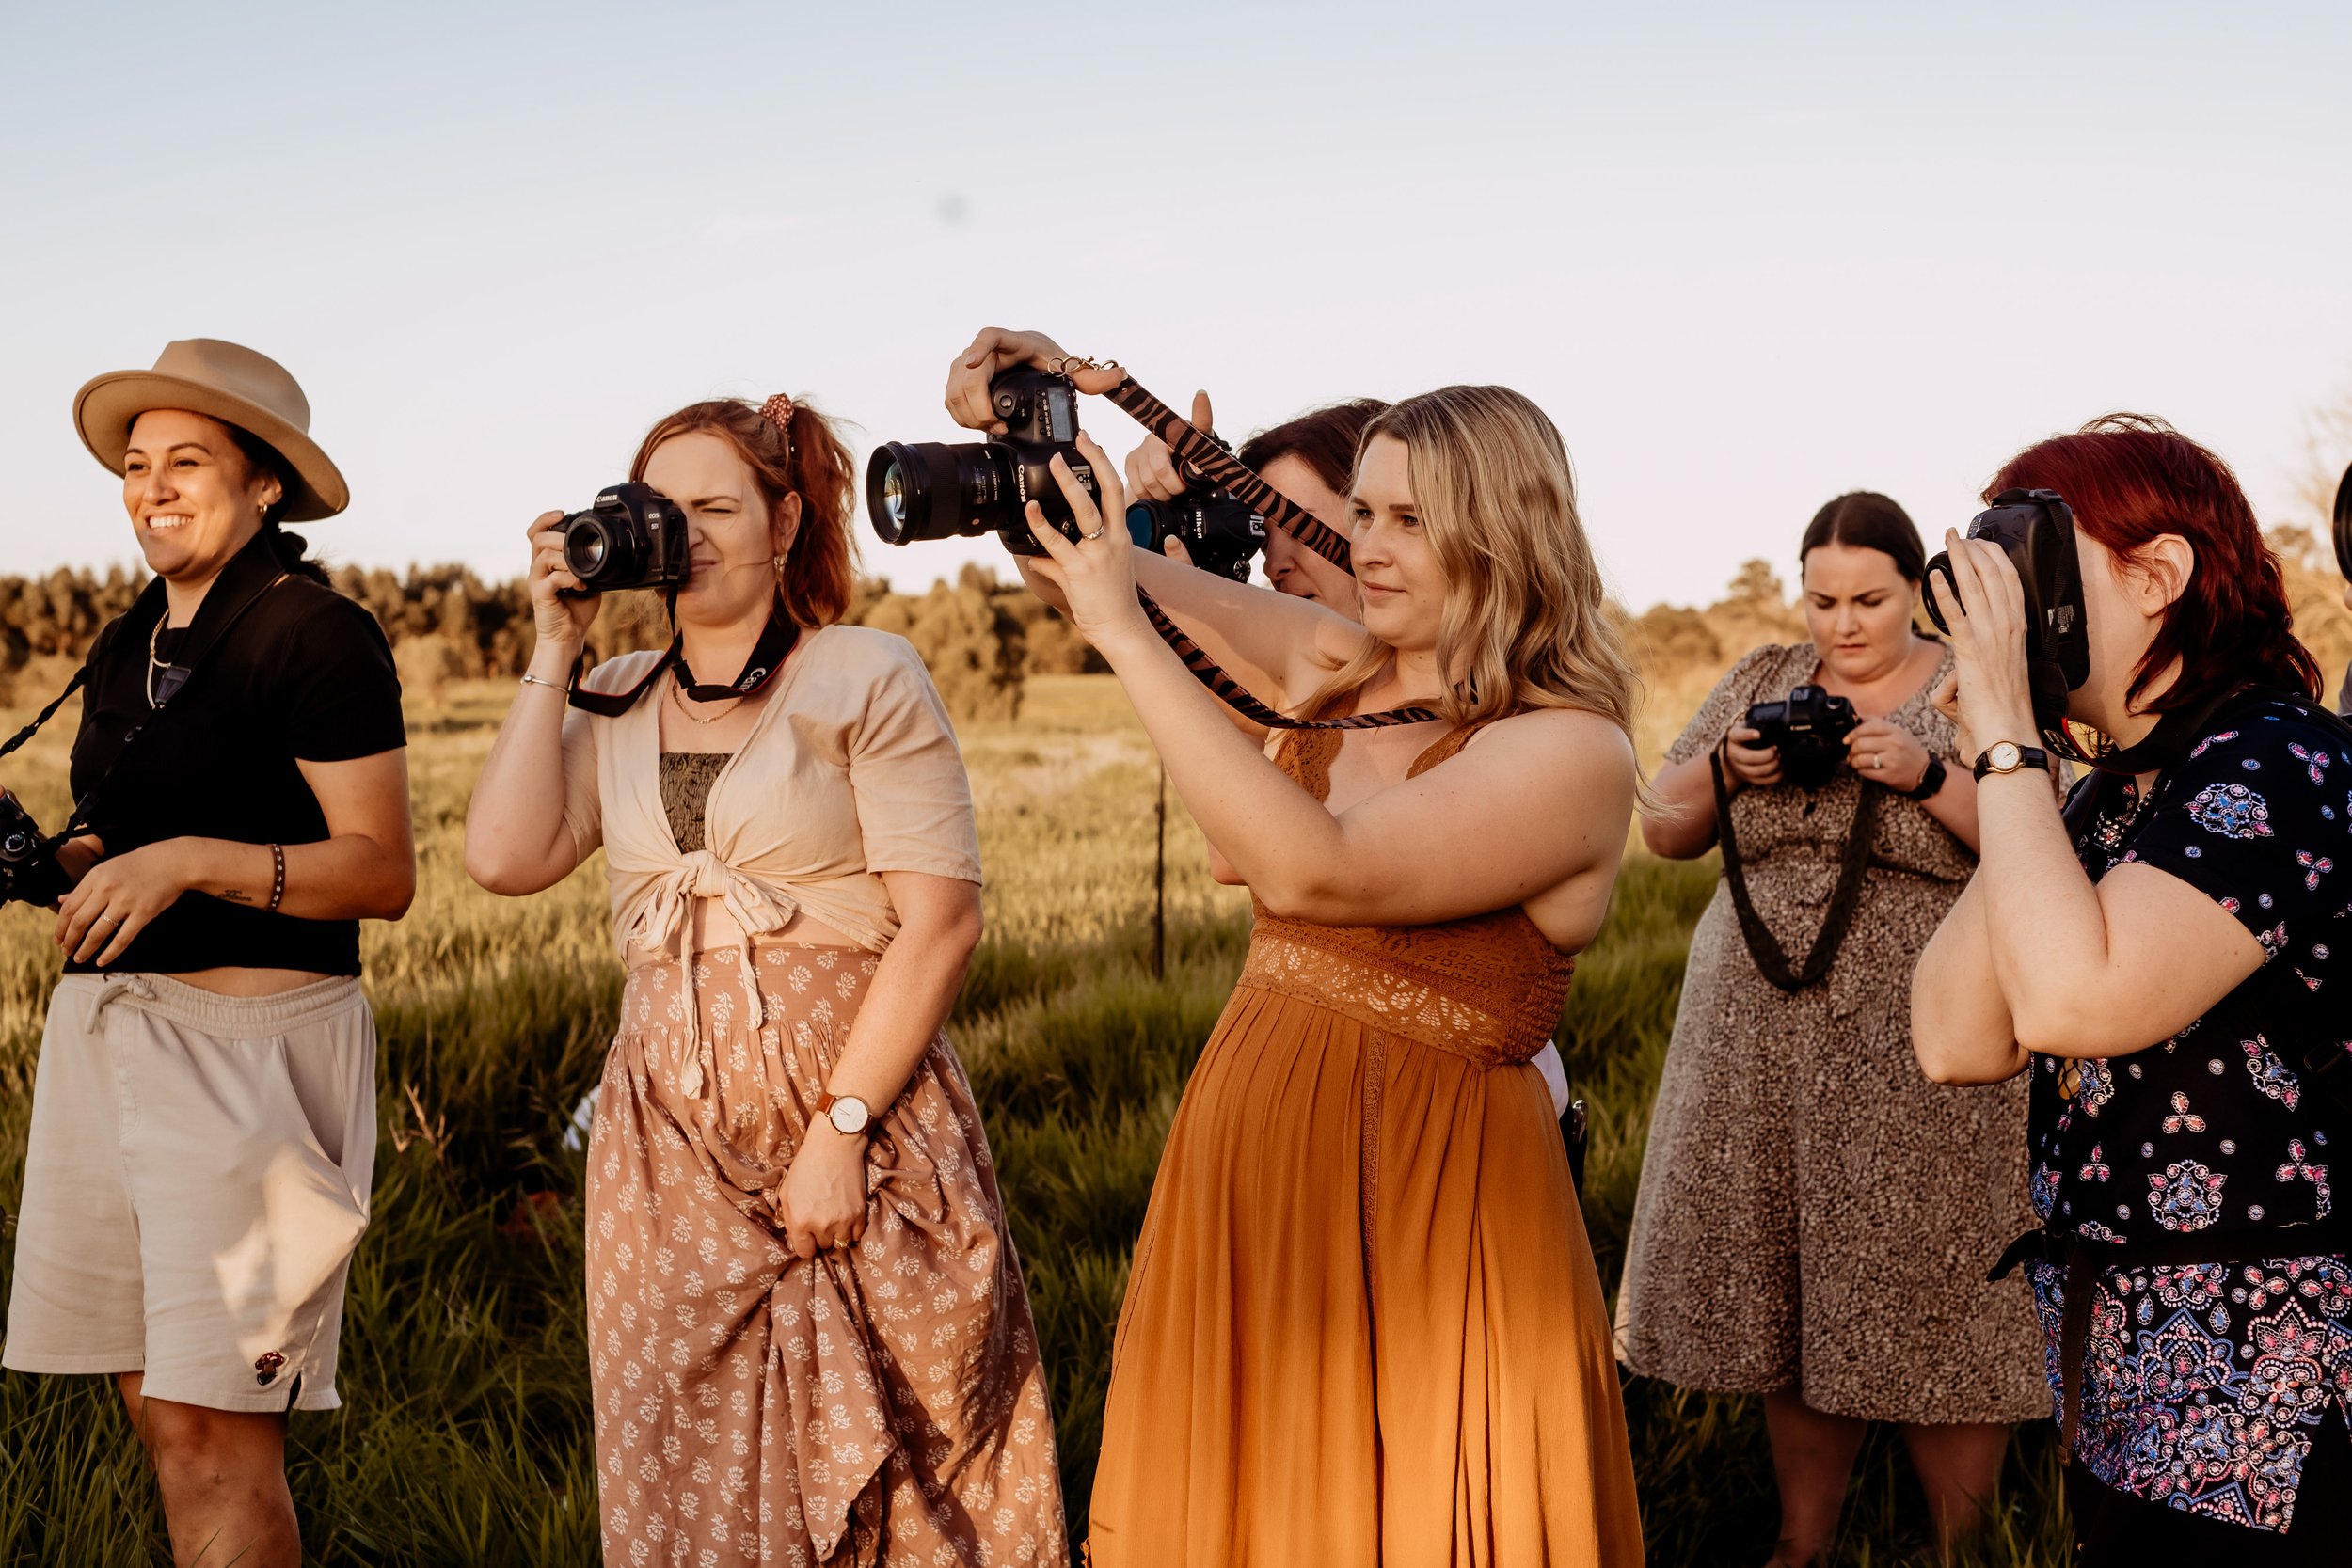
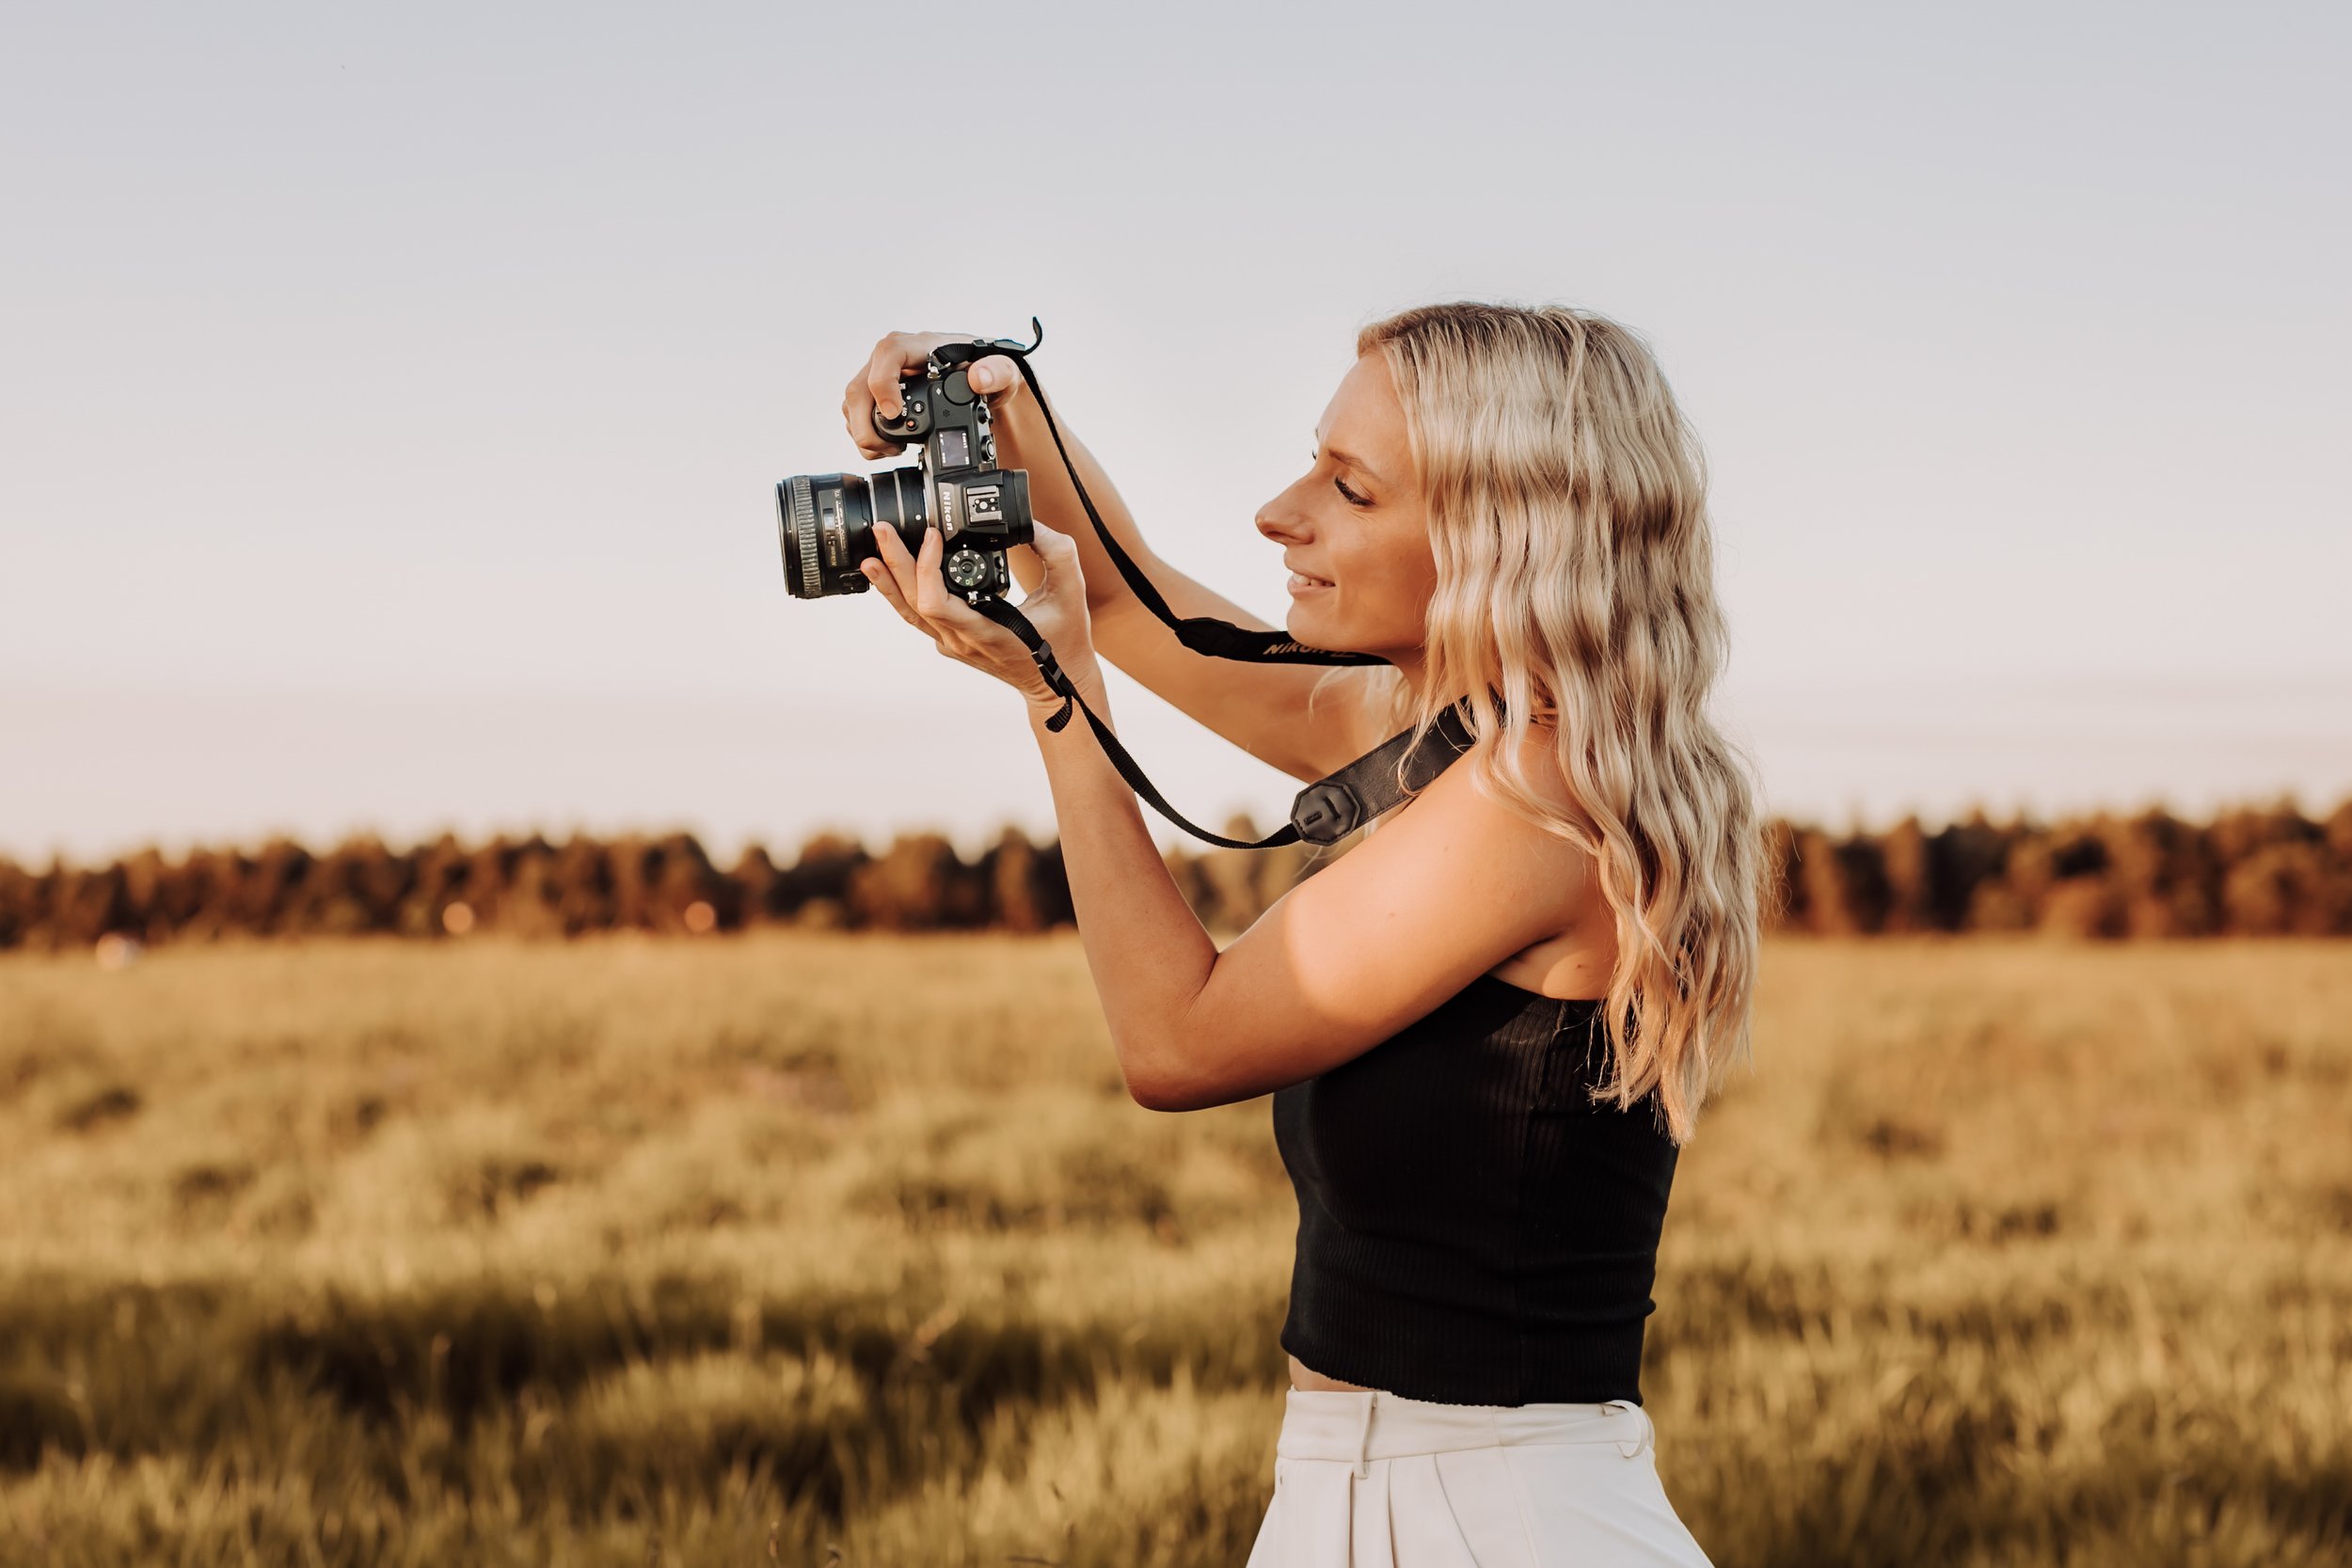
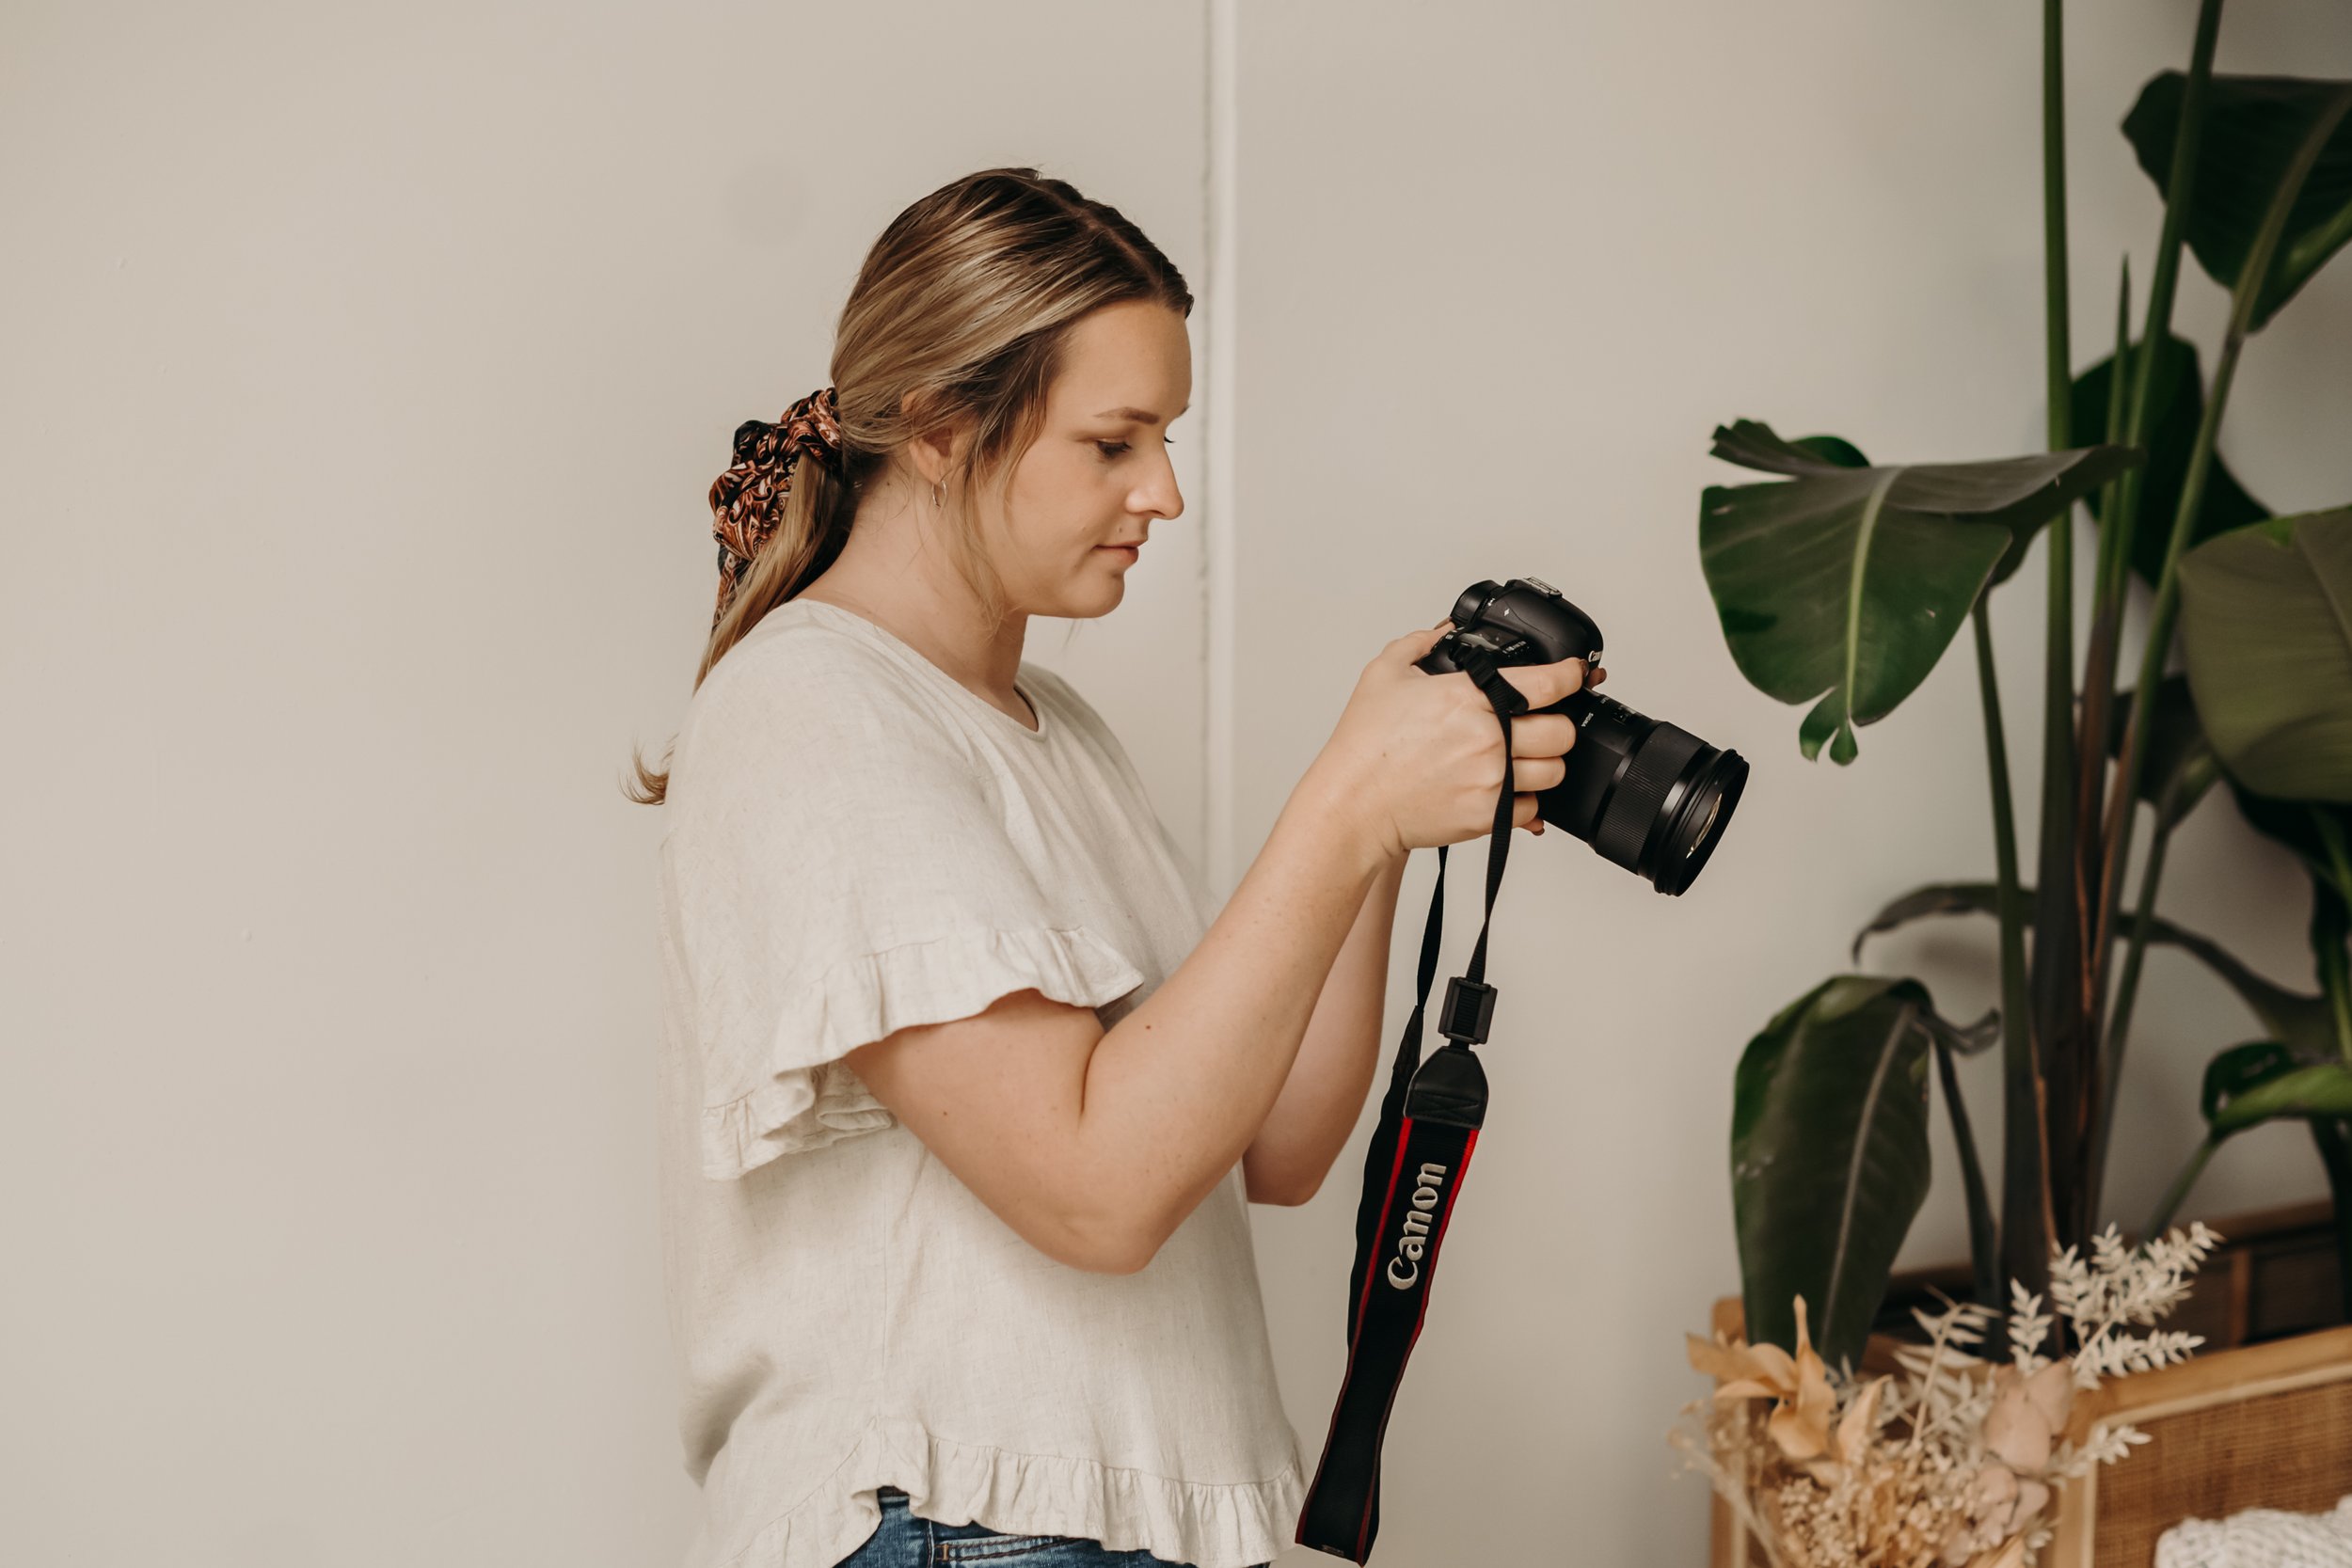
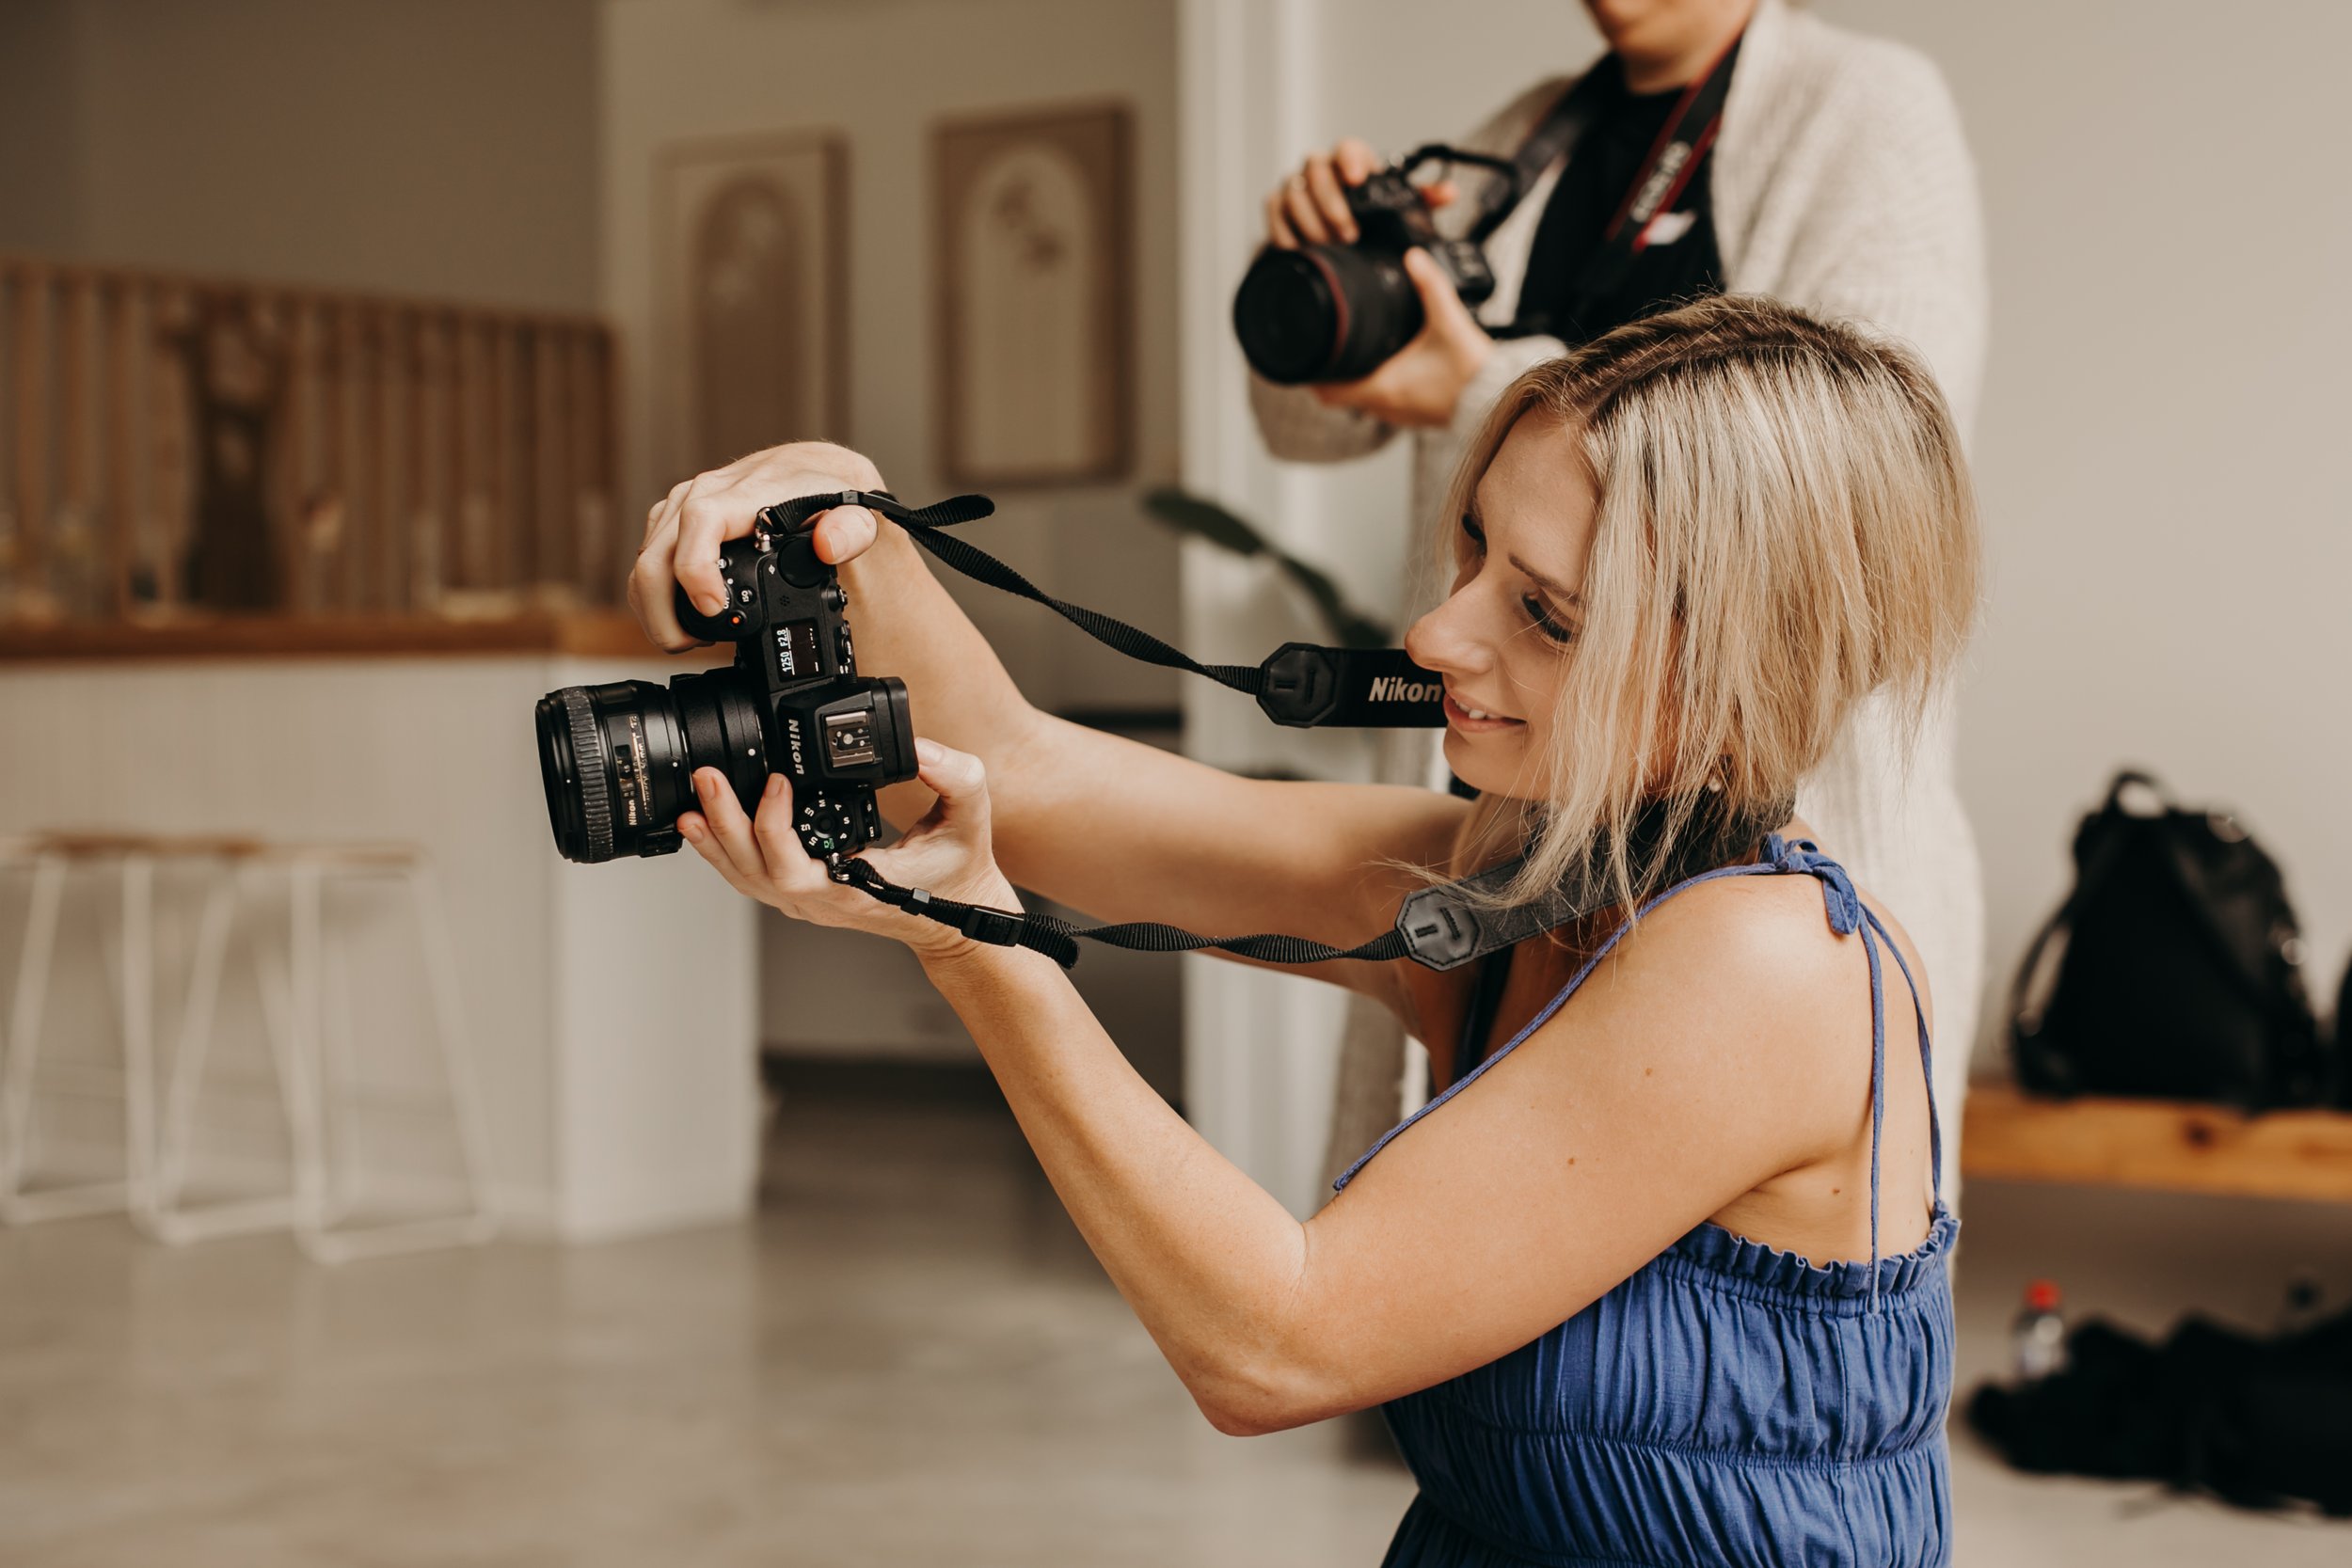
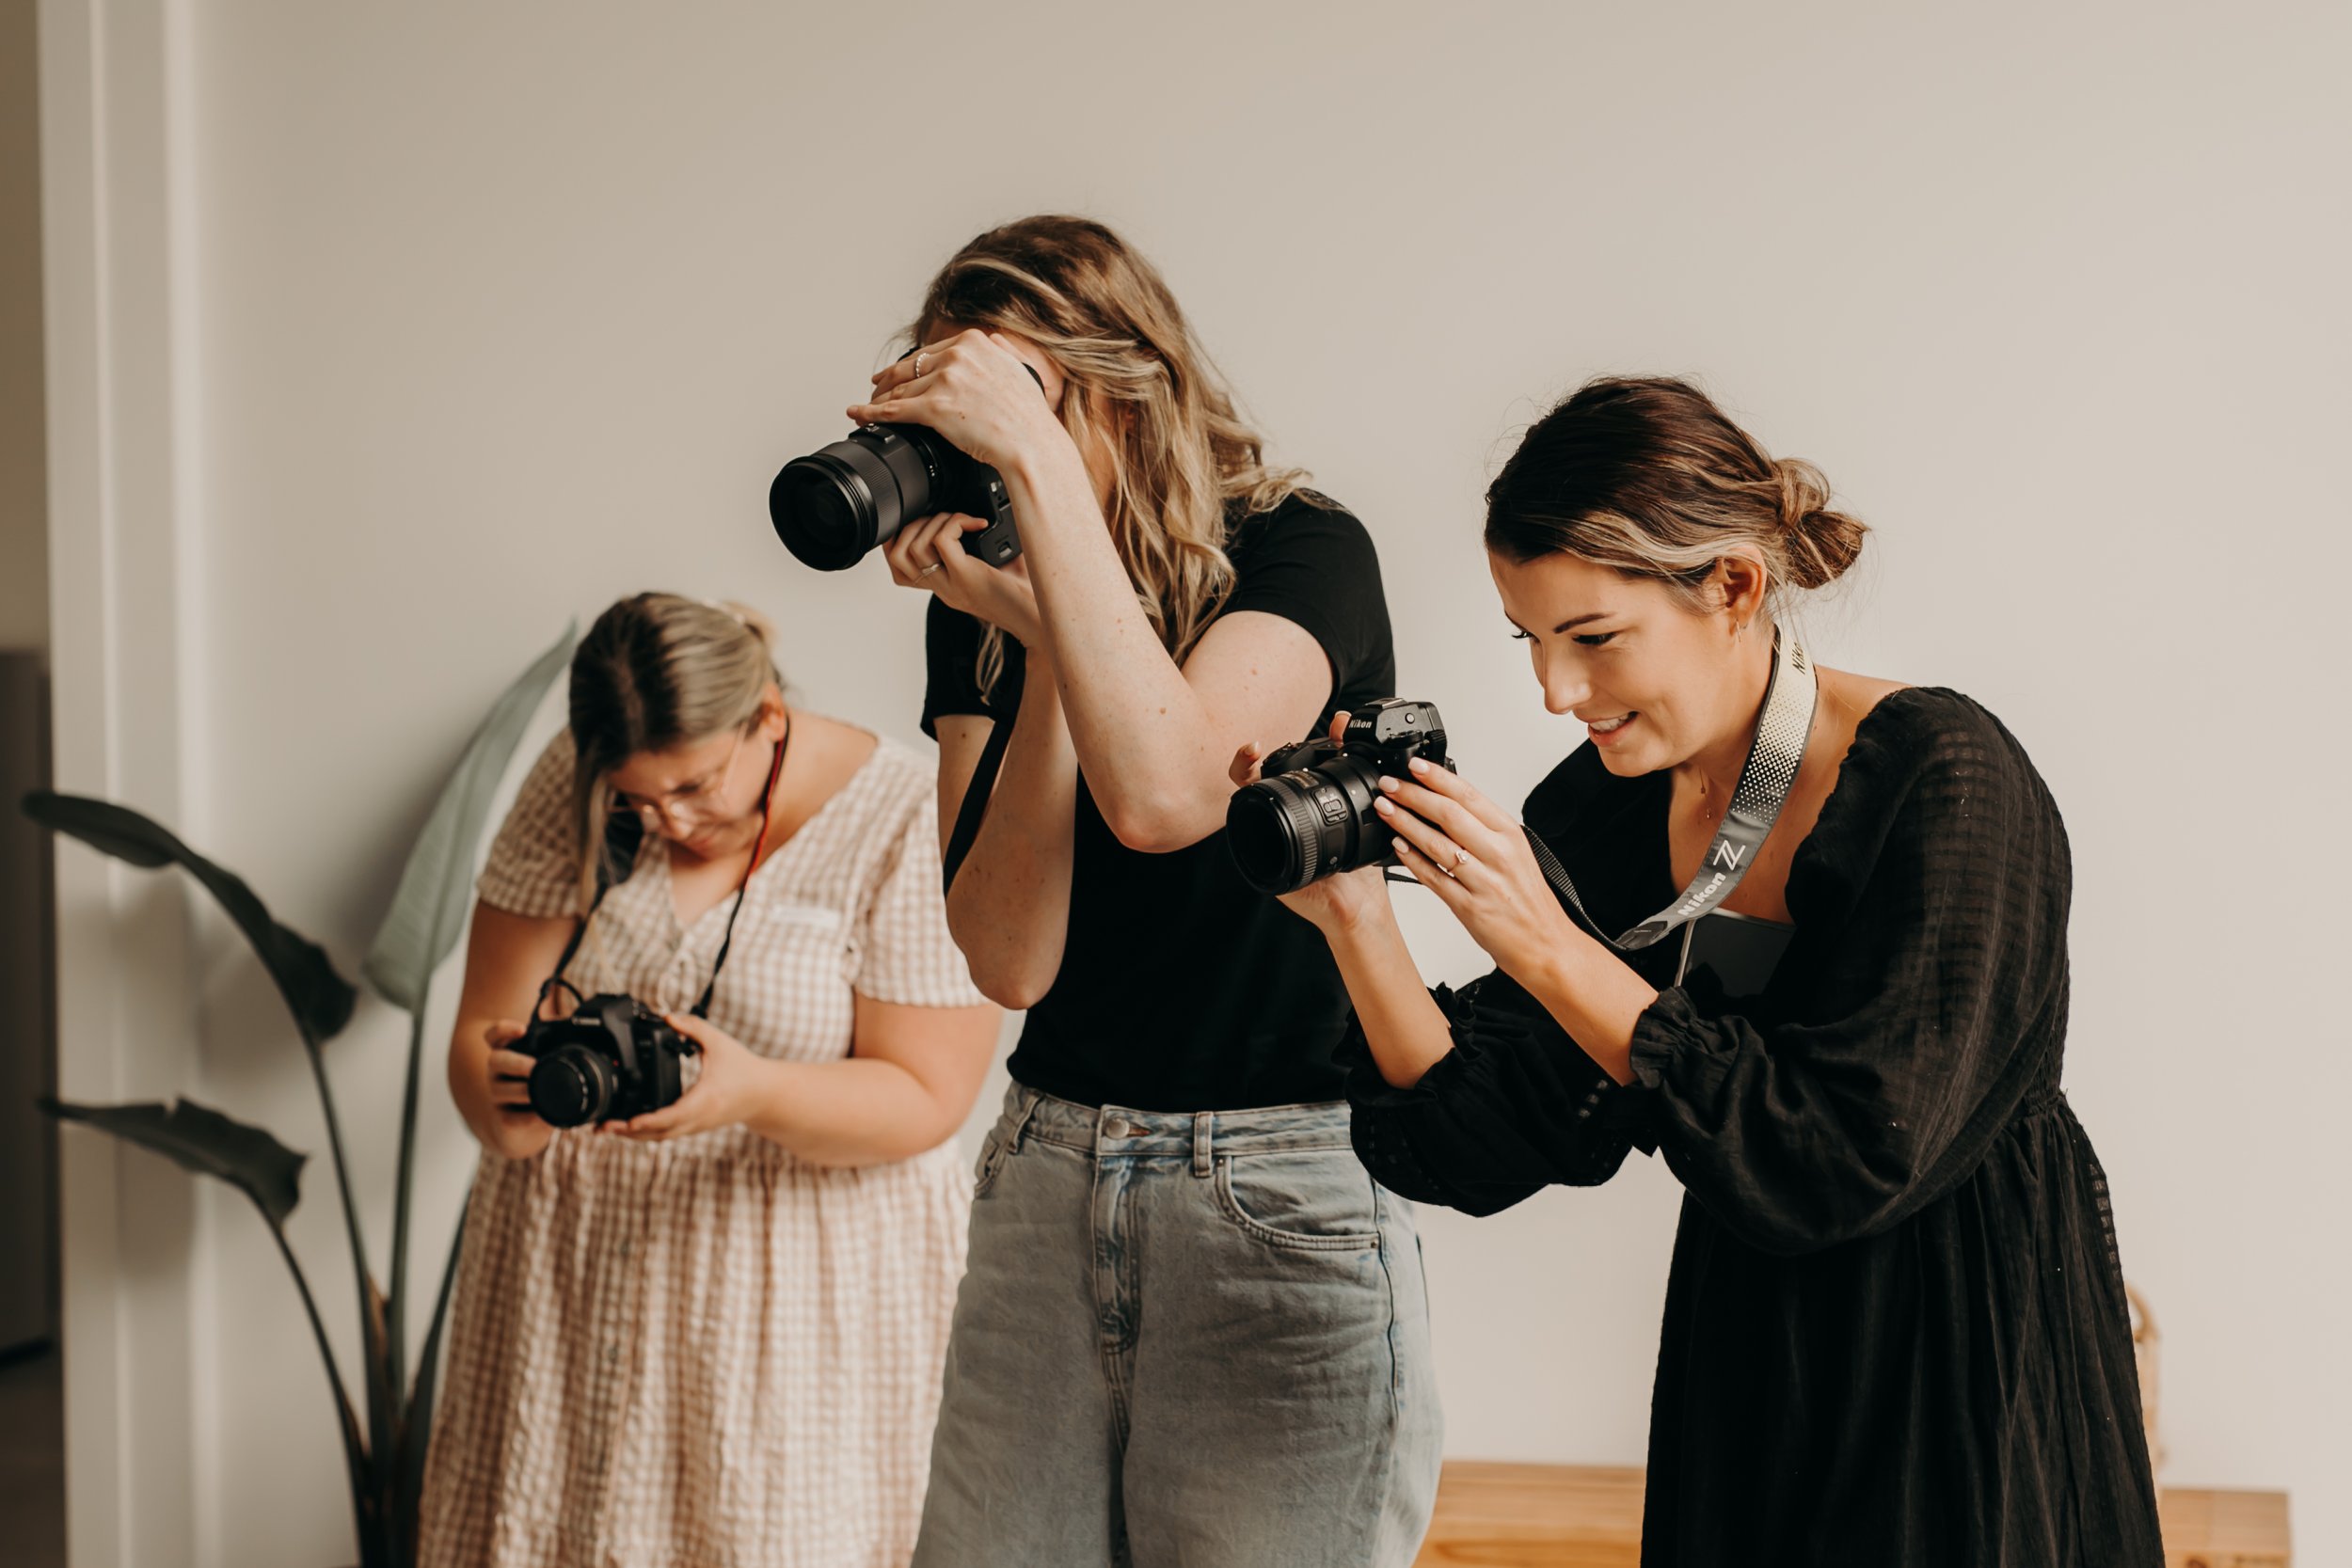
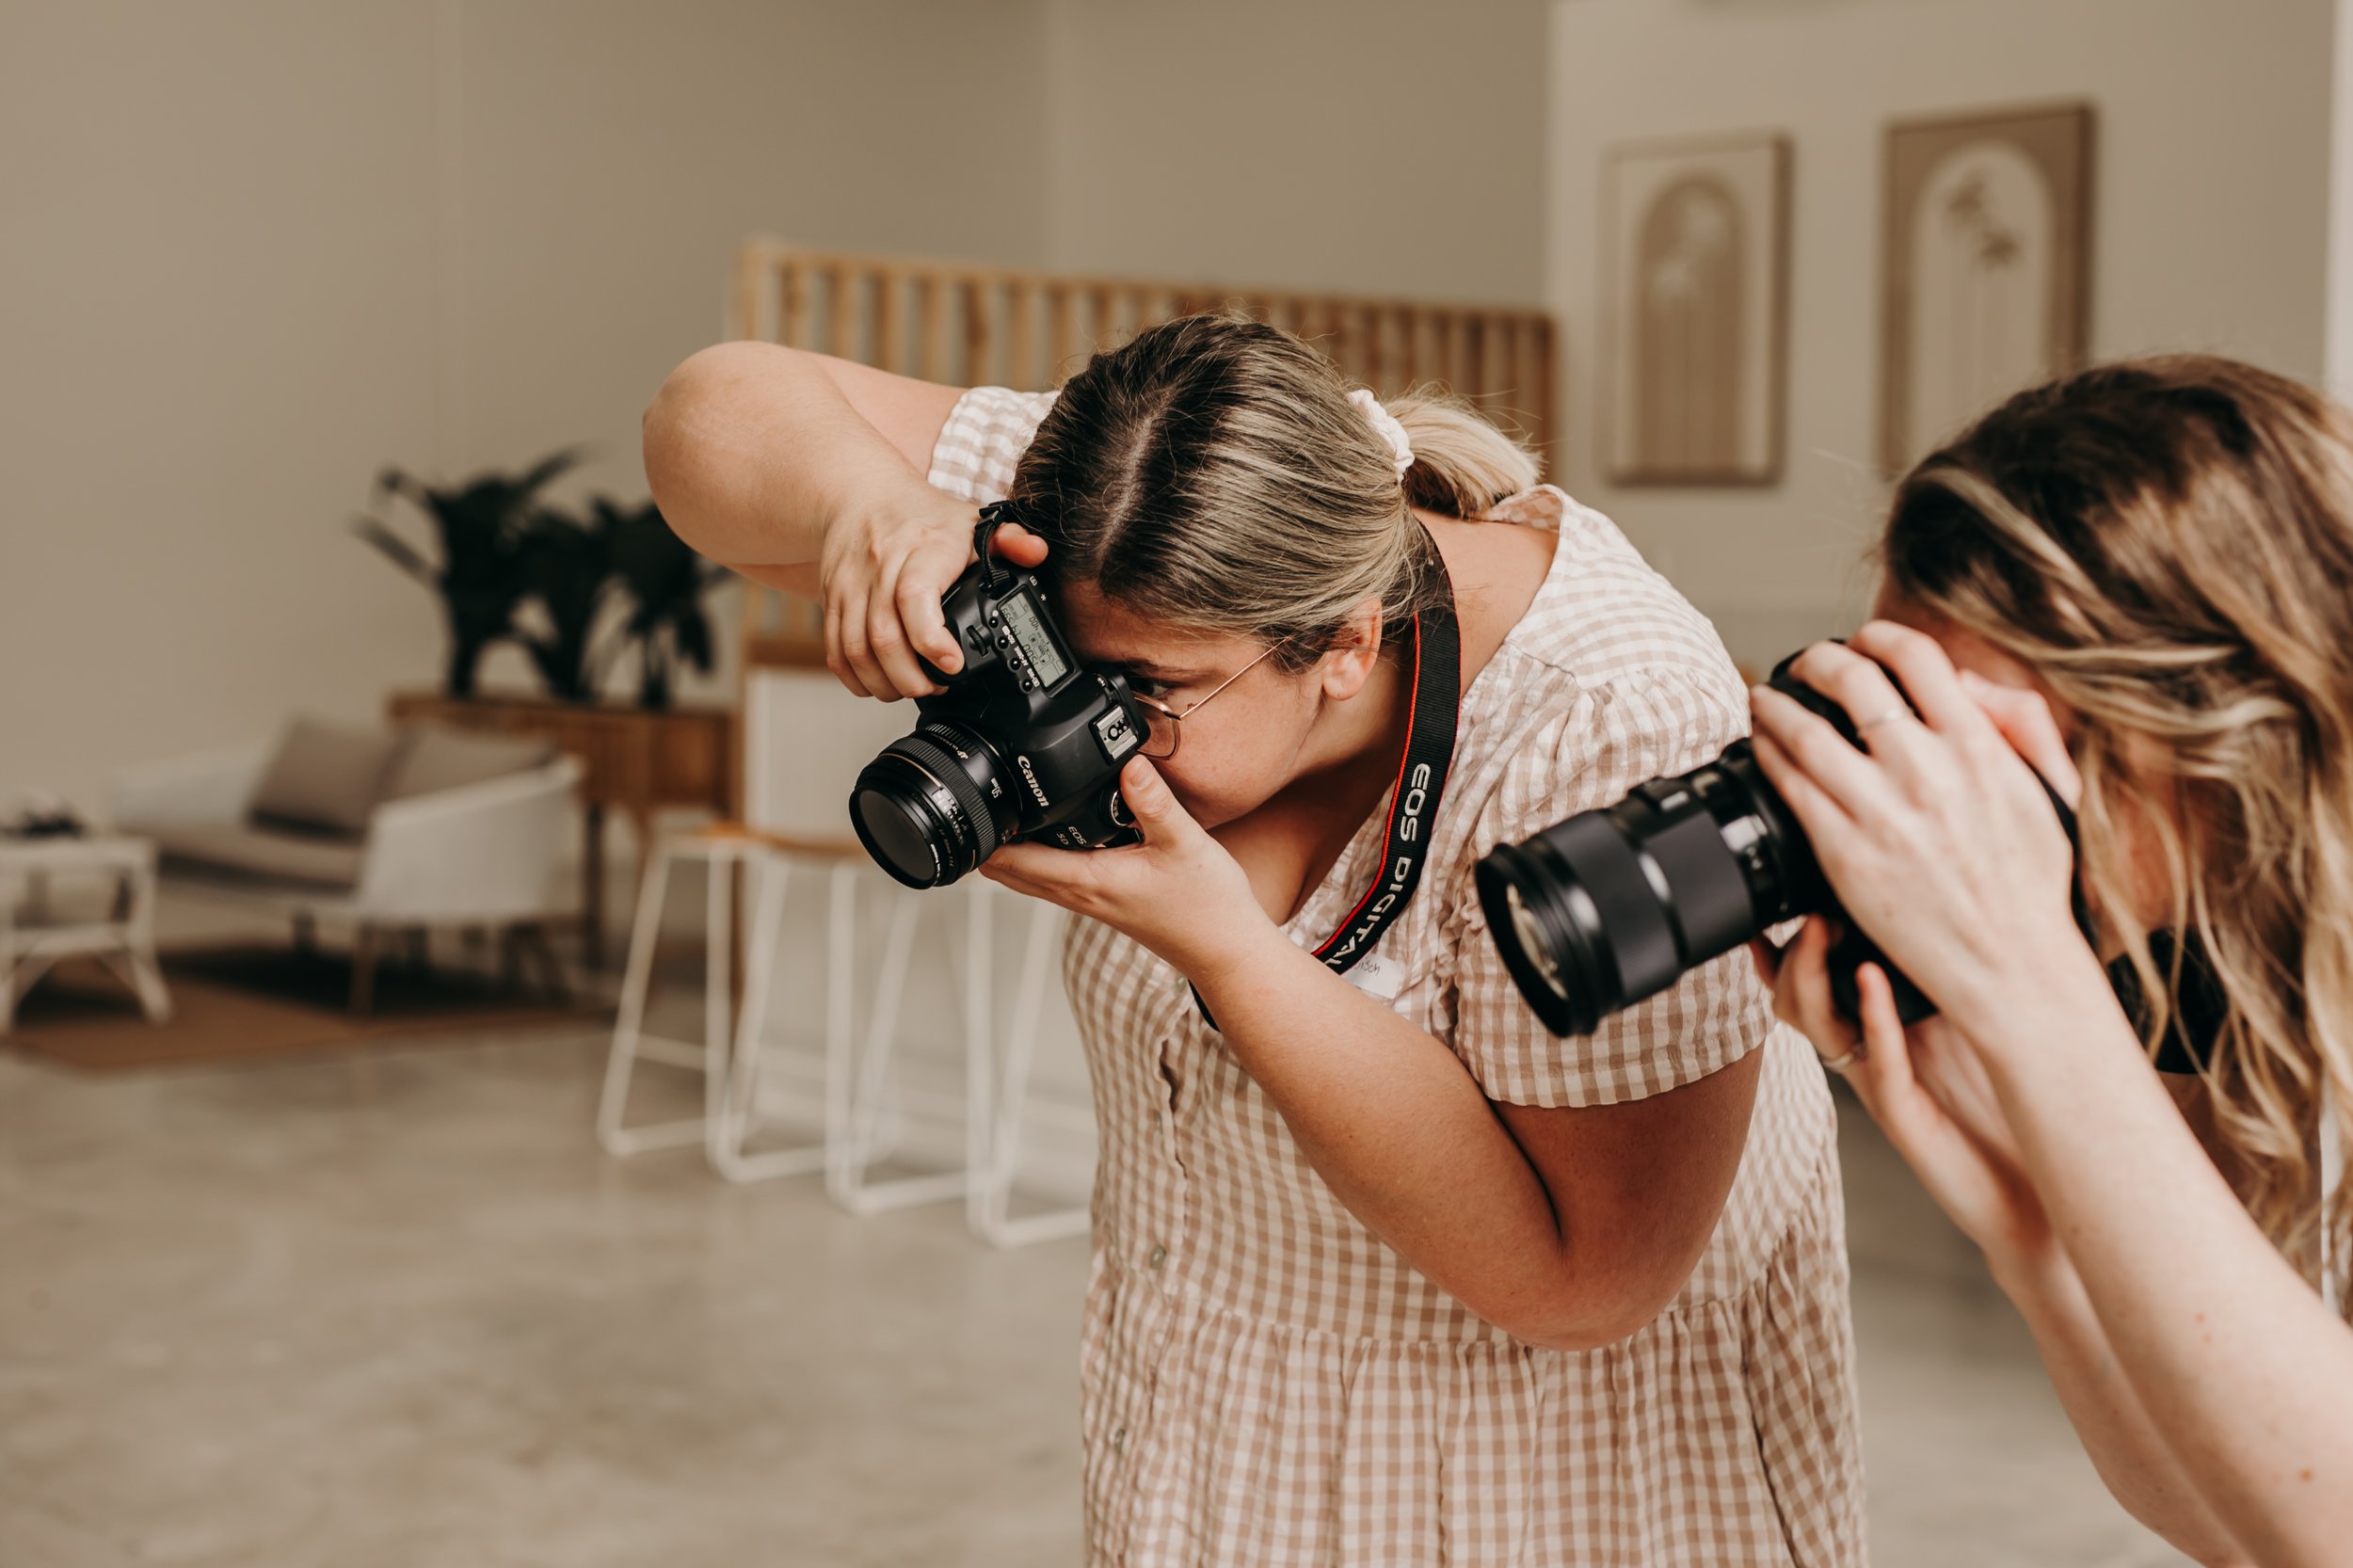
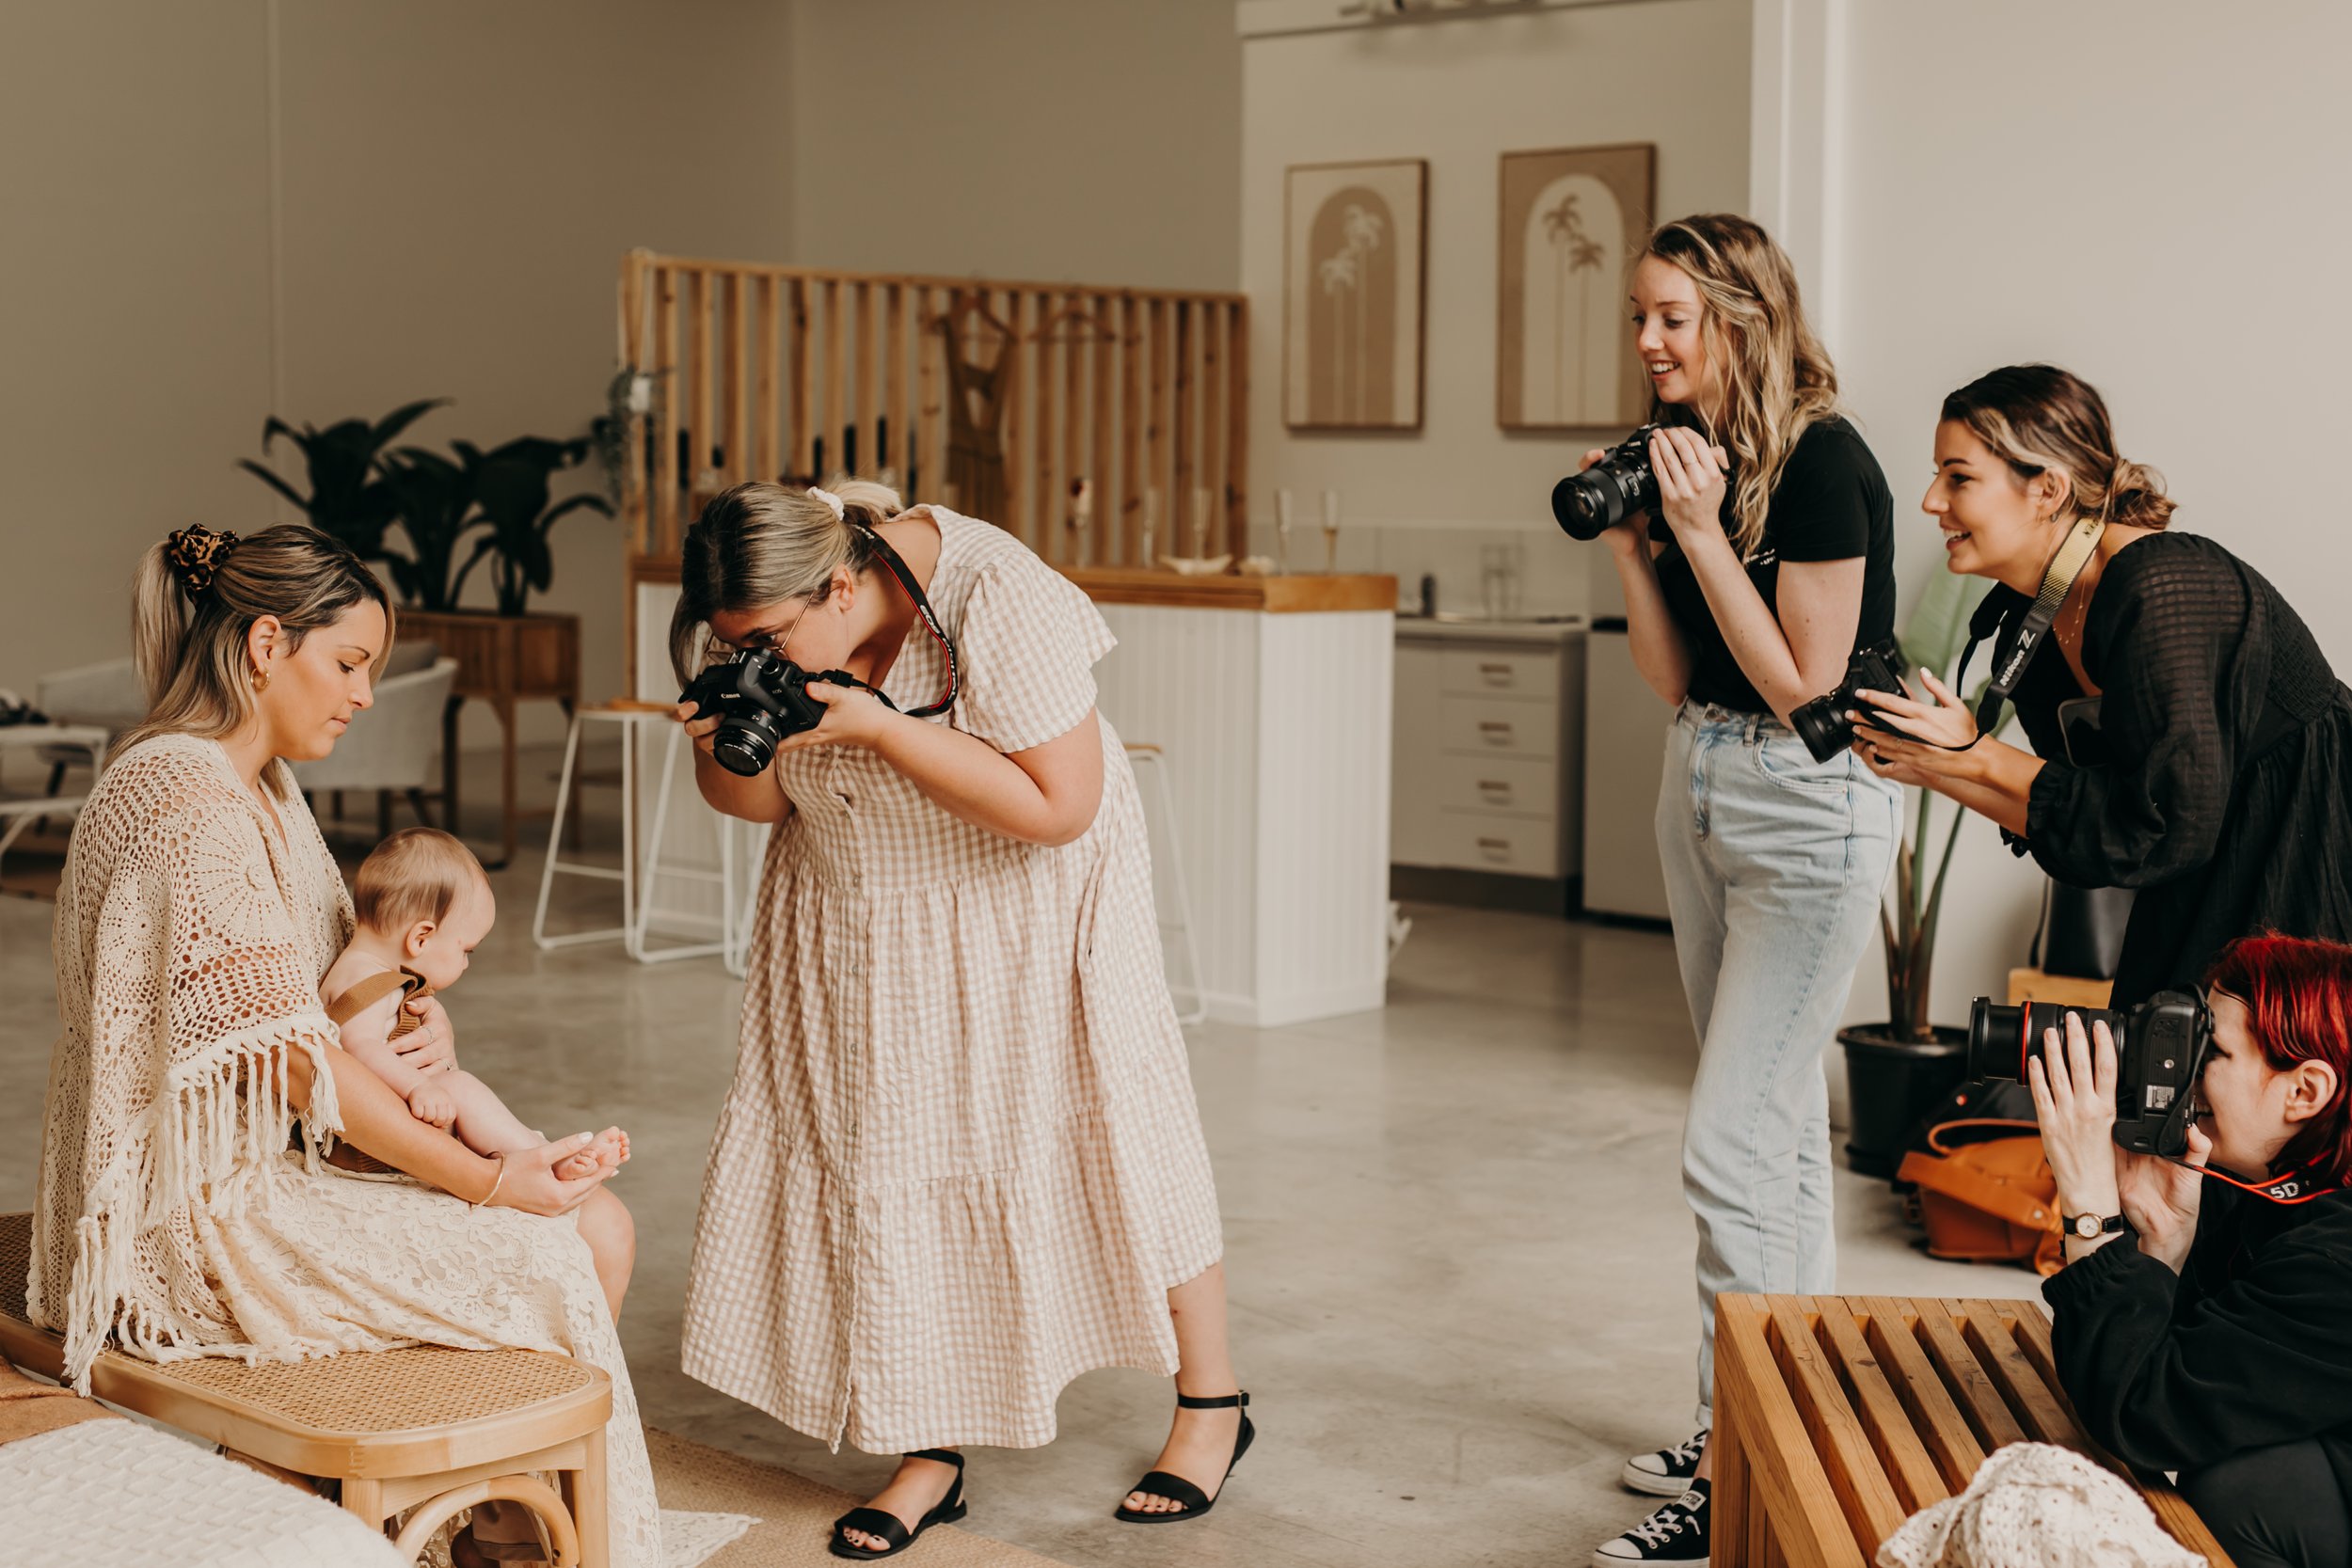
Aside from knowing and understanding the essentials of how your camera works. The biggest key to success in Photography is learning about lighting. Lighting can make or break your images. If you get to a location at the right time of the day when the sun is in the right place, you’ll feel like a genius. But if the lighting is off and you don’t have the knowledge, you will feel anxious and nervous about how to make it look good.
1. Use Broad Source Lighting
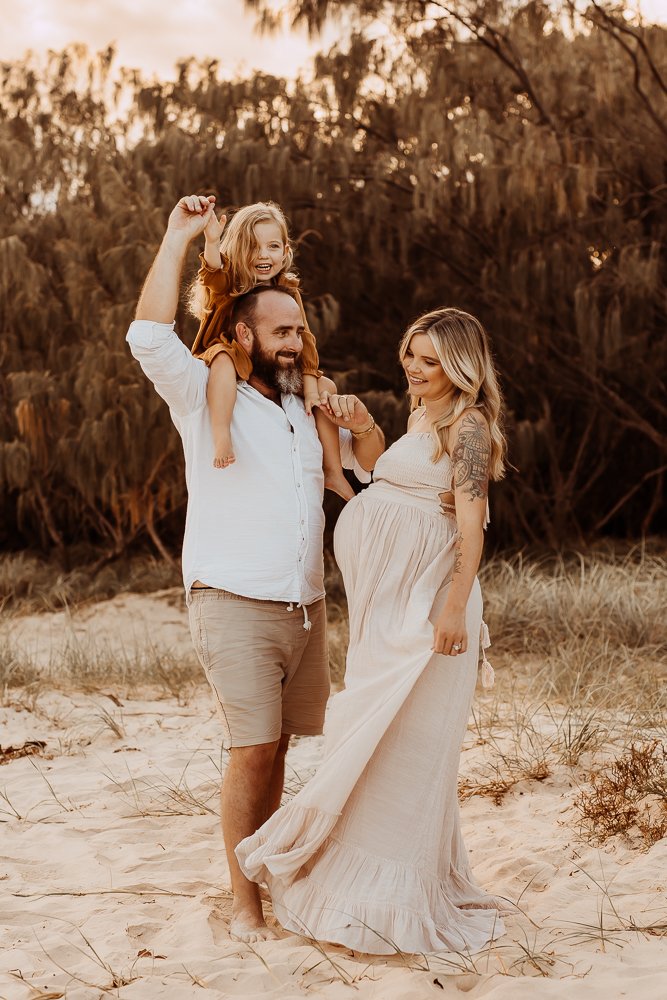
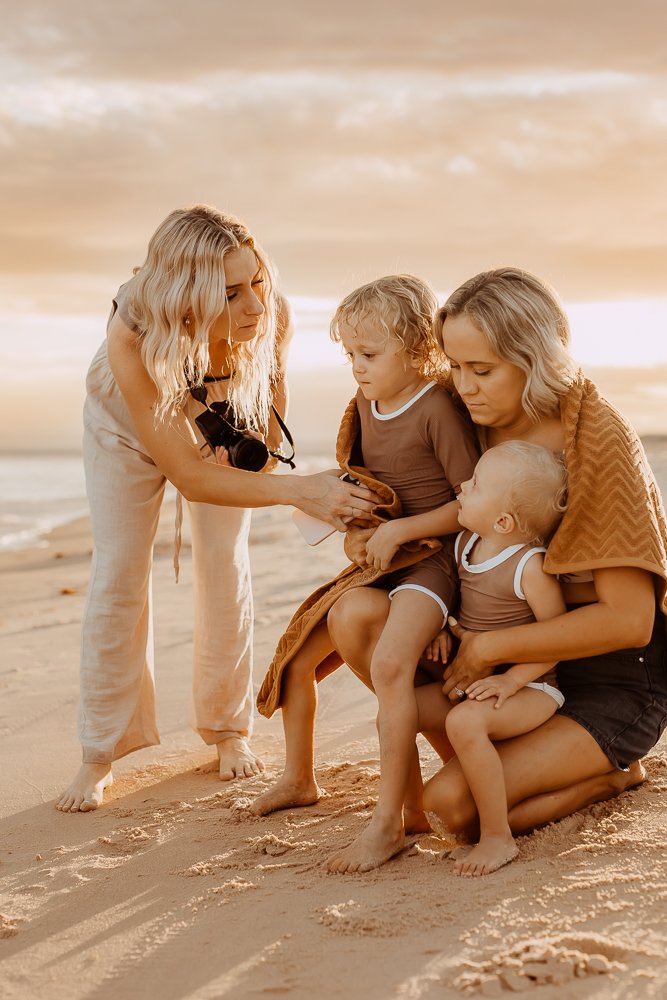
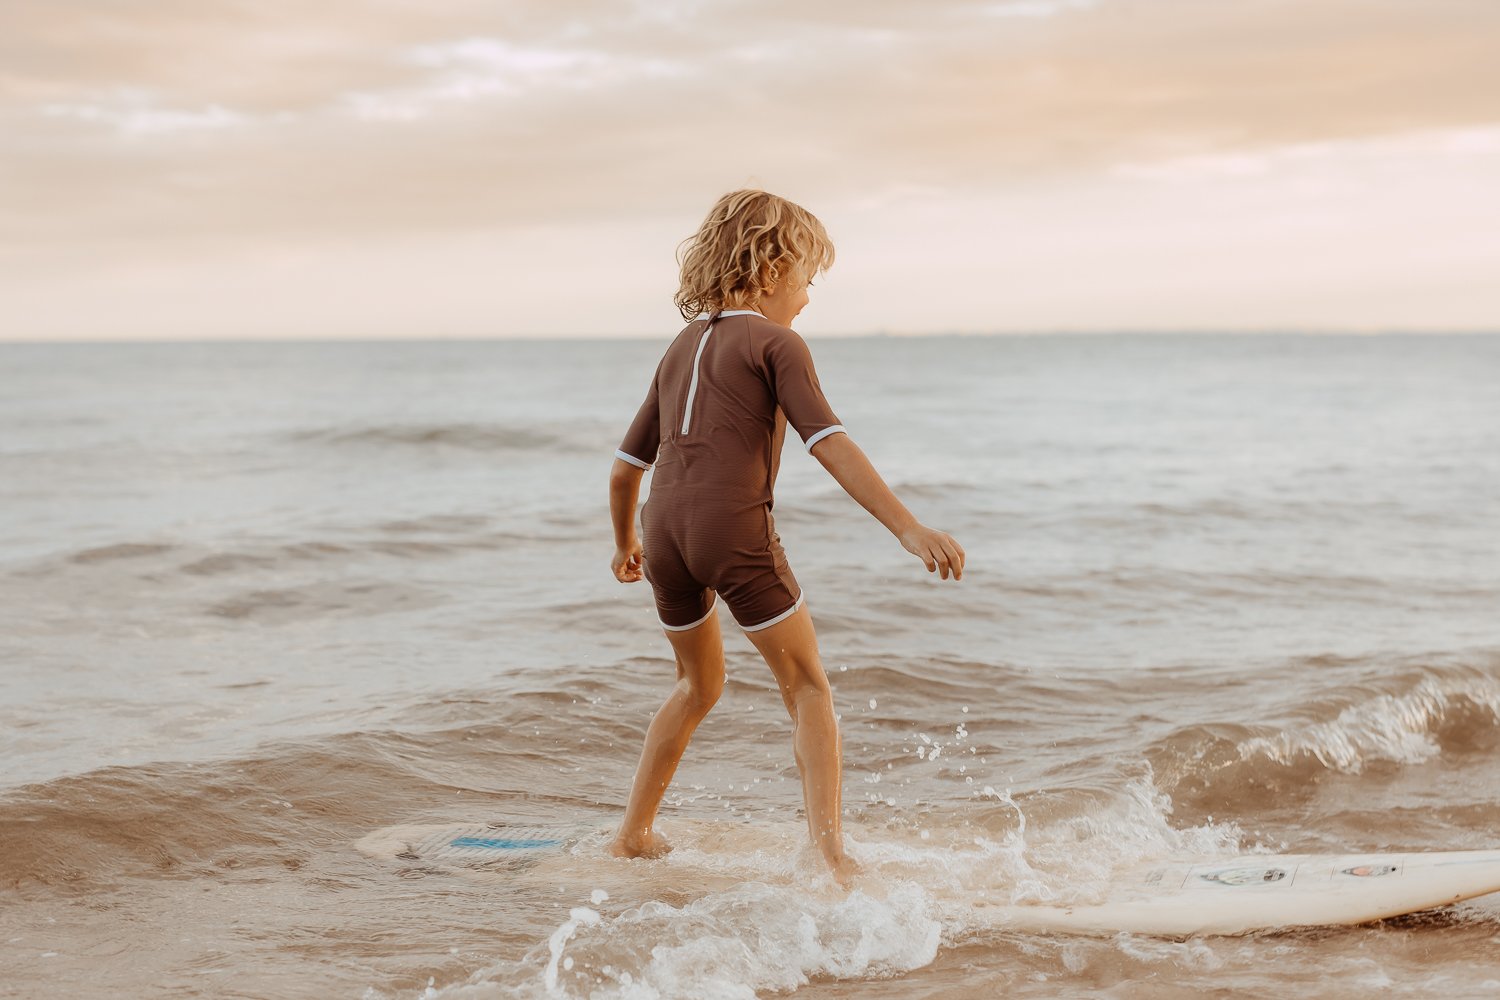
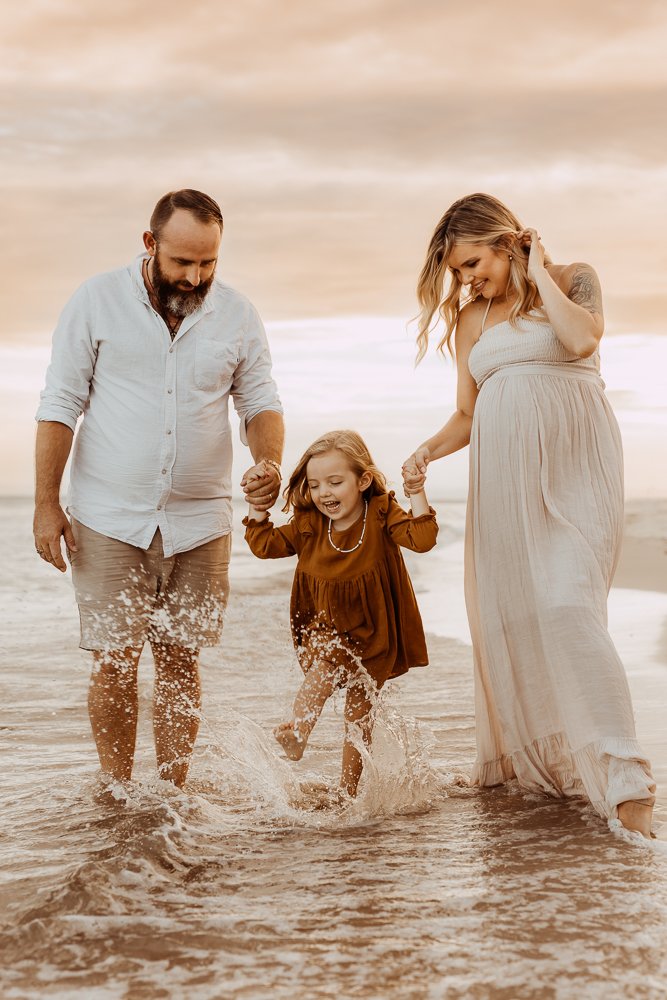
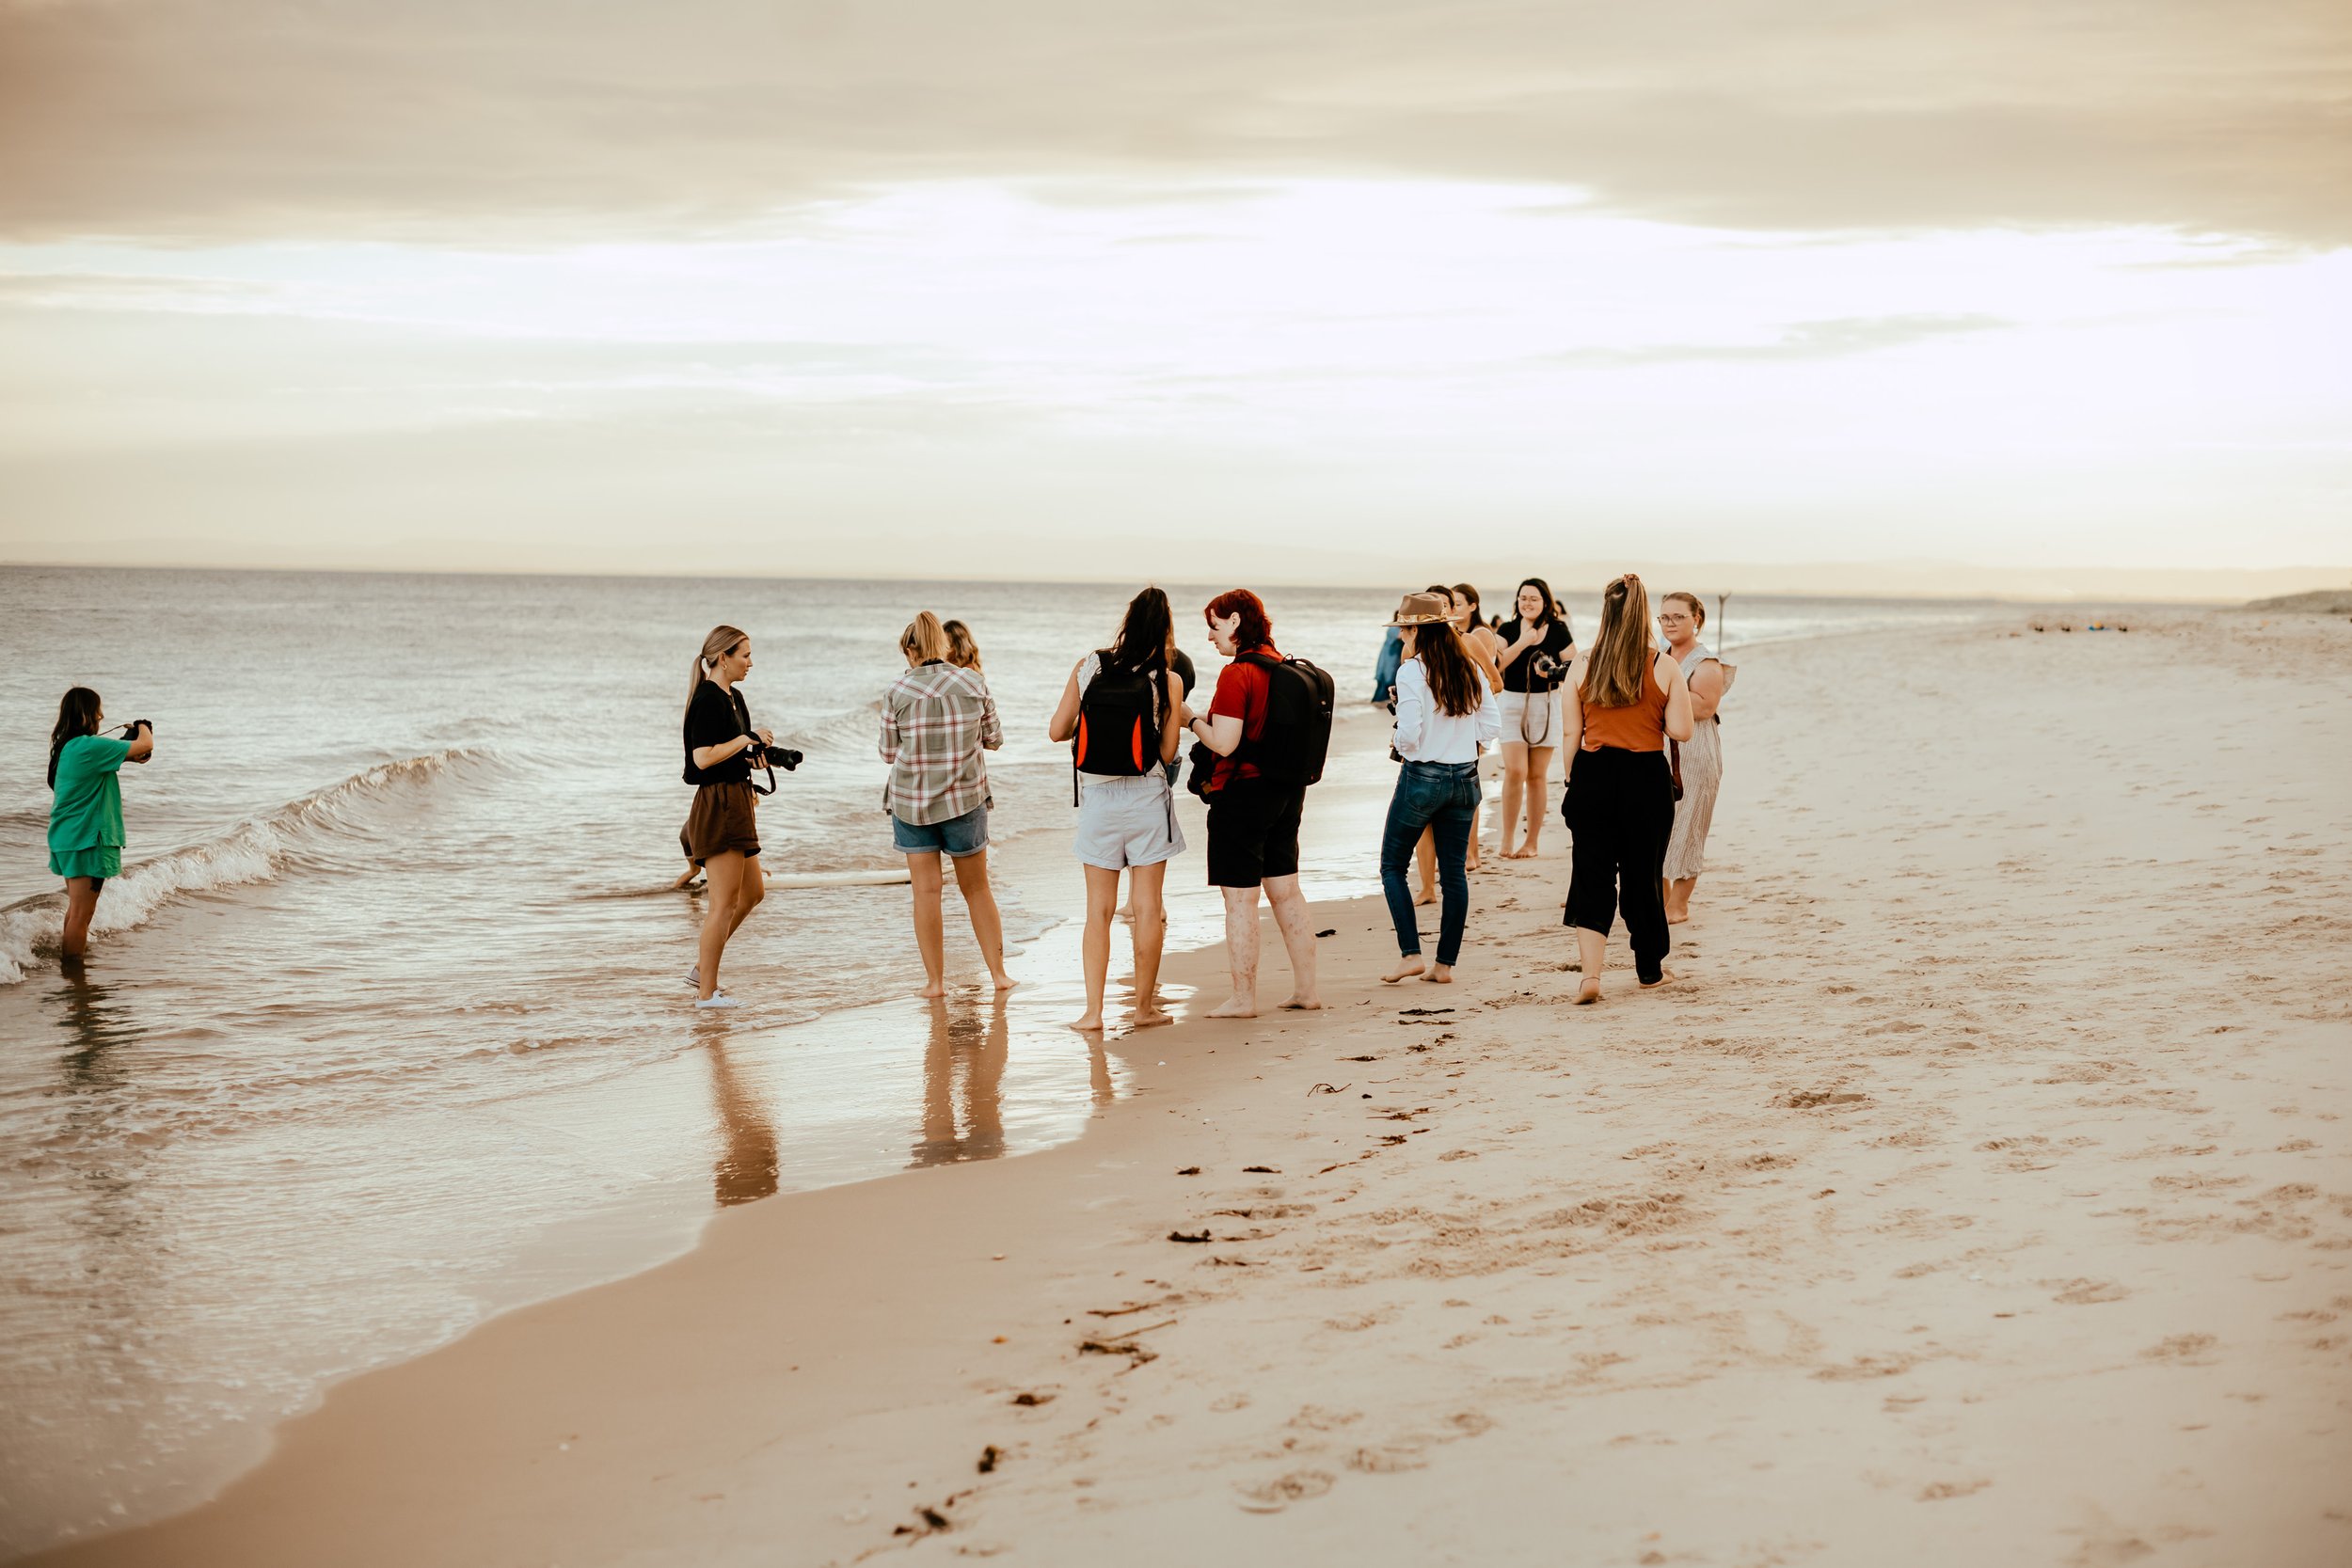
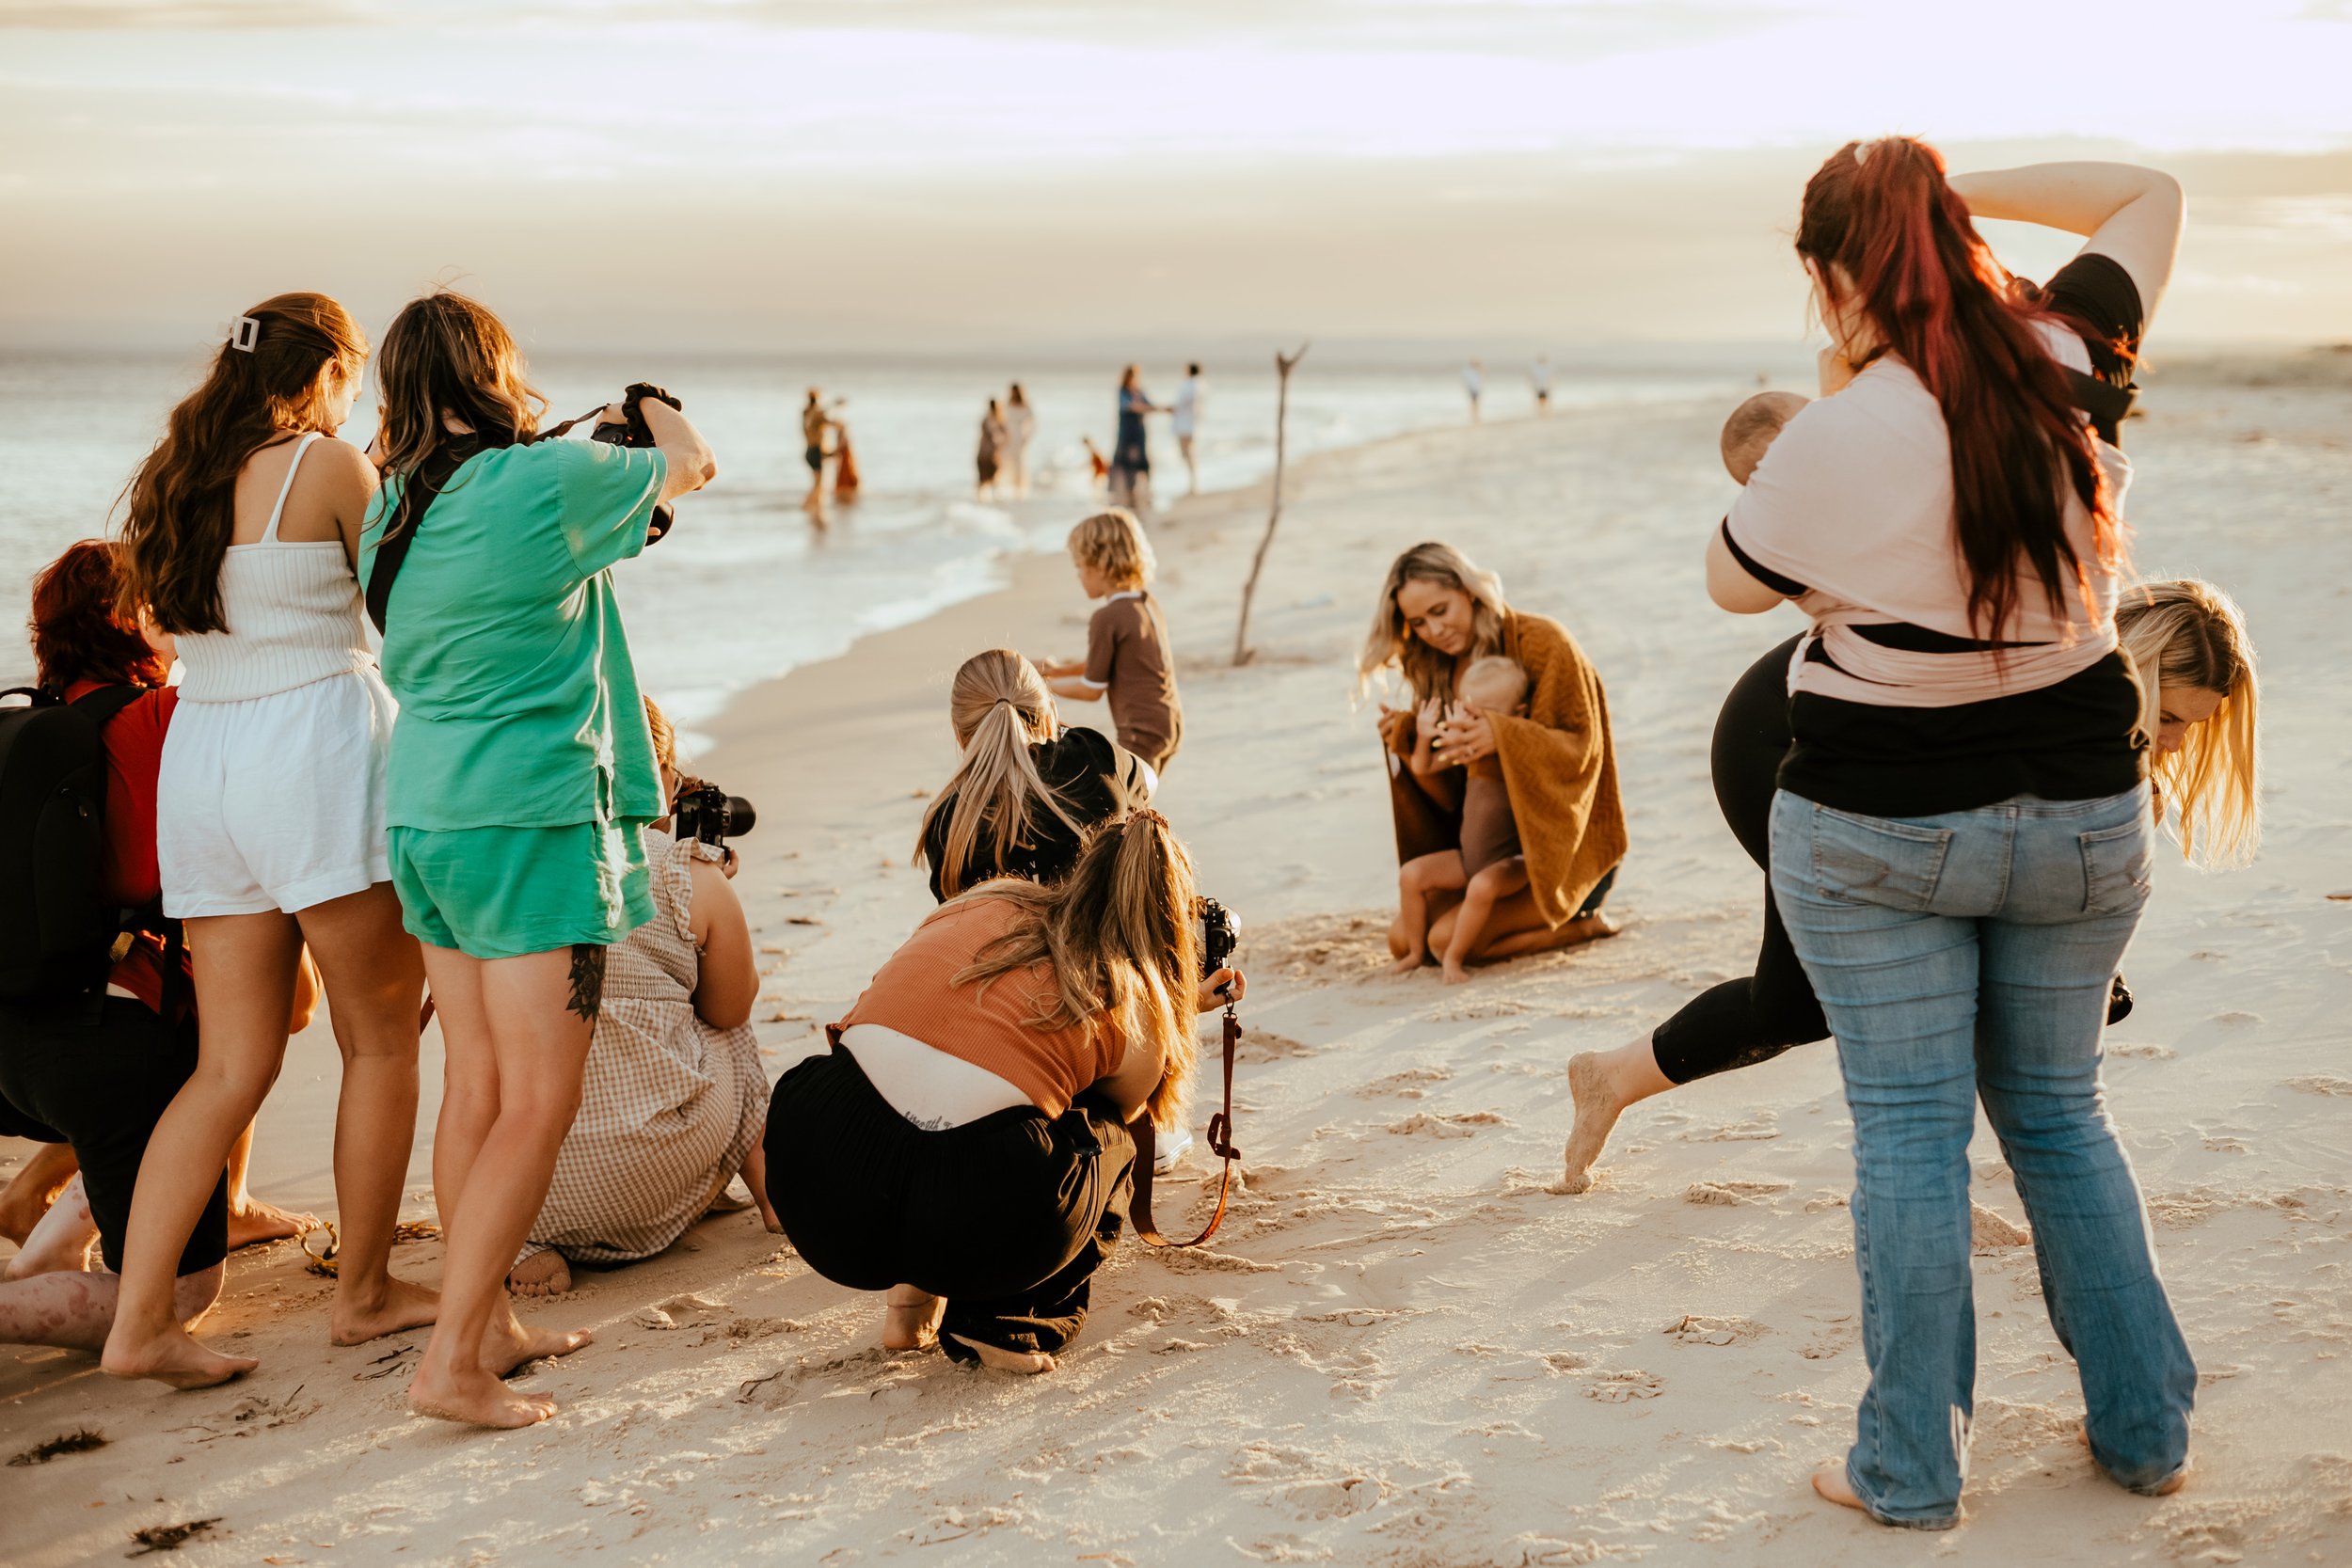
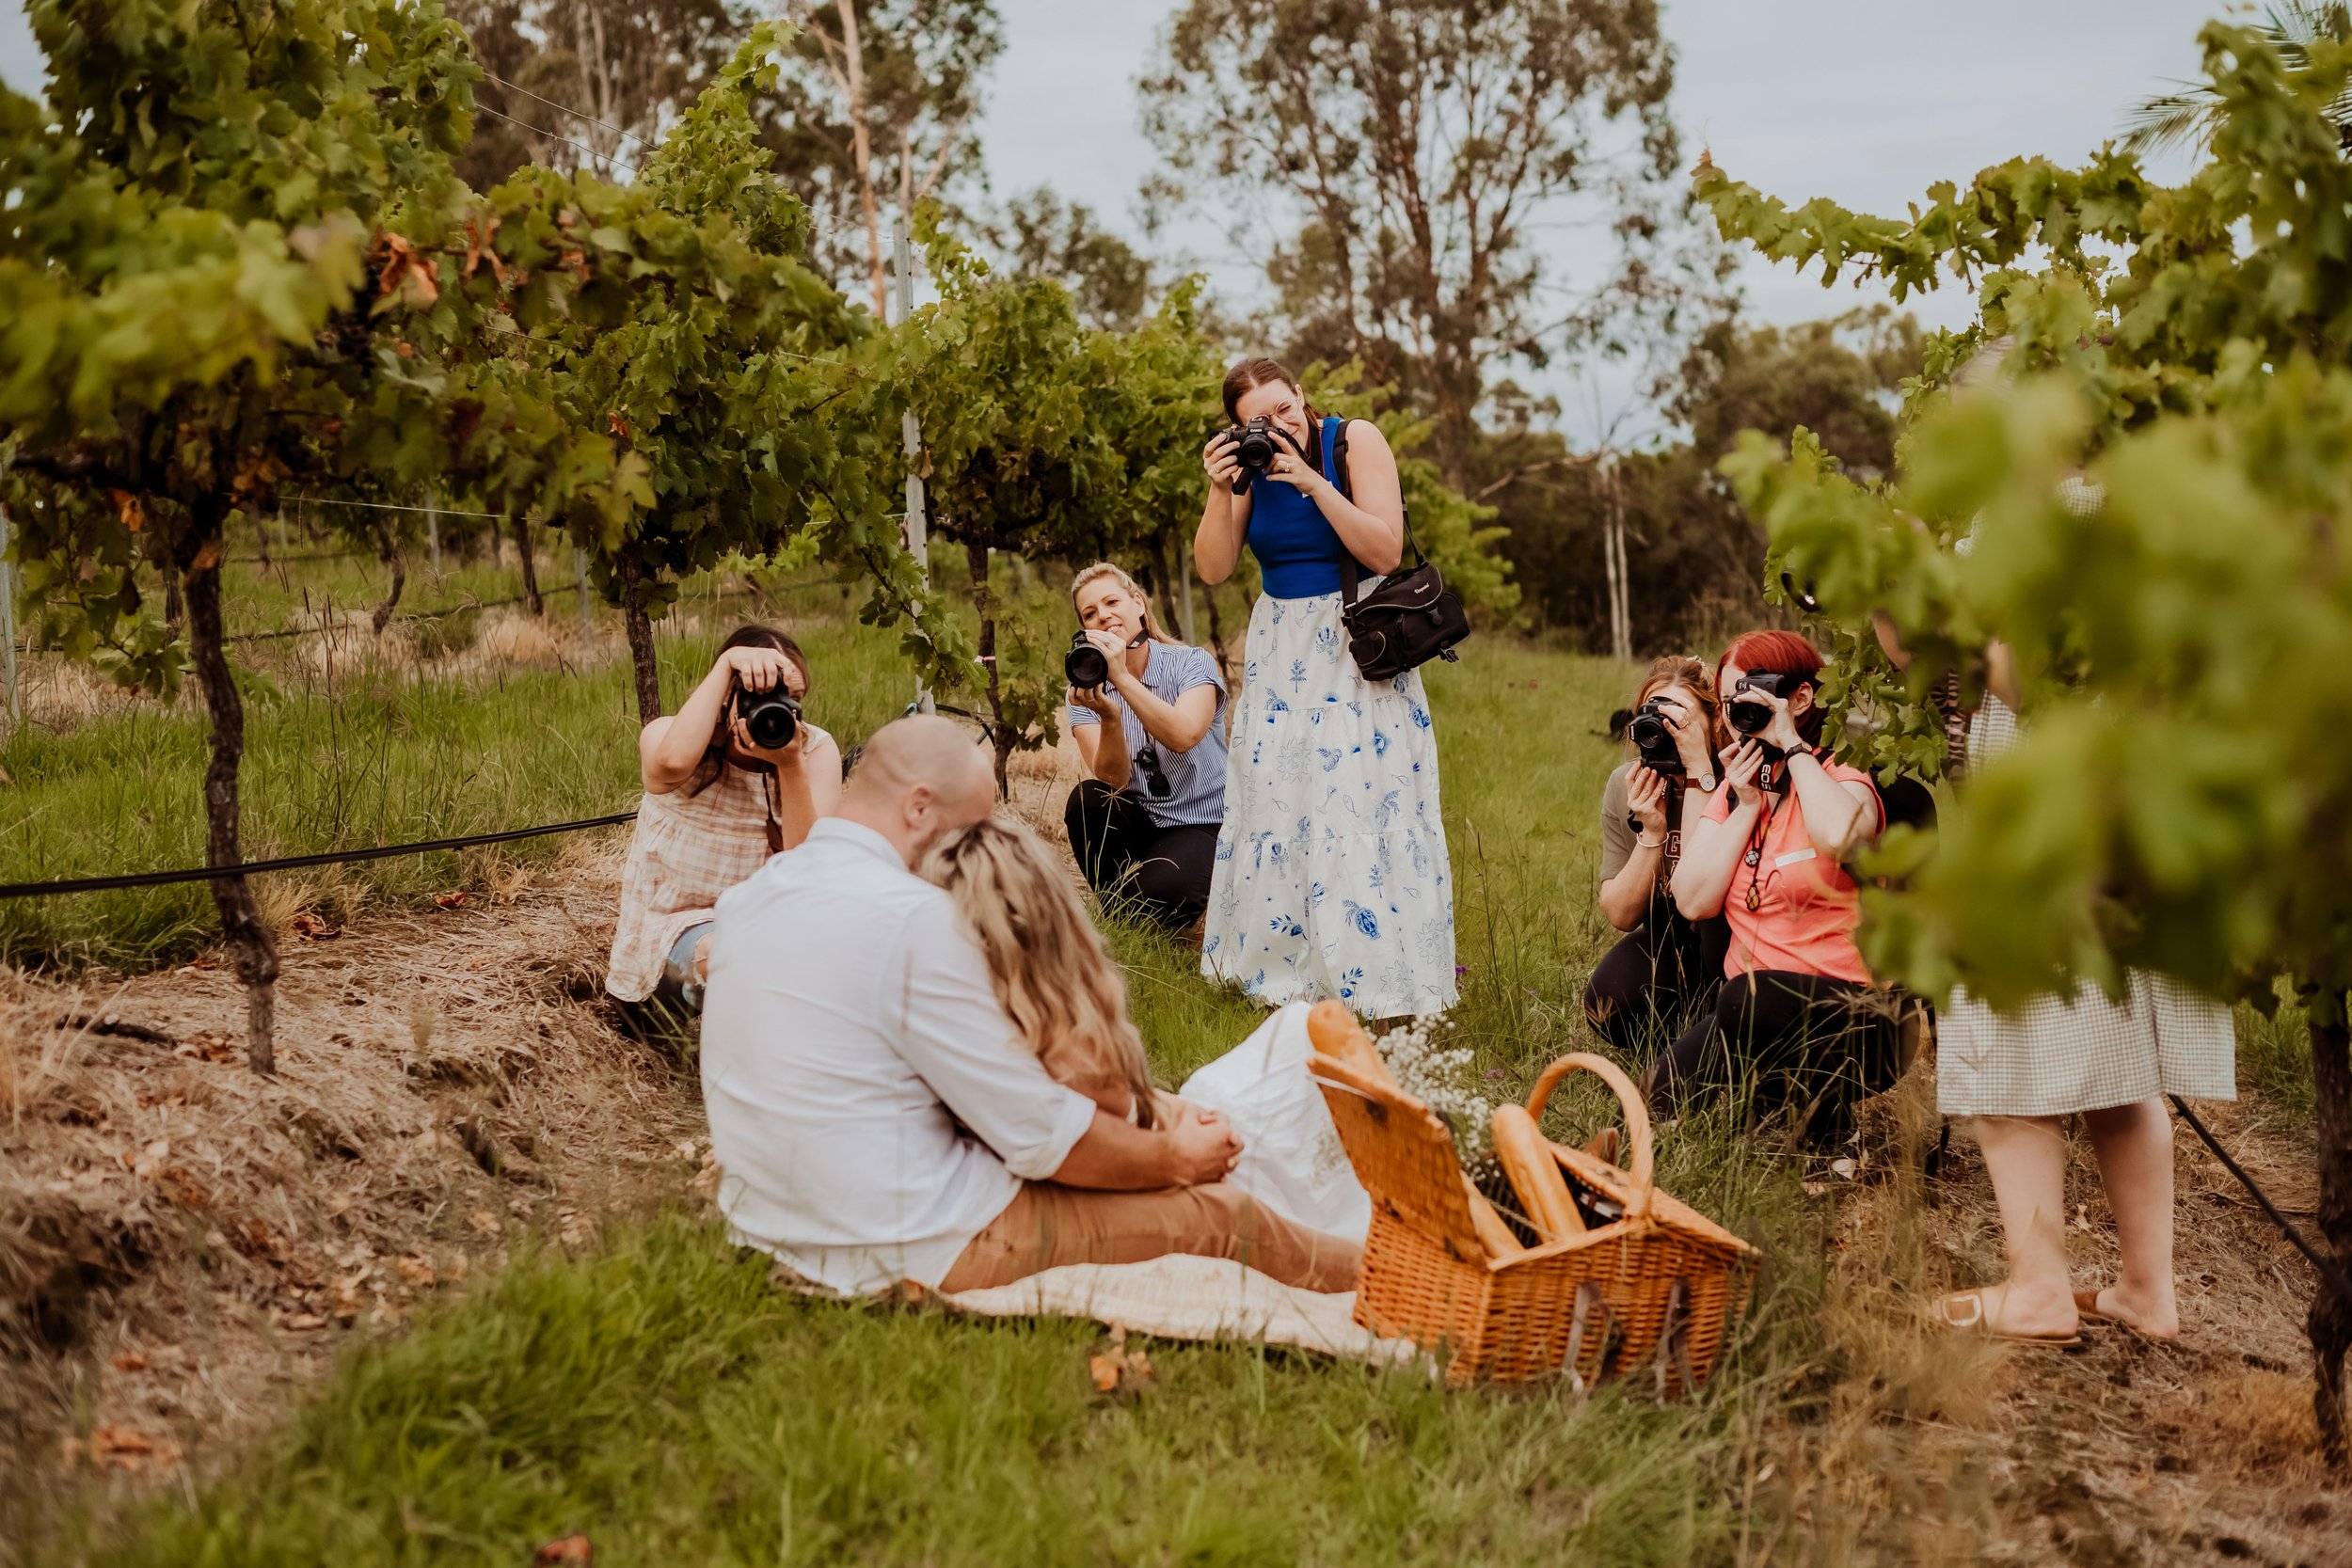
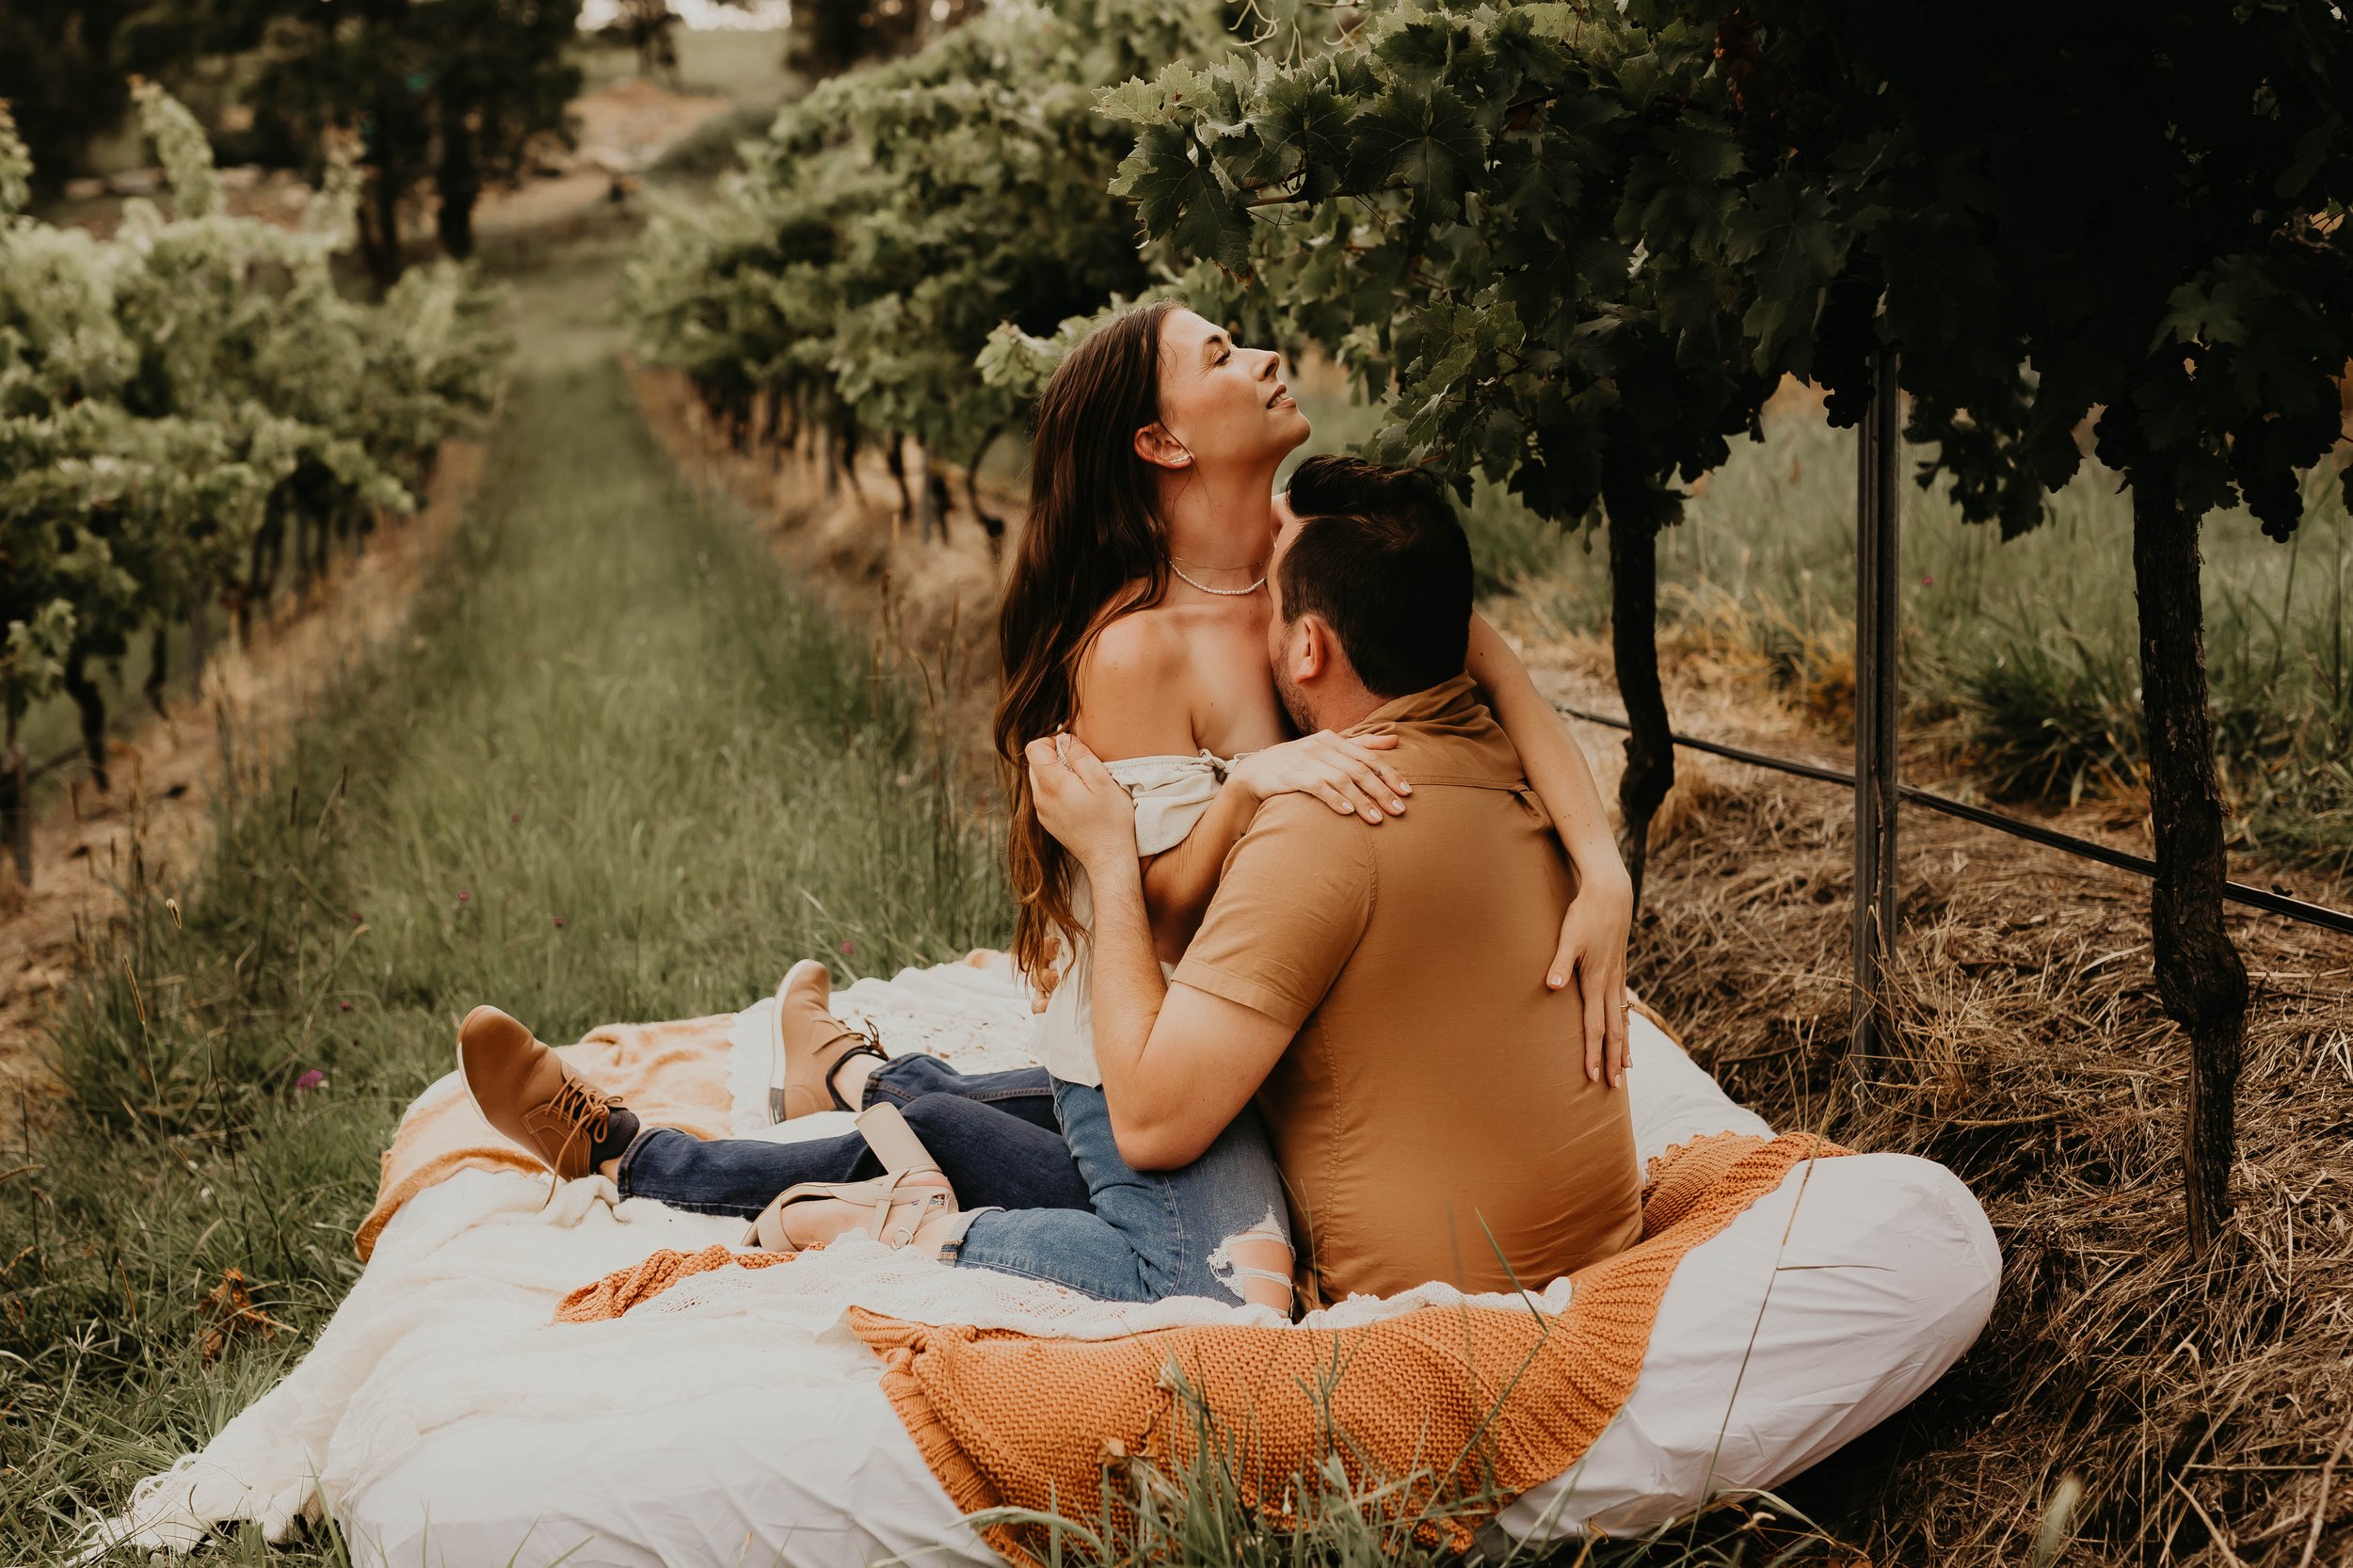
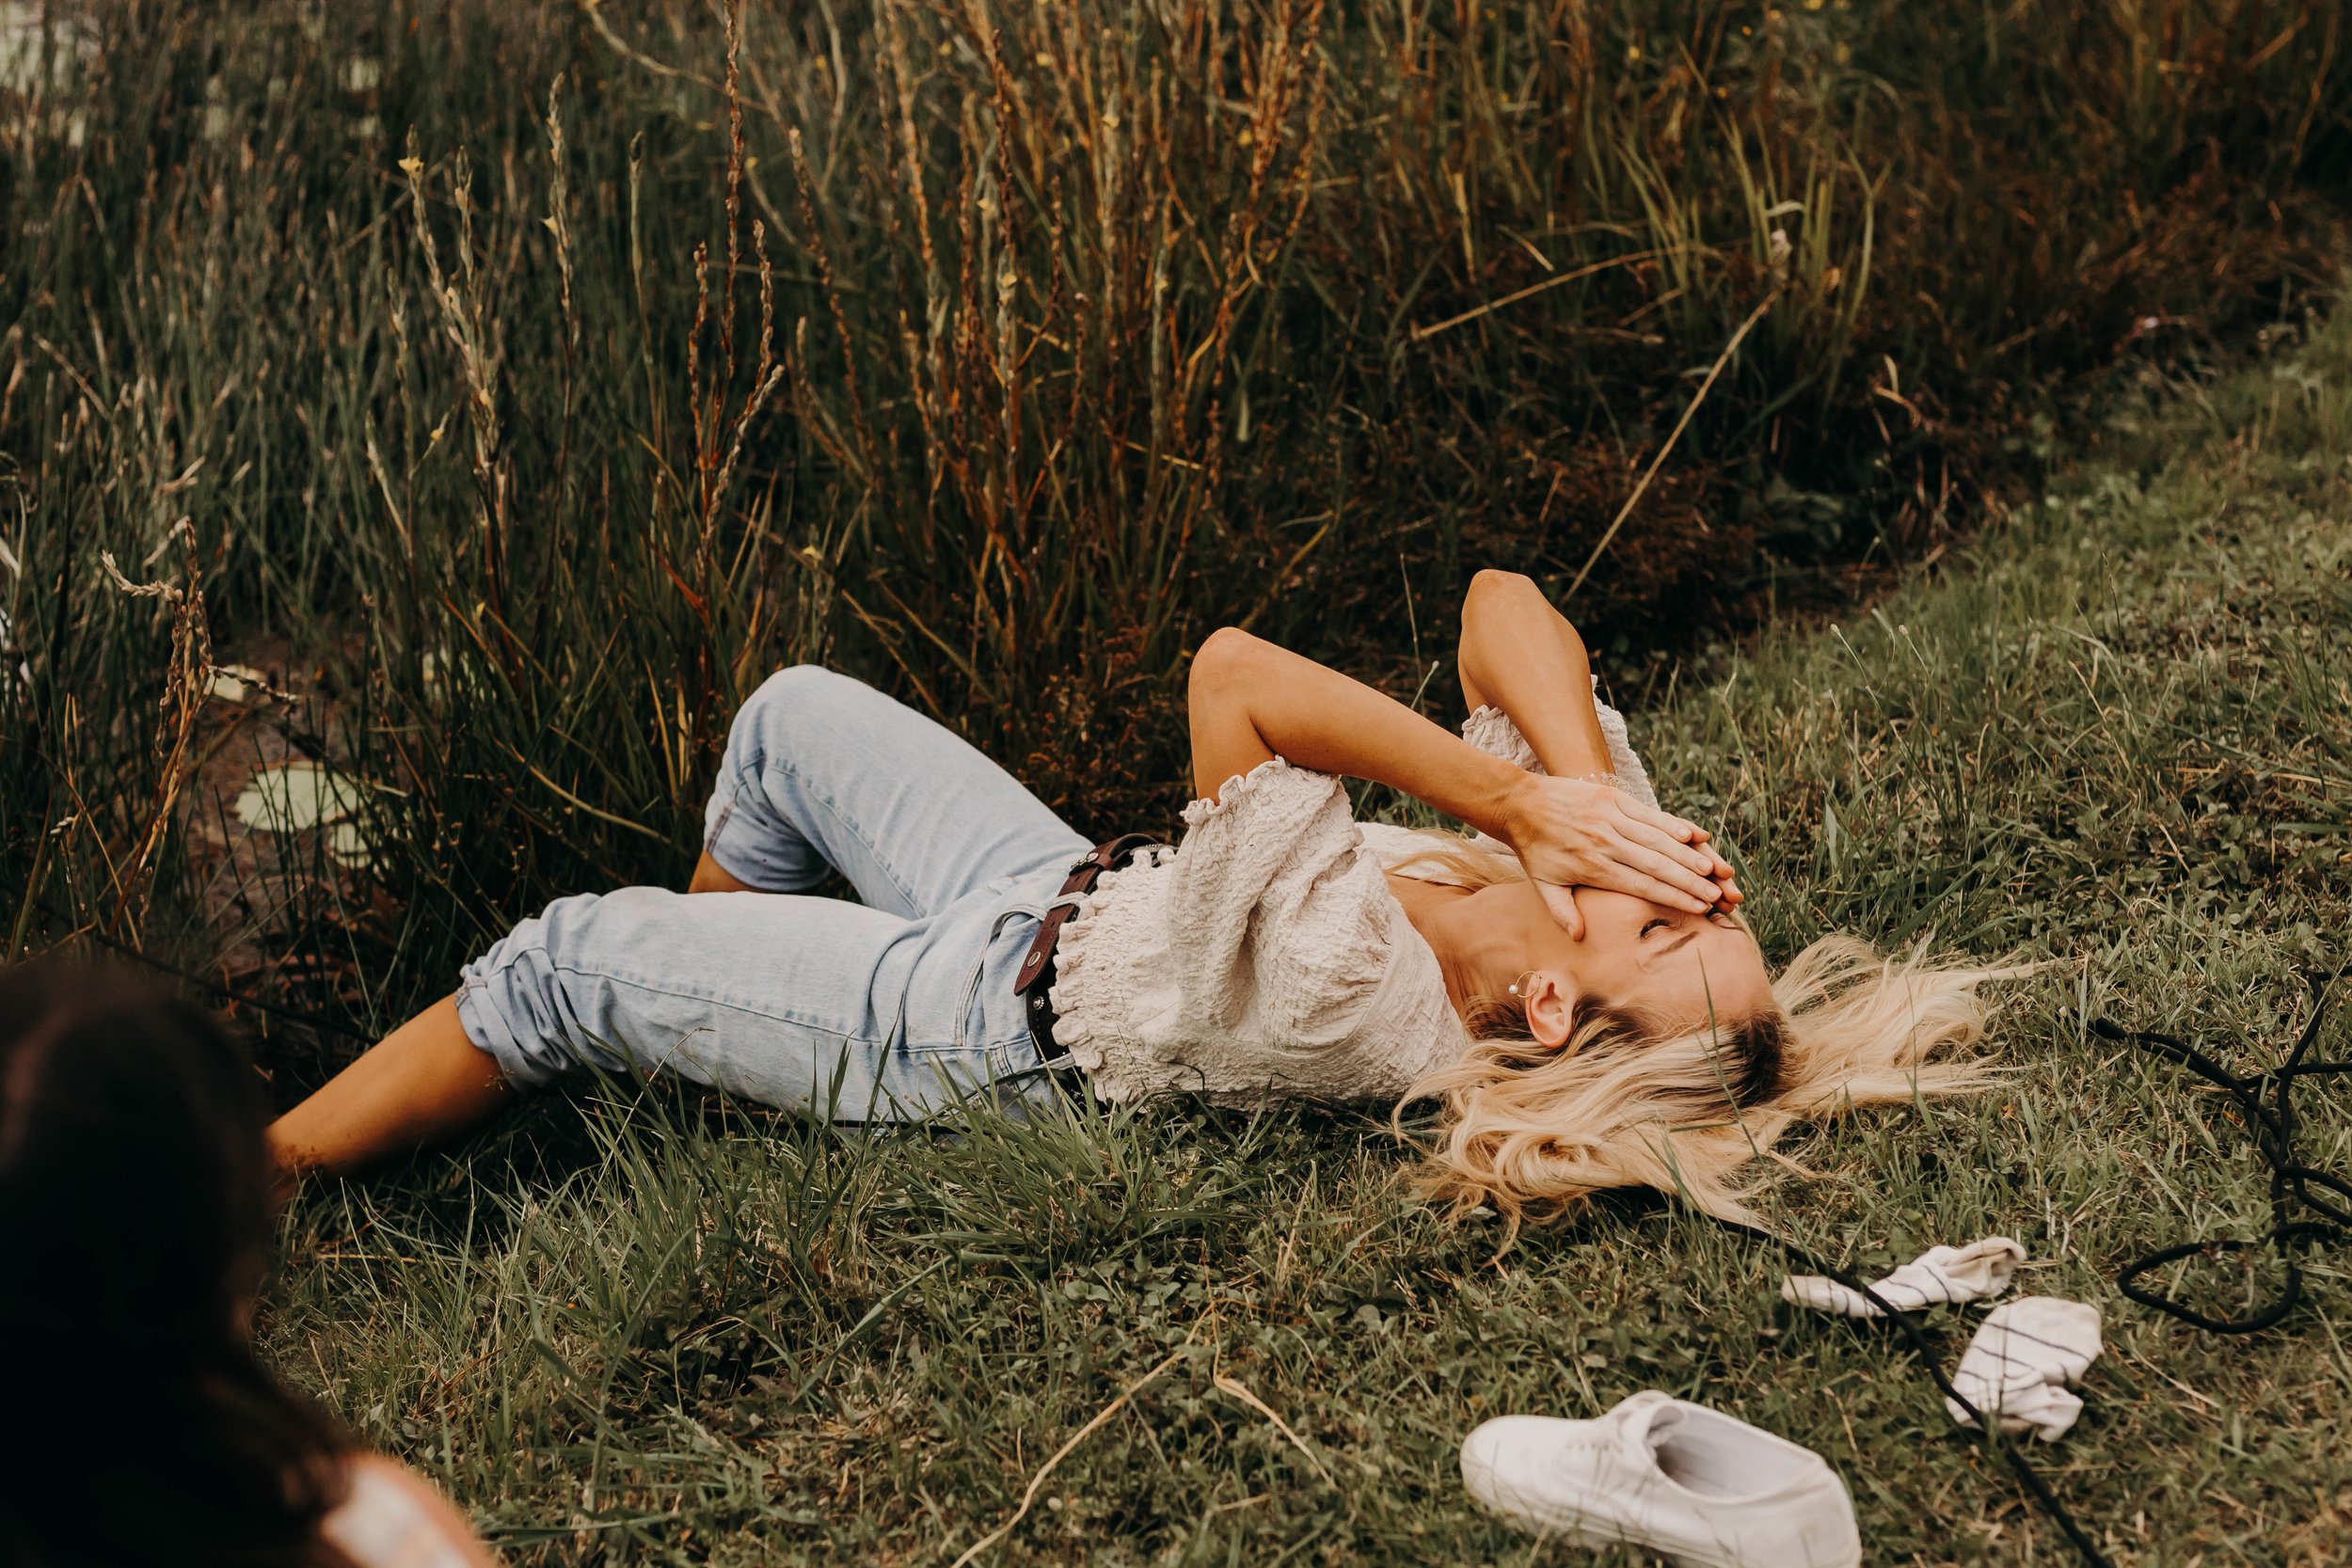
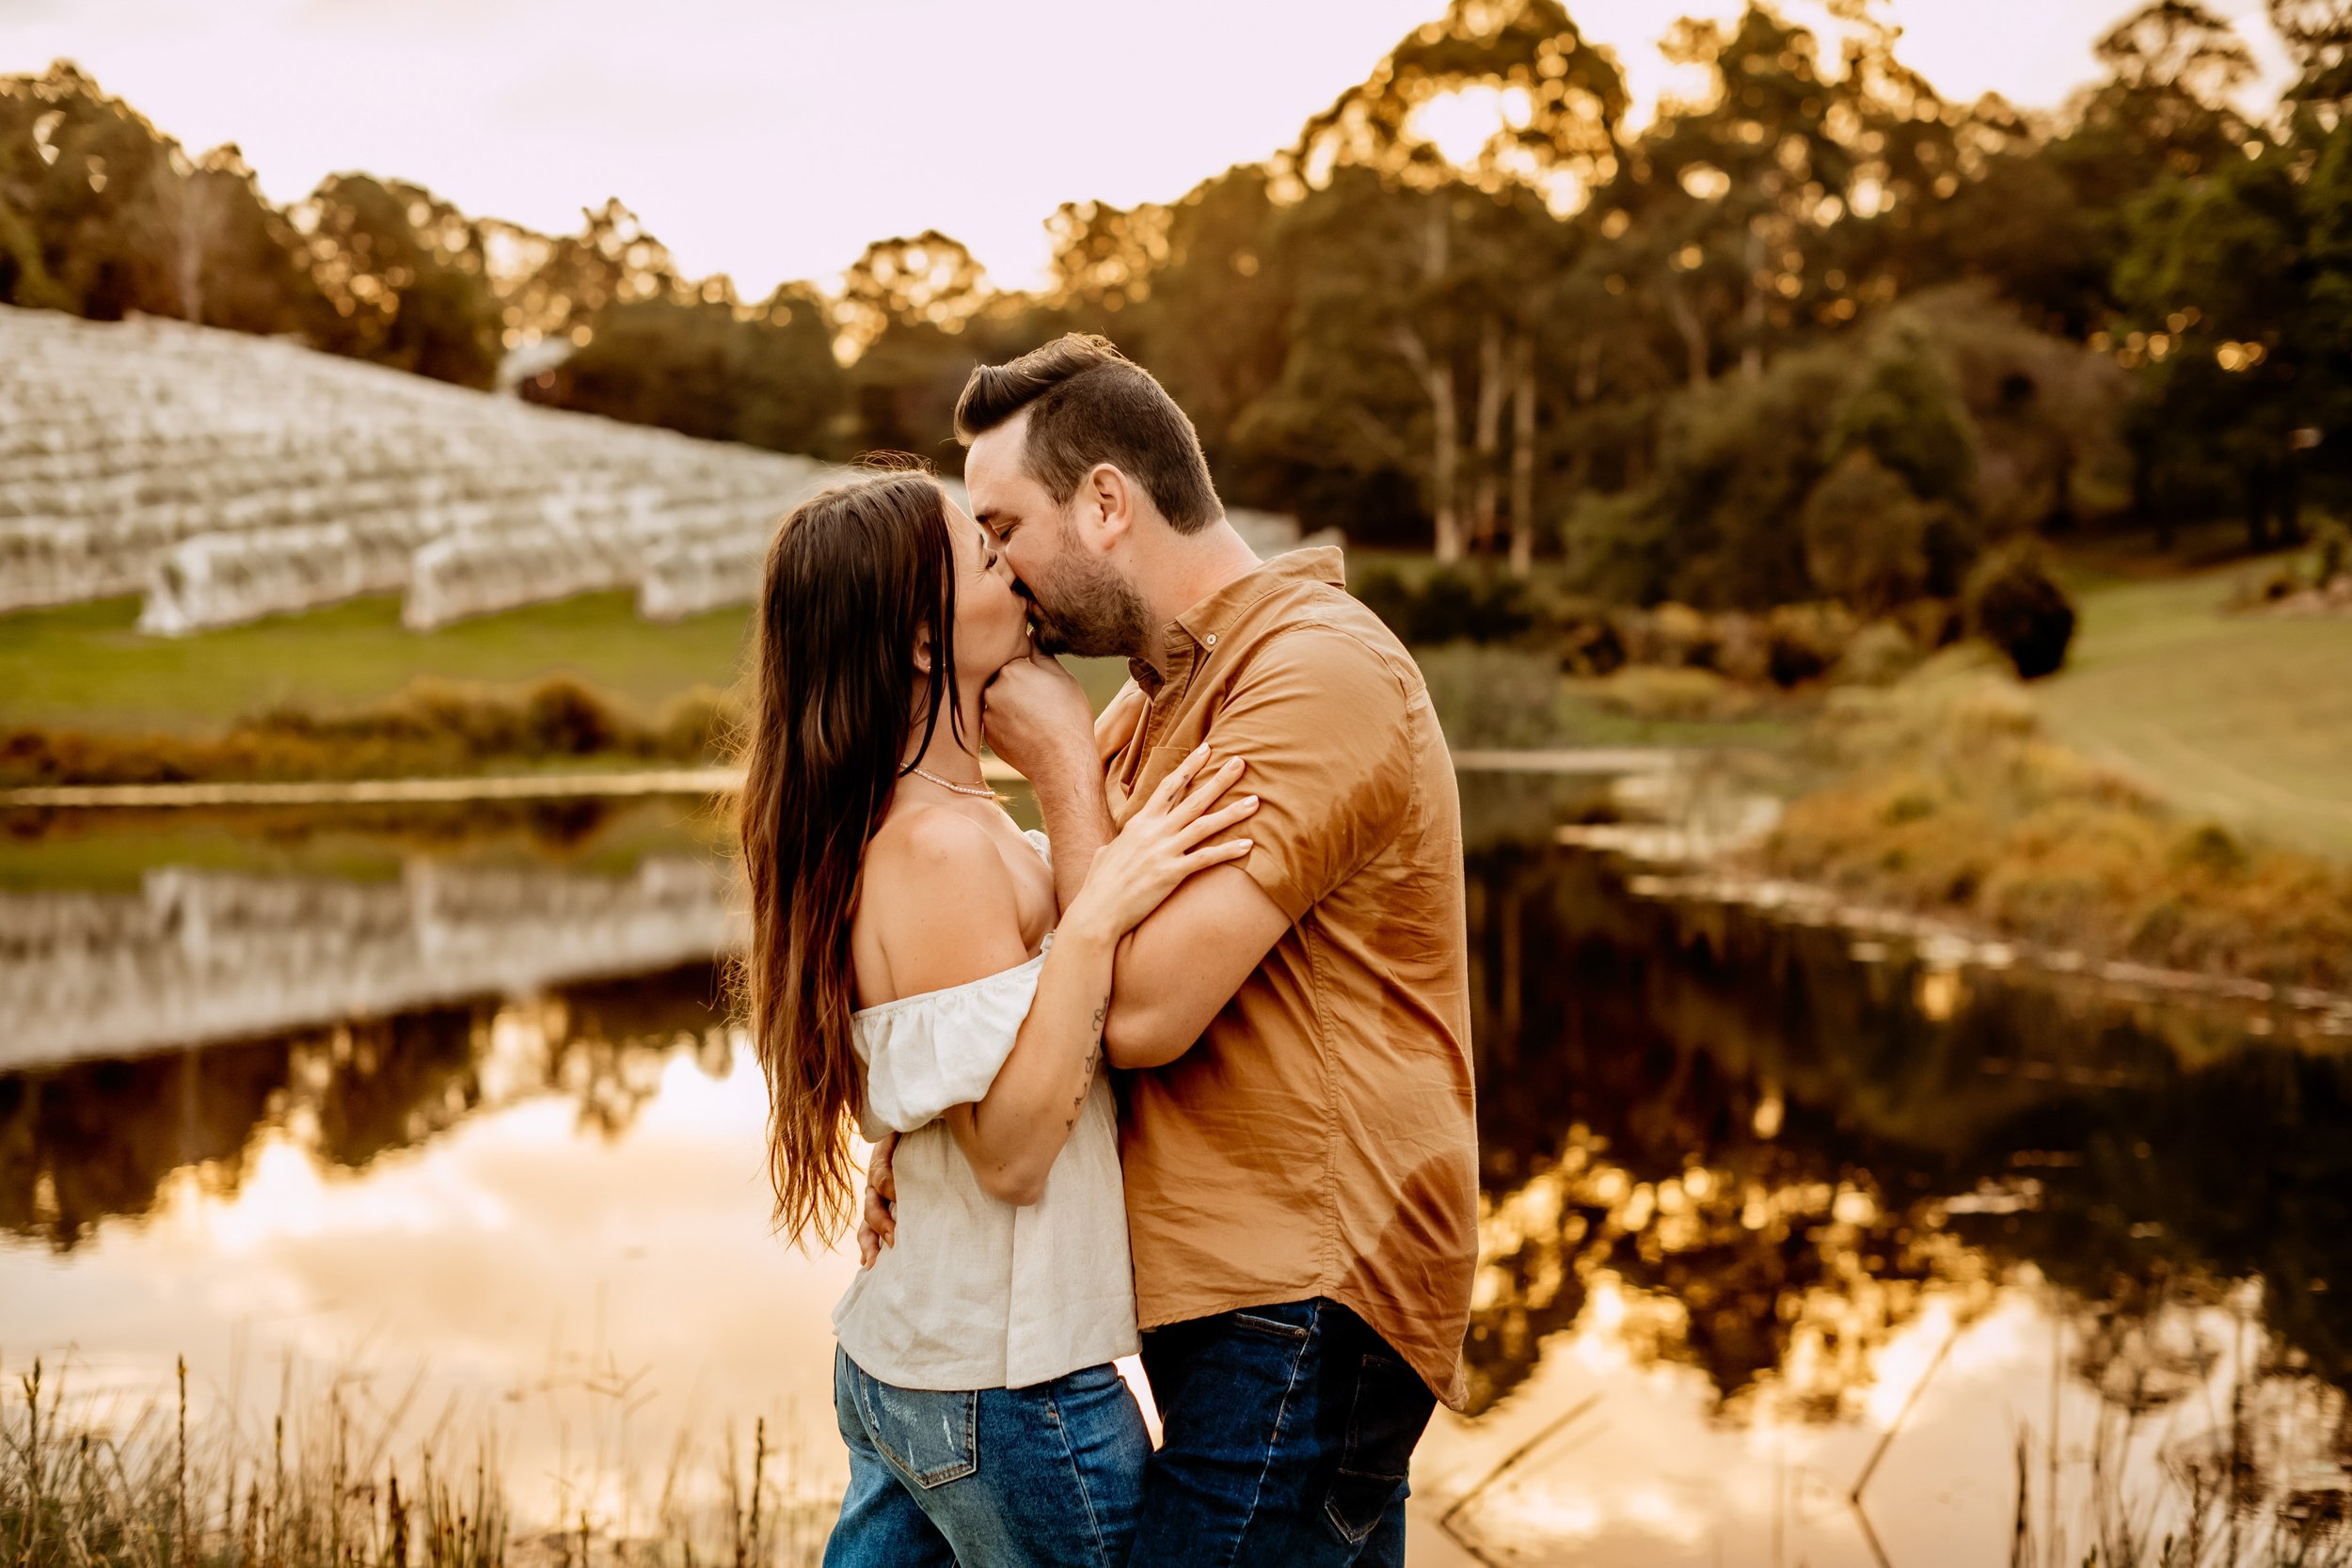
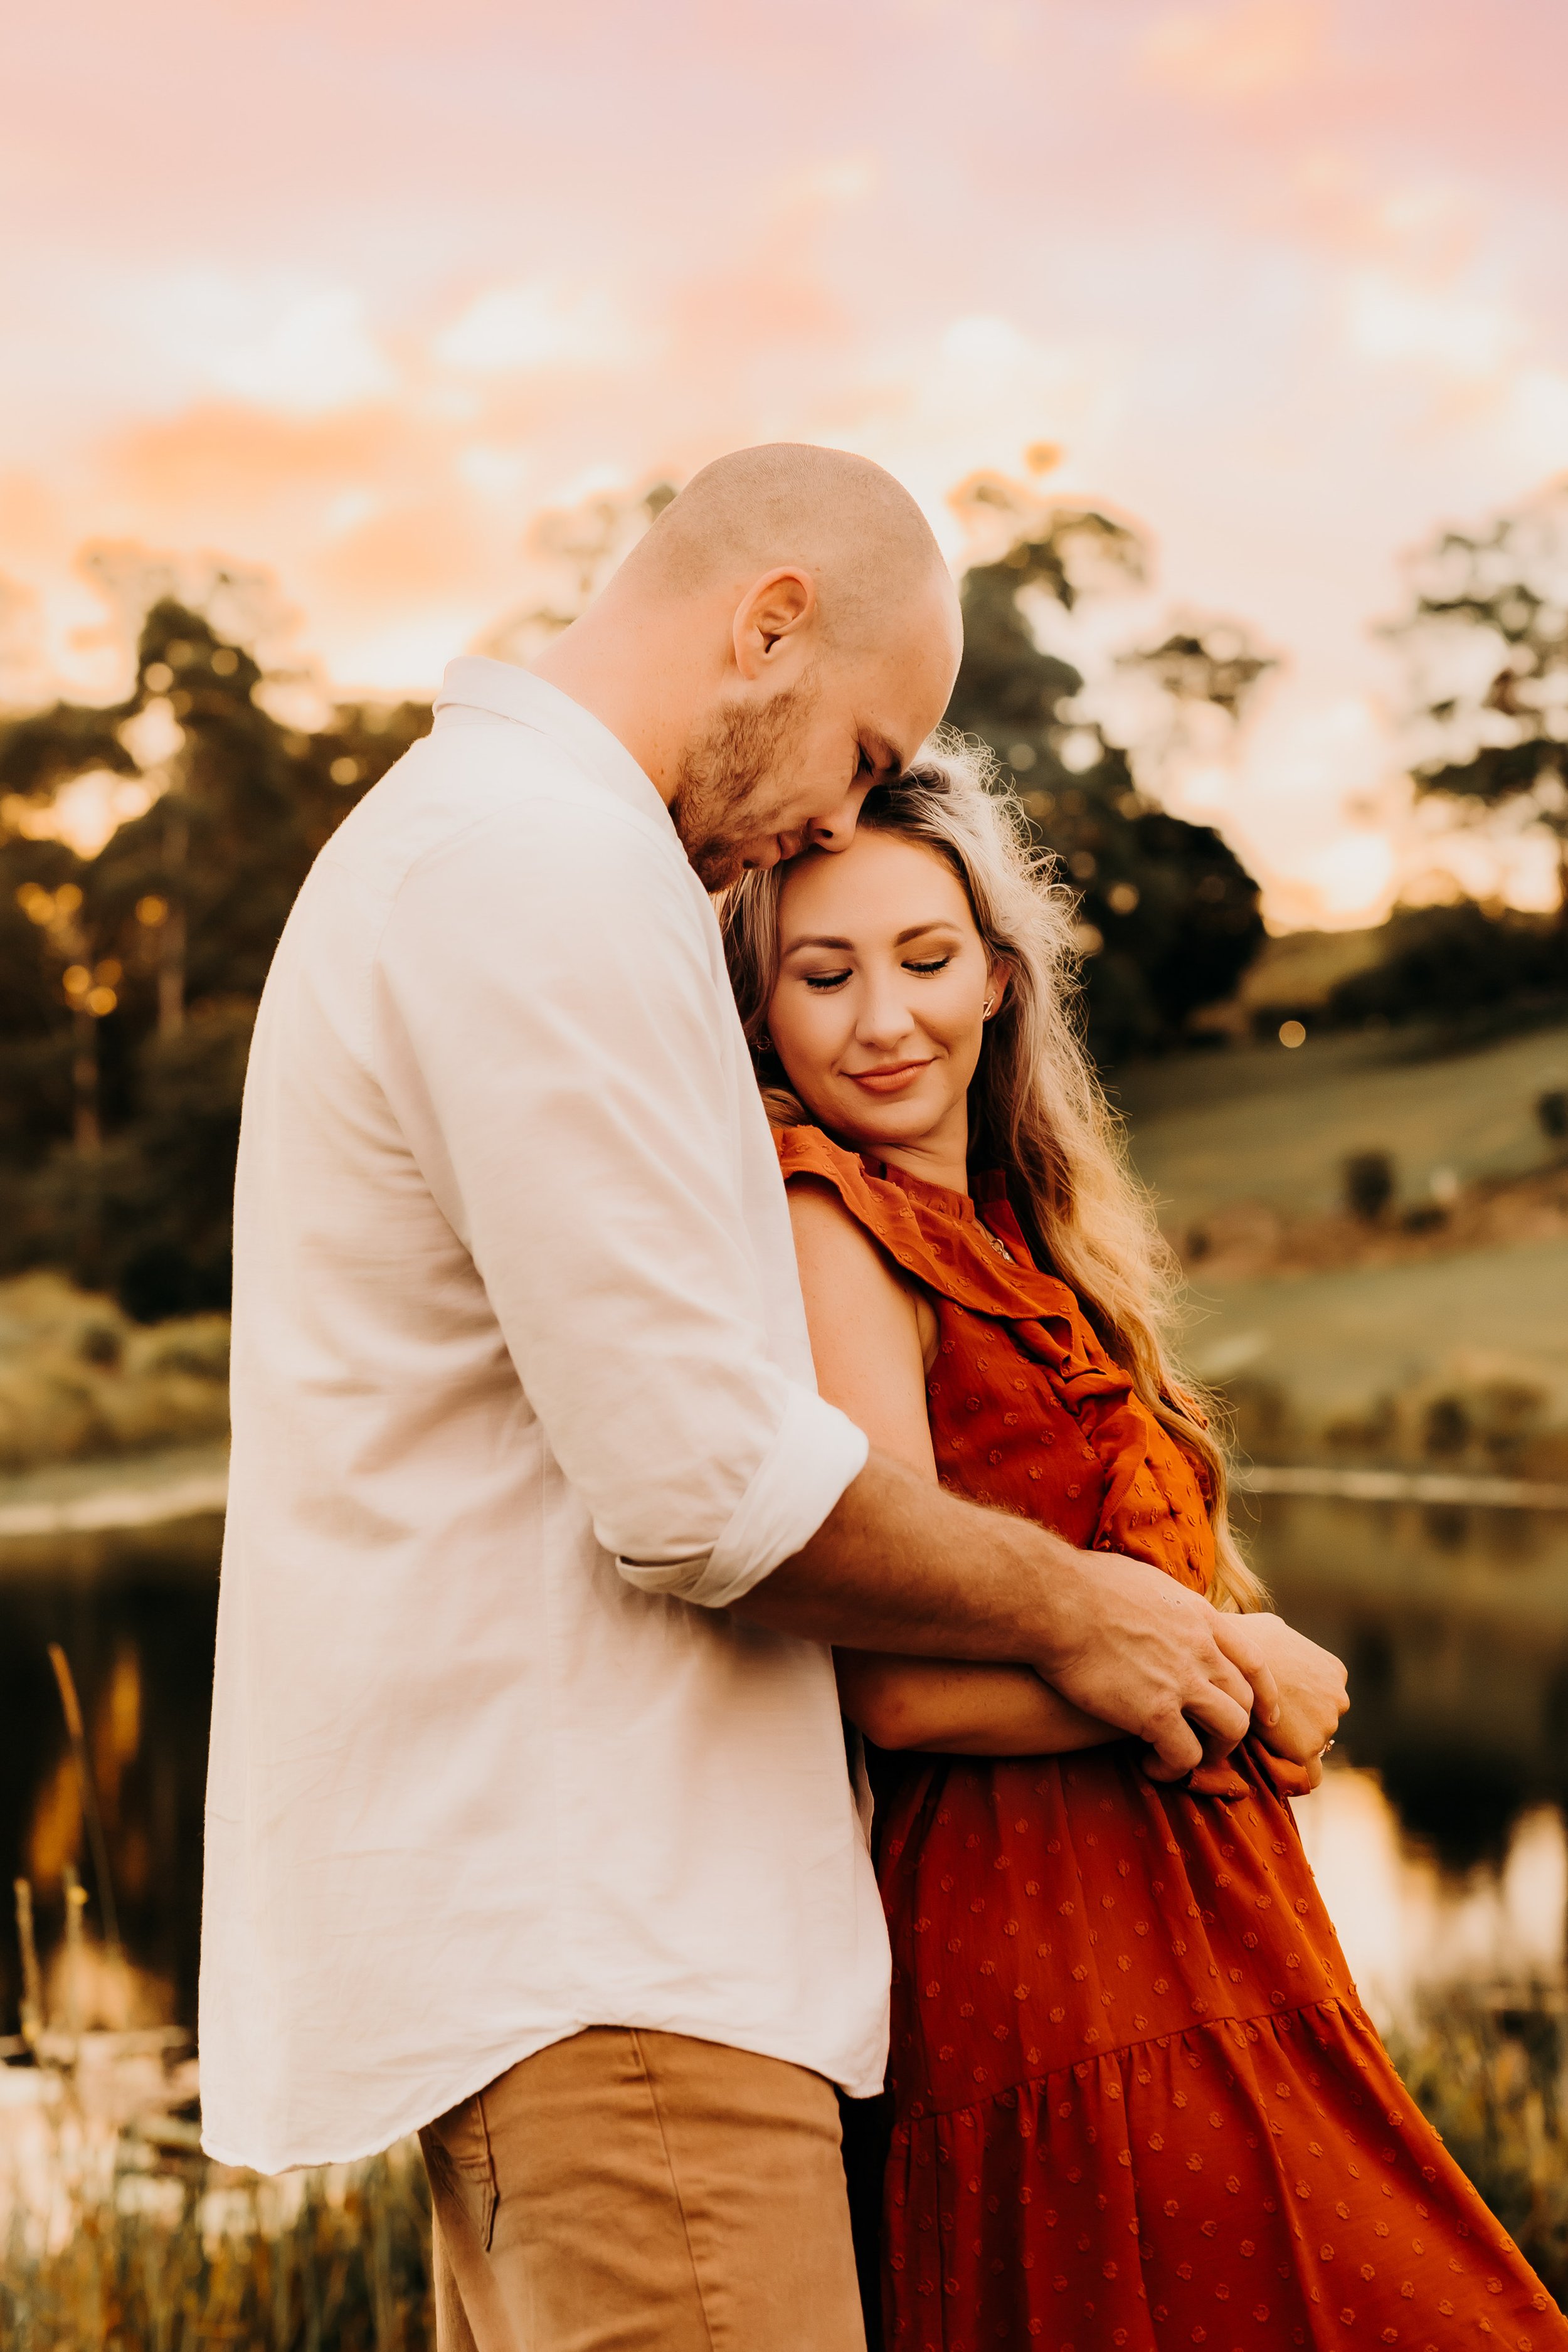
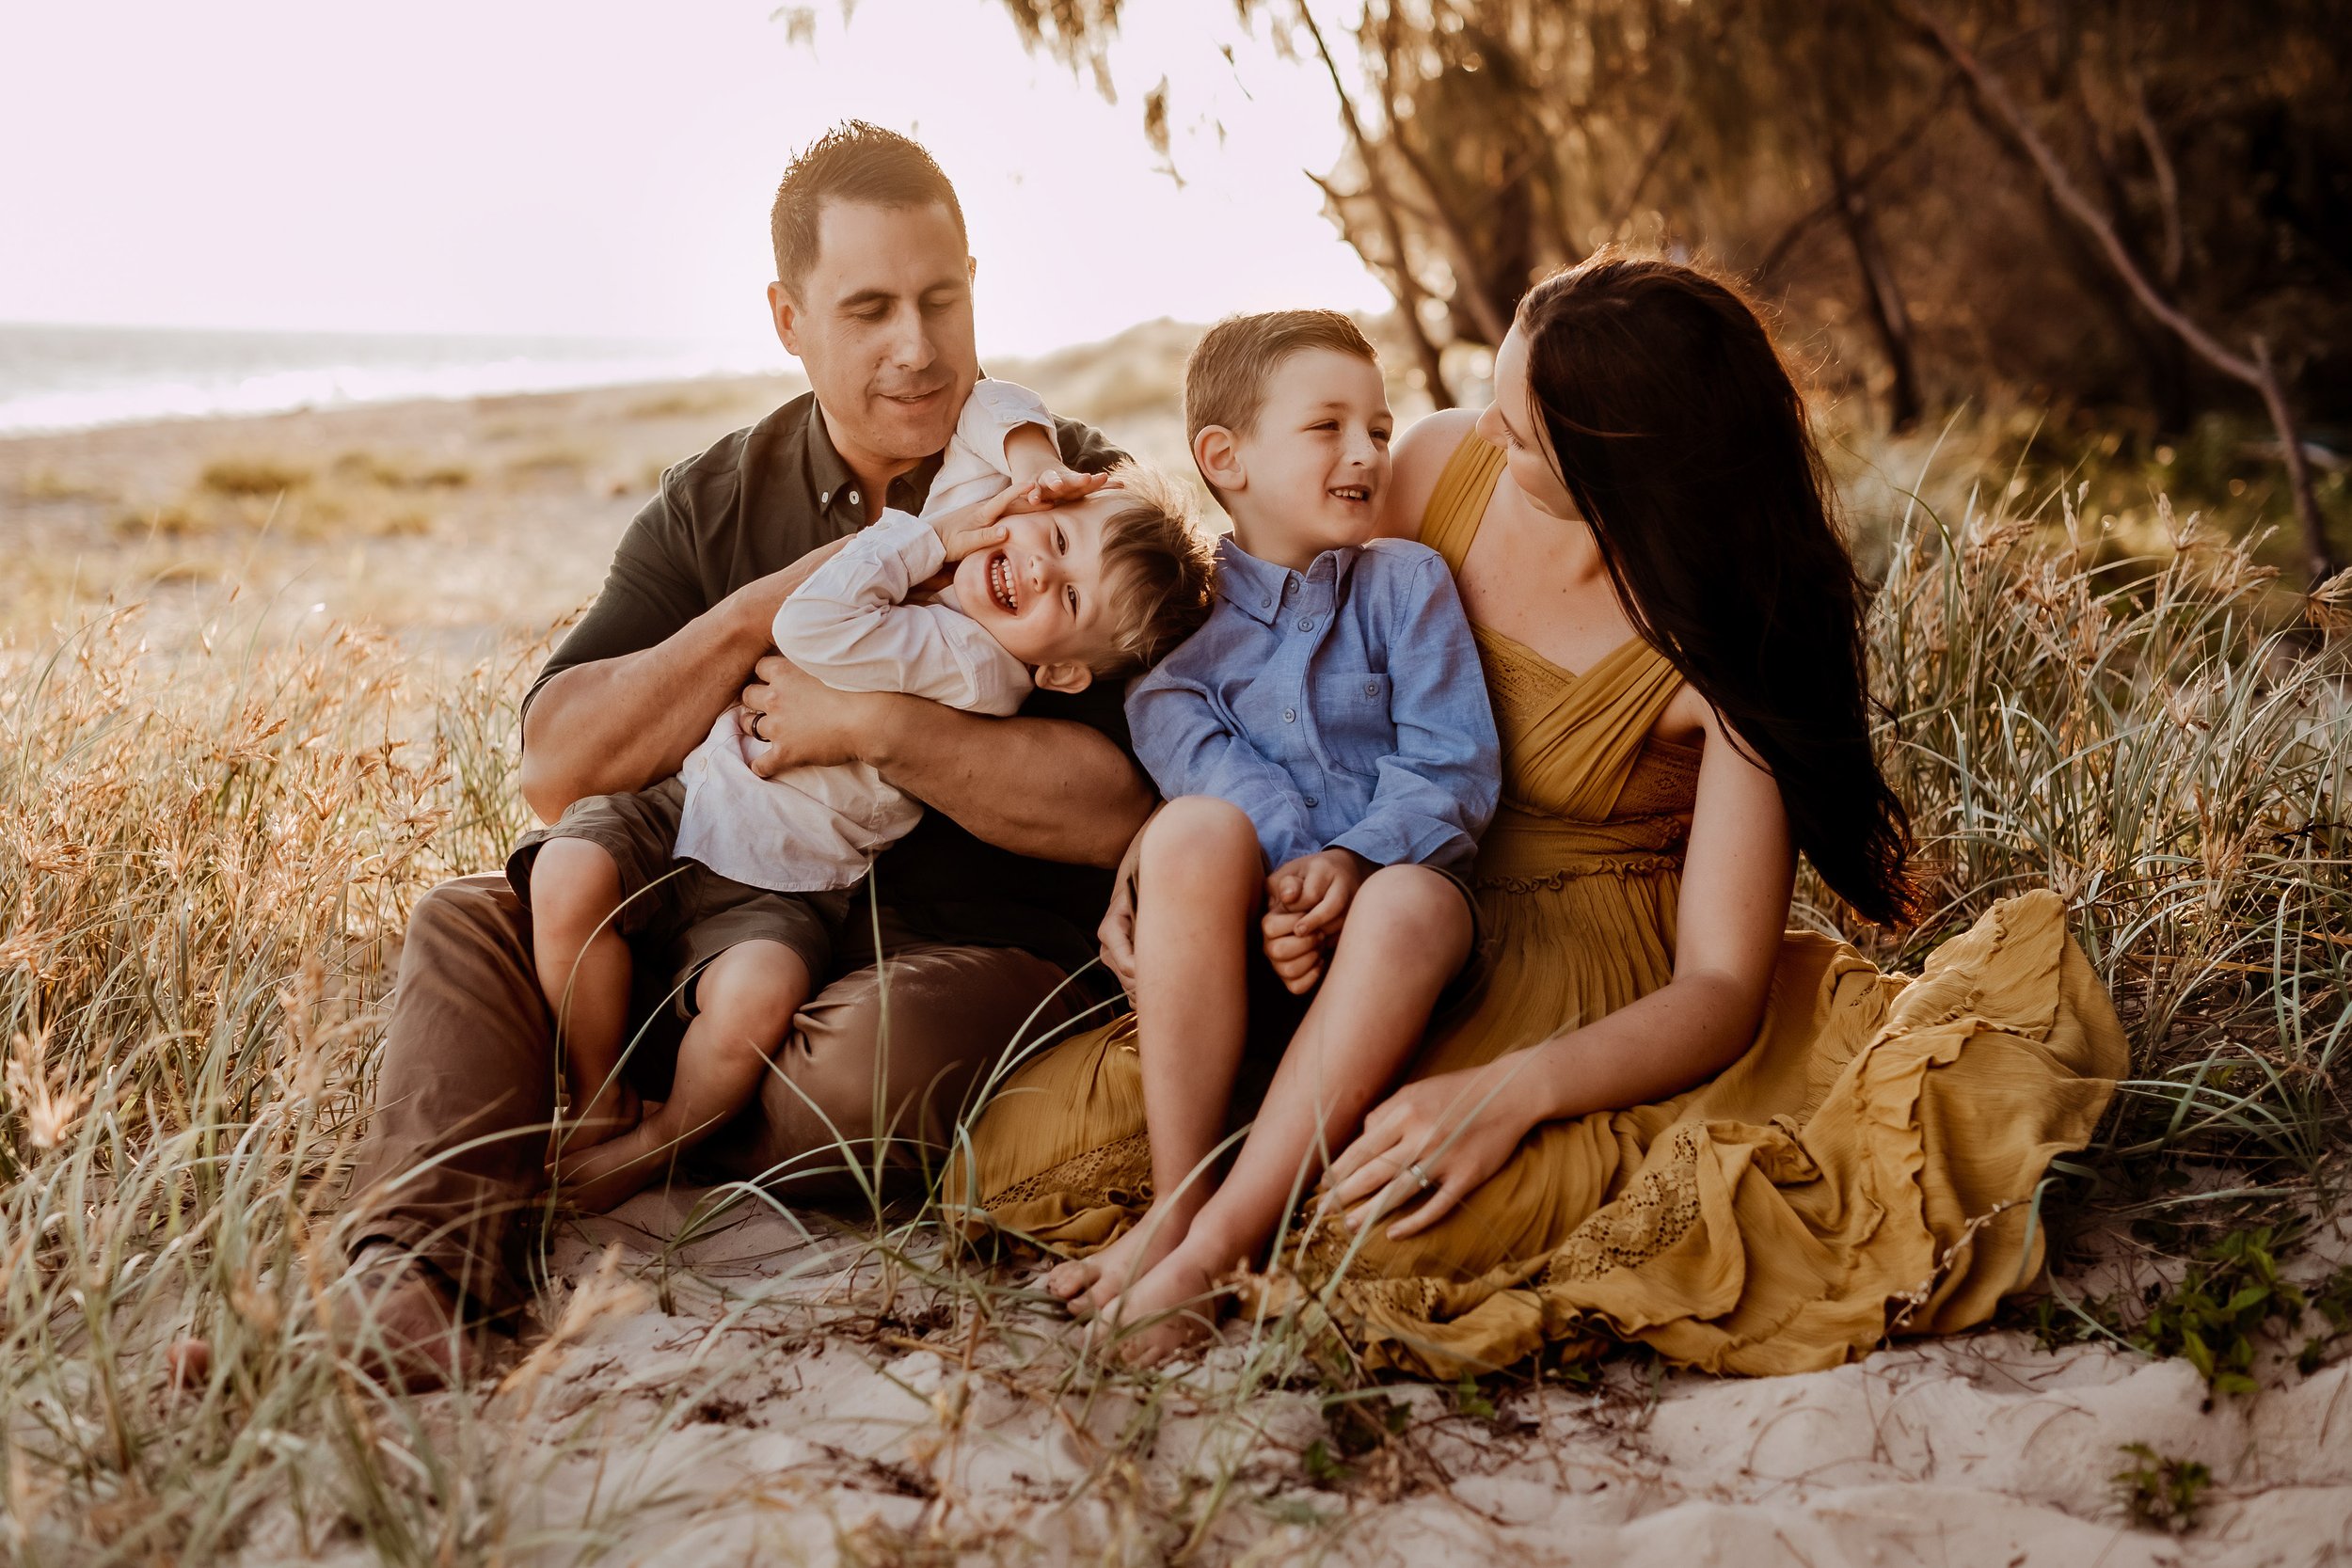
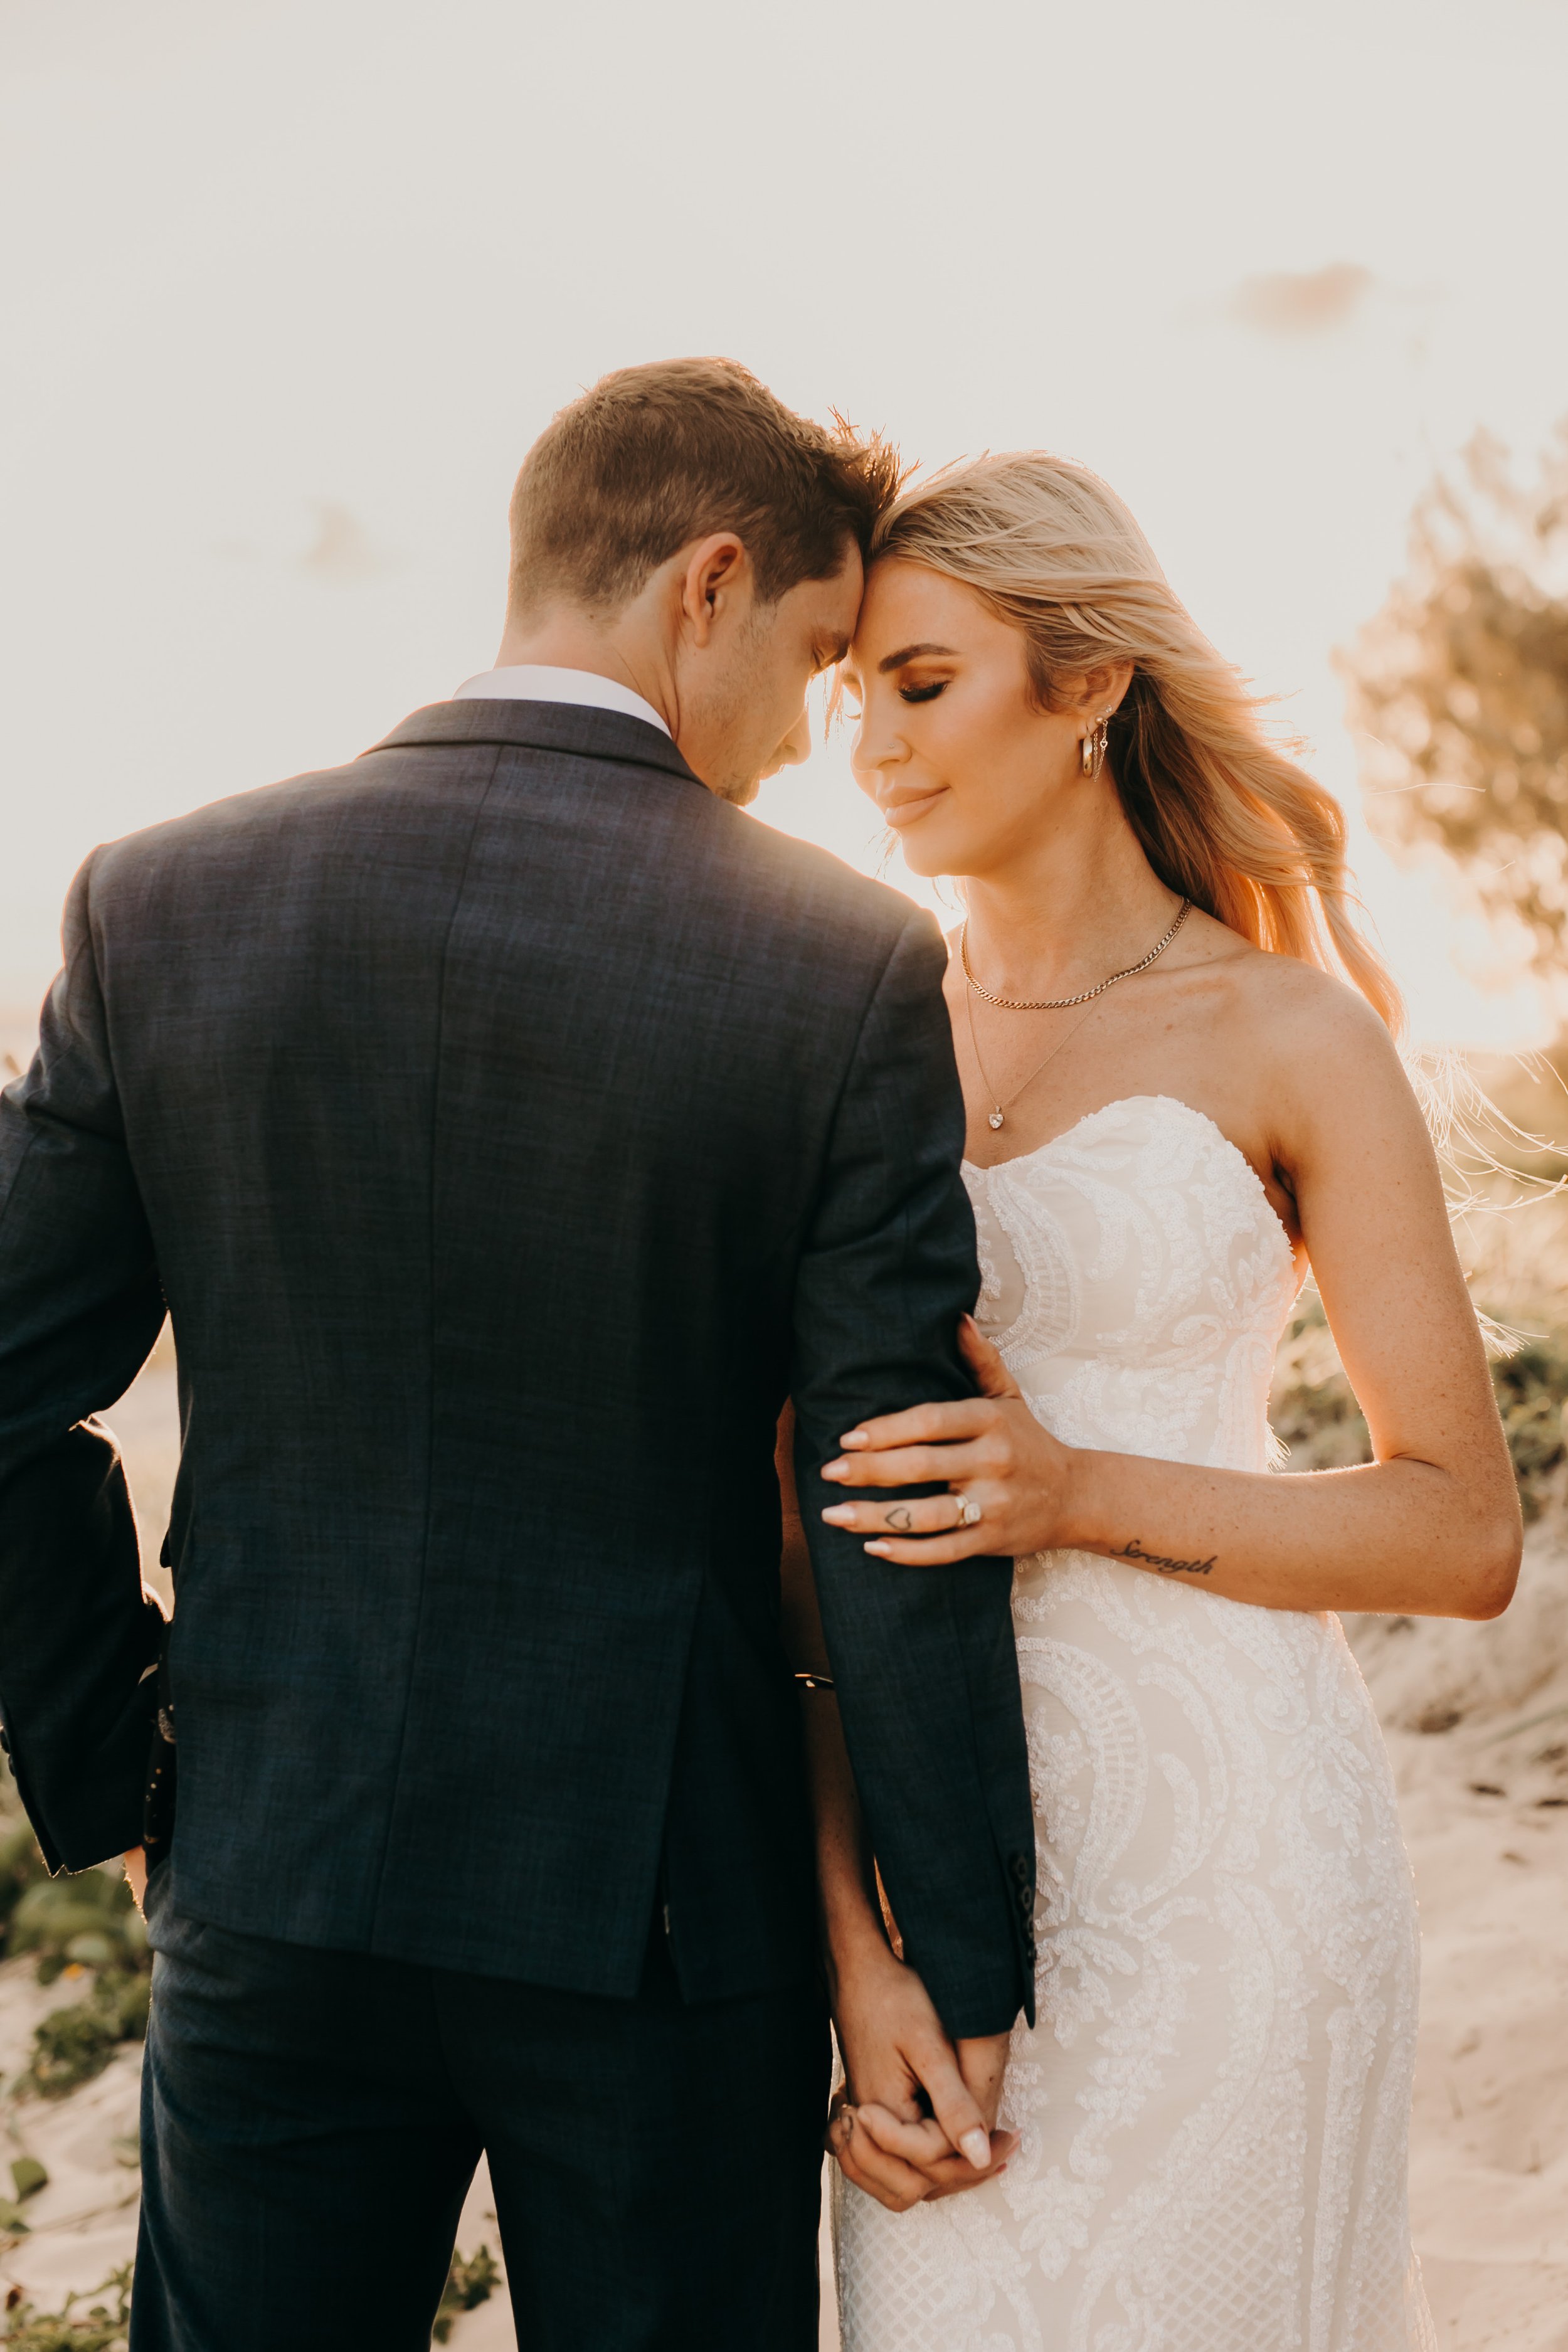
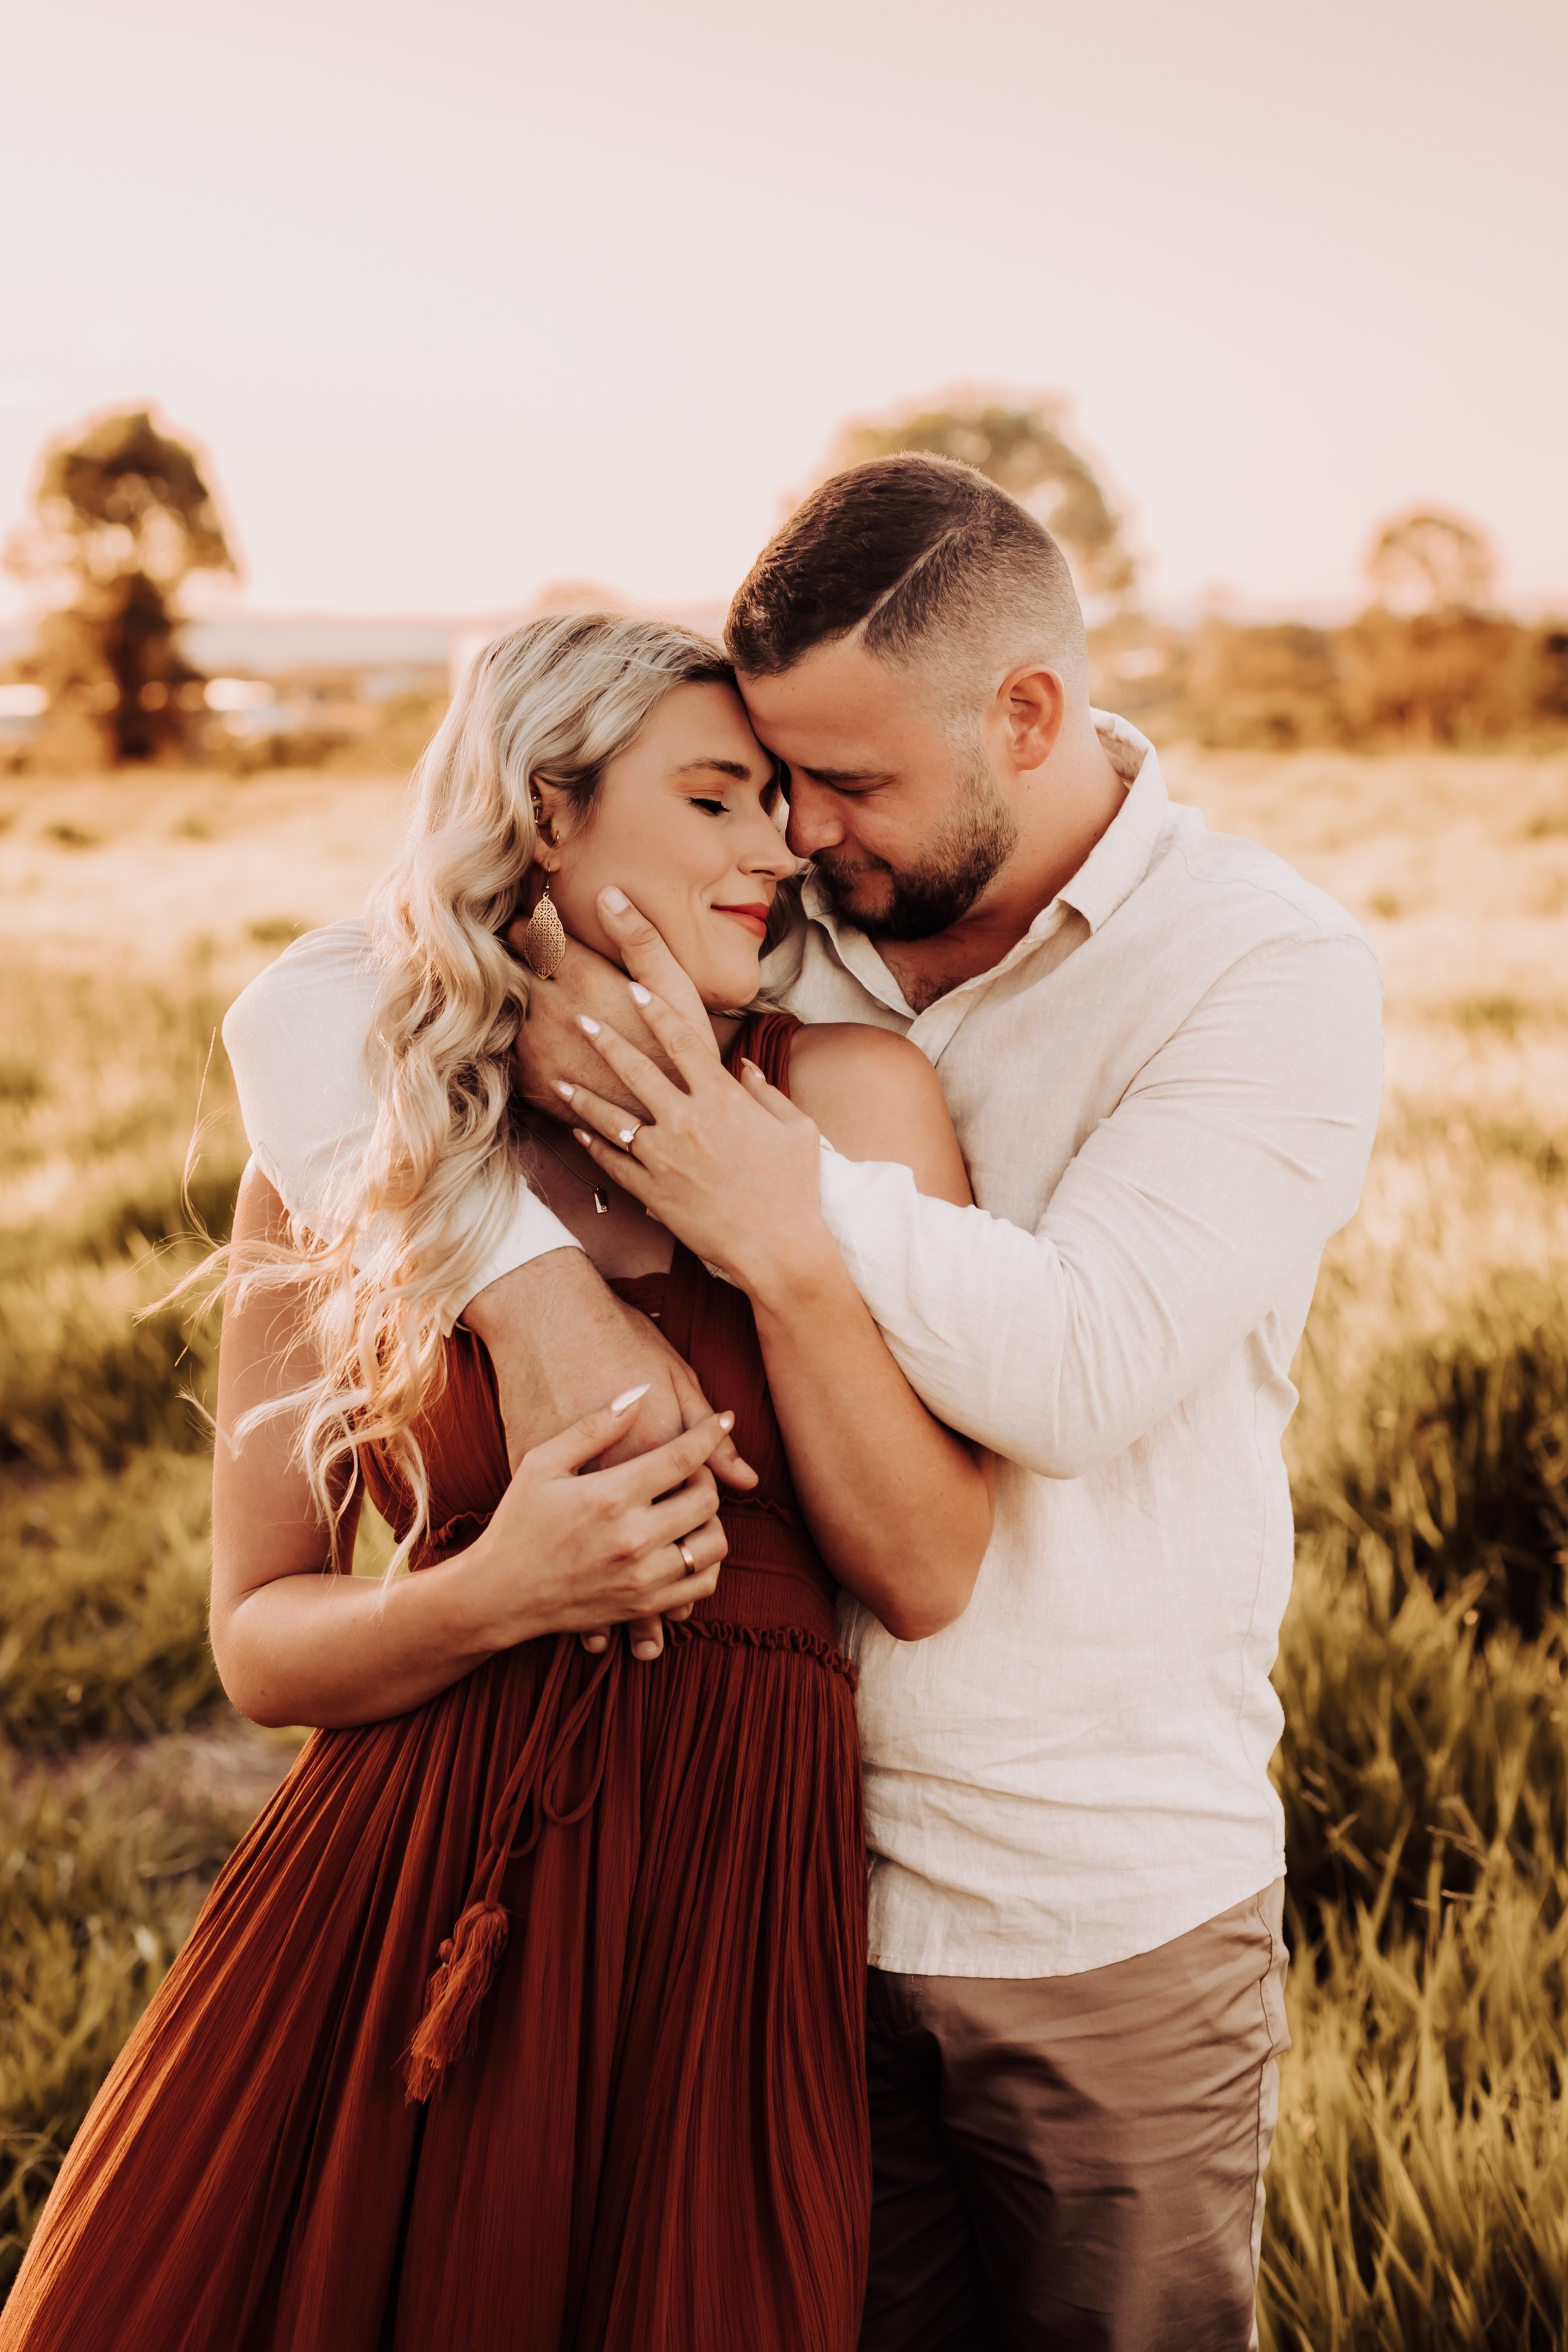
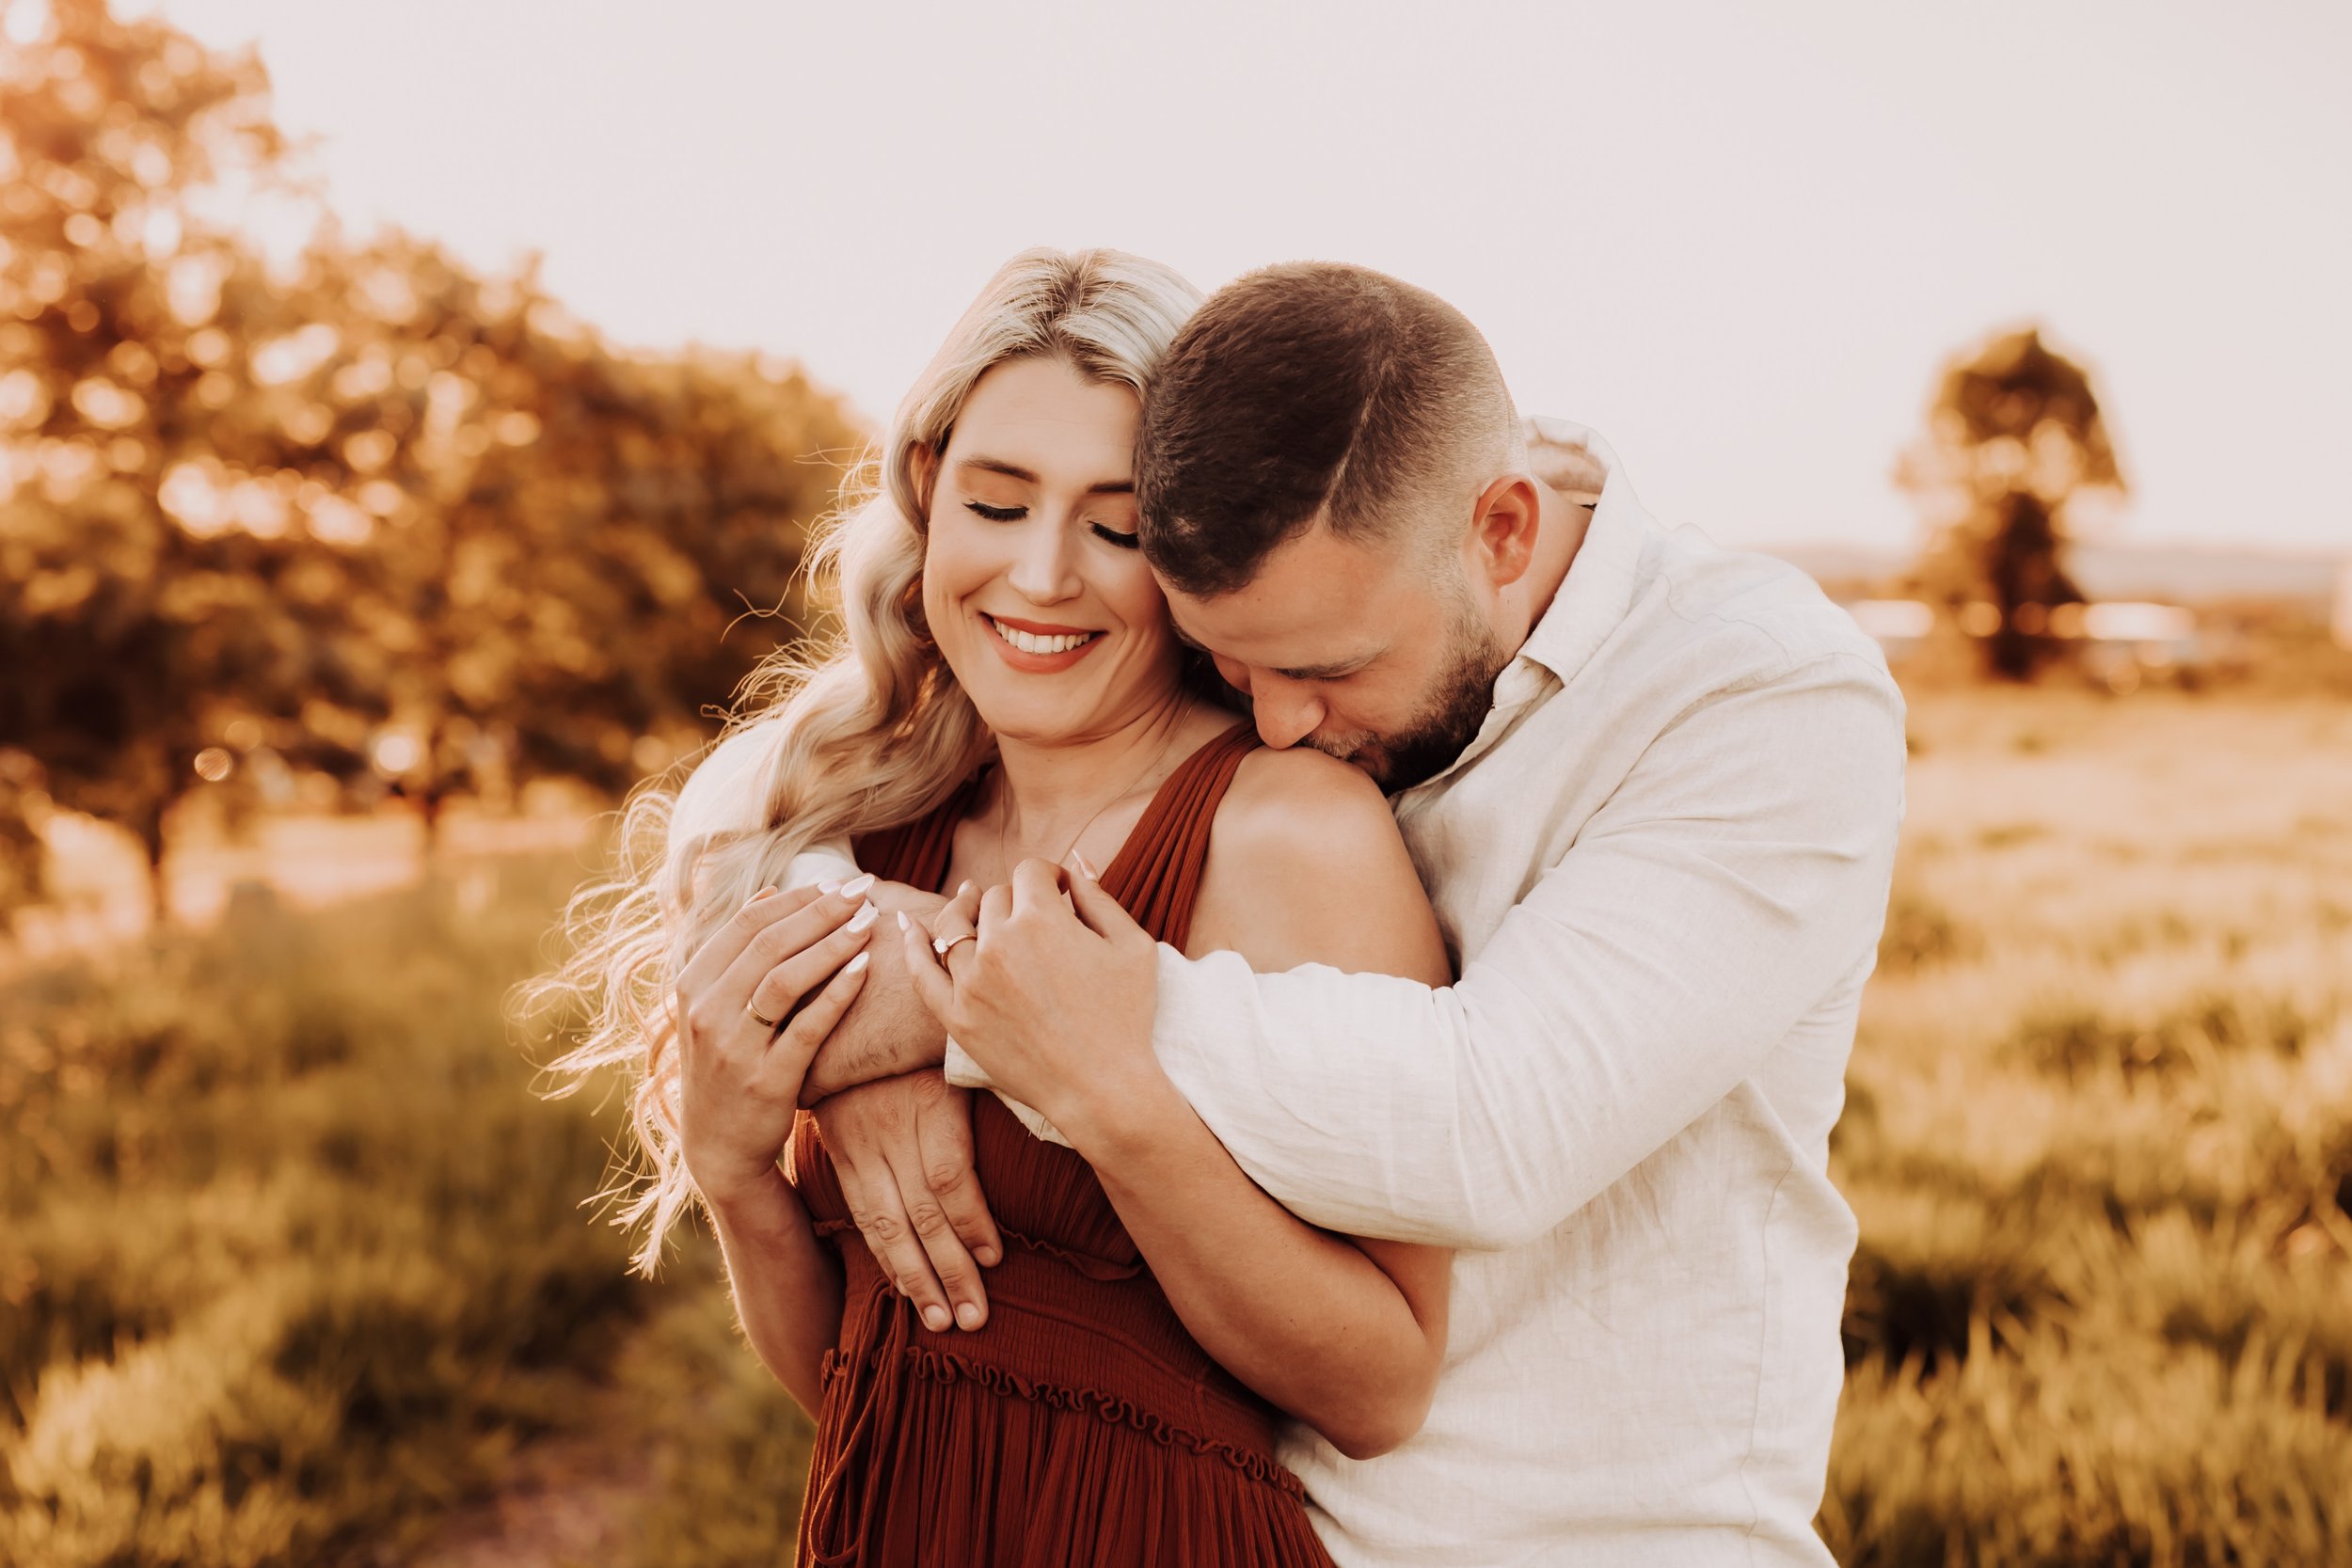
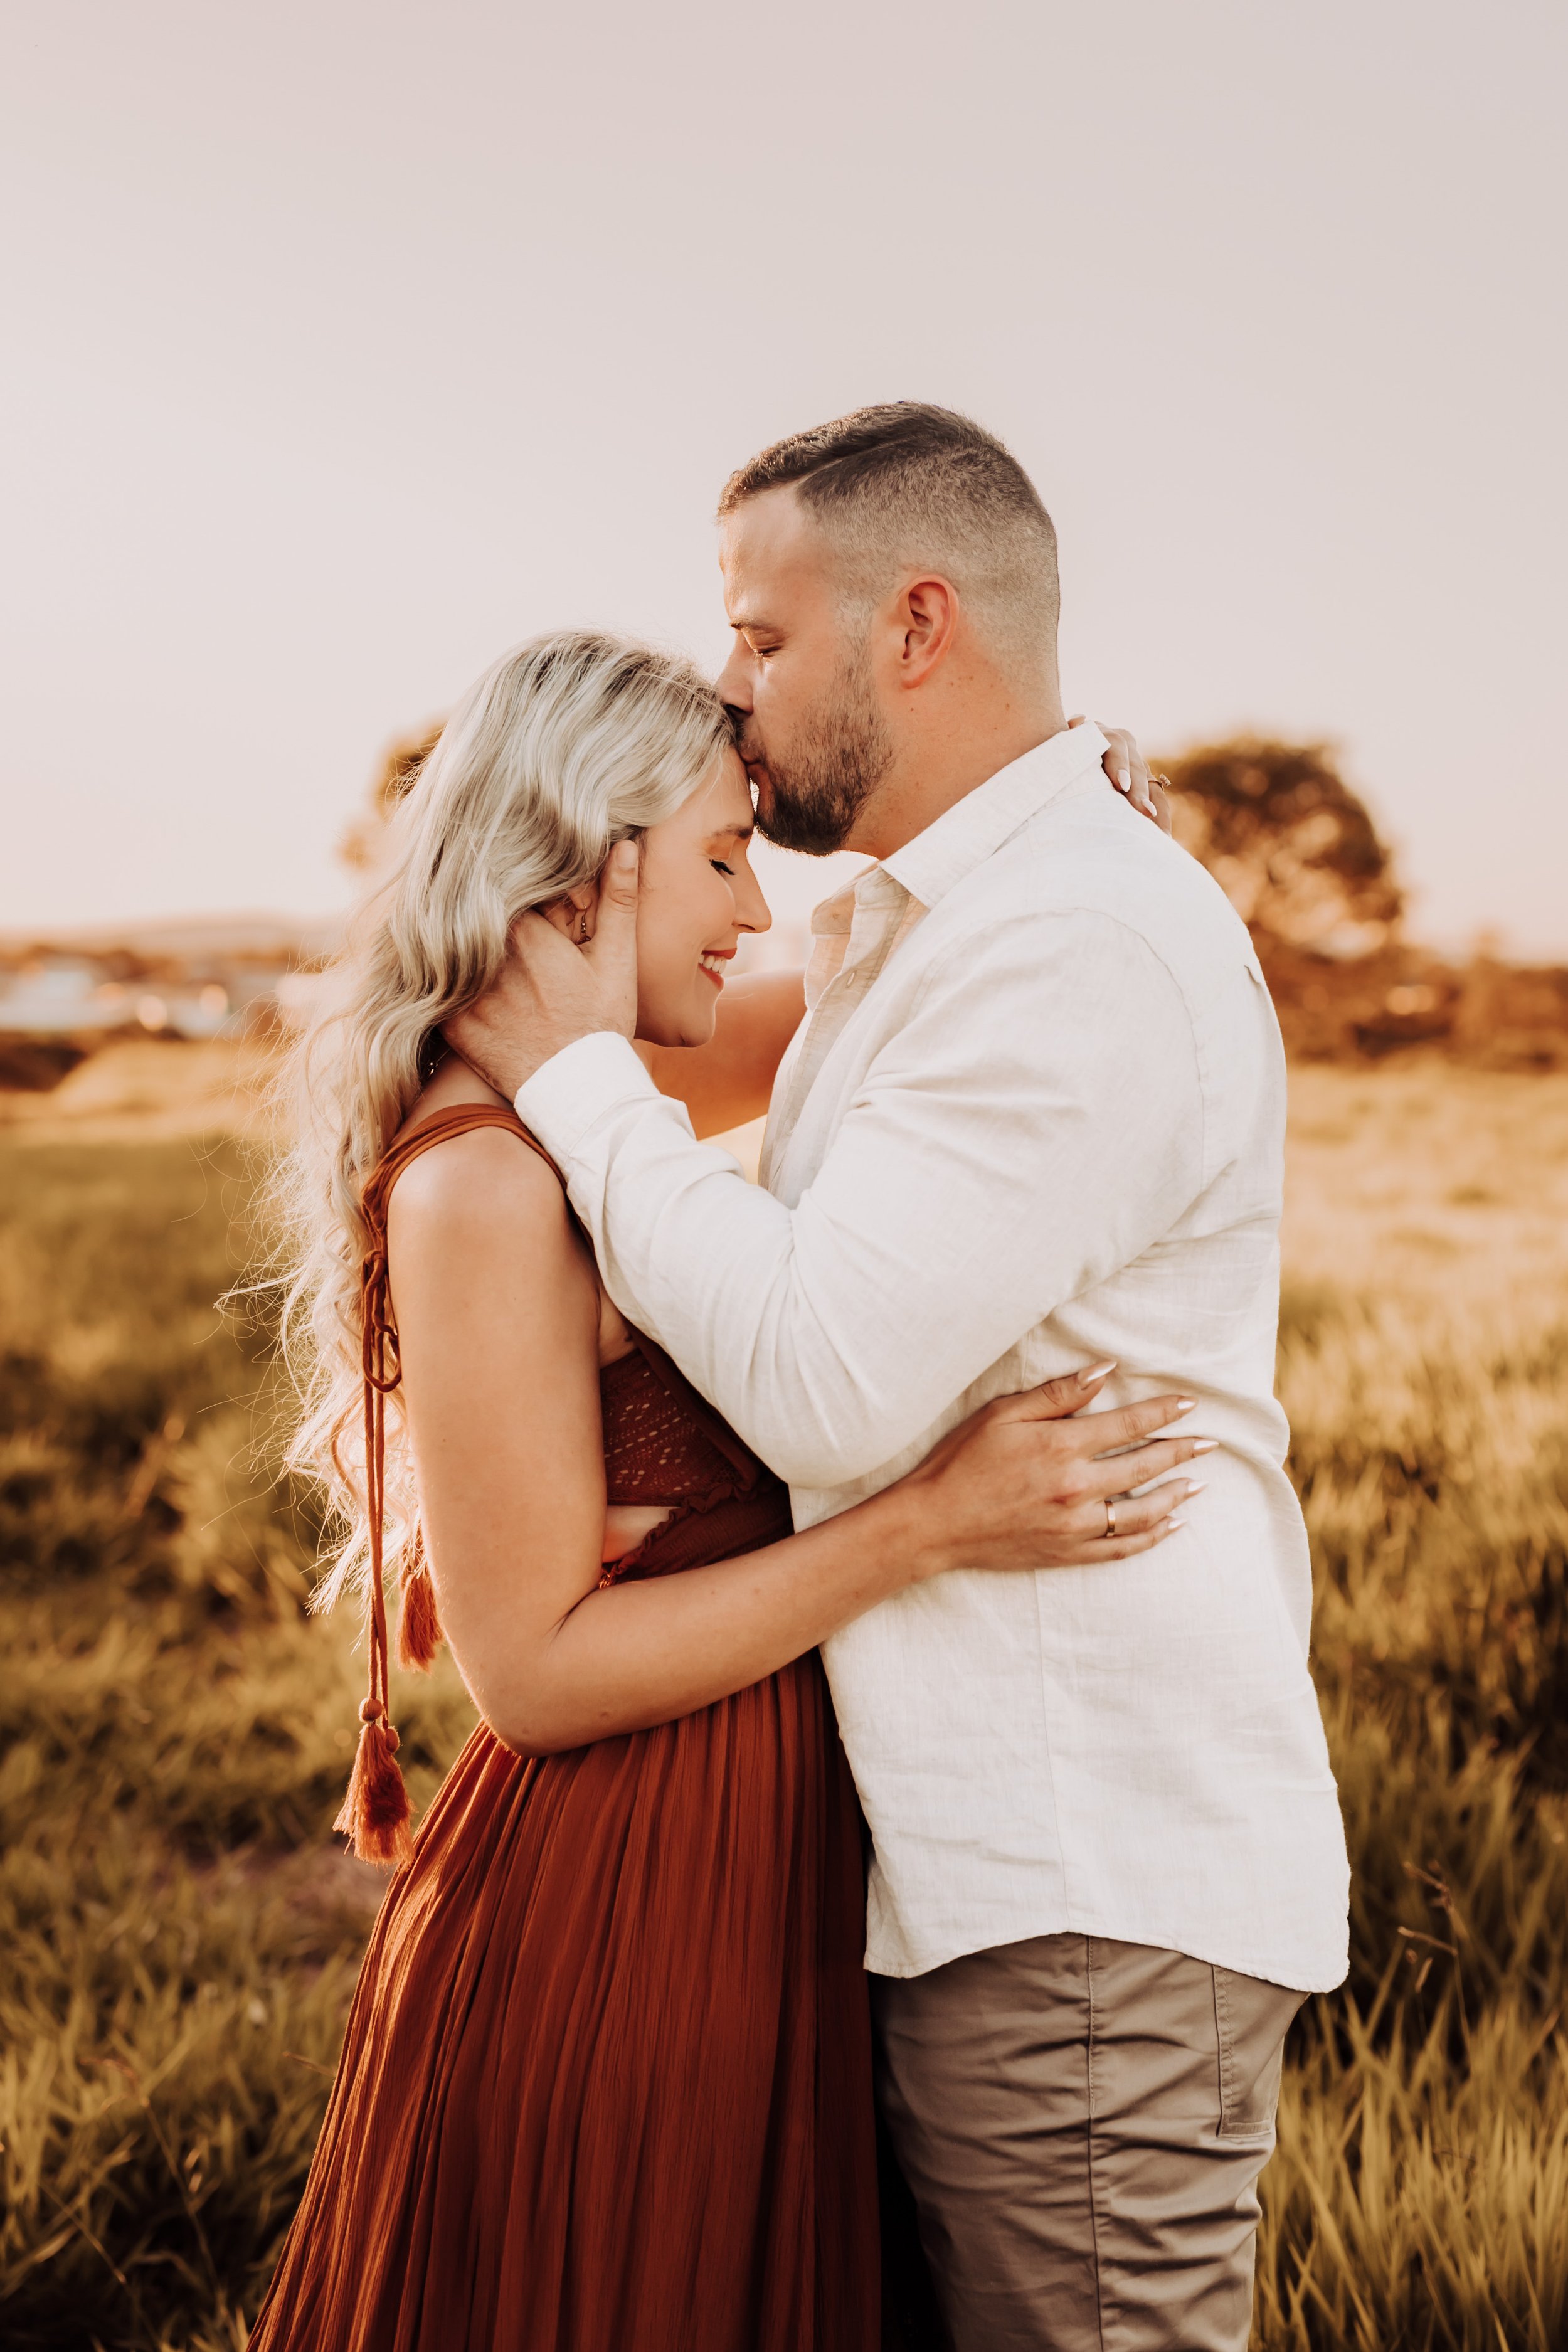
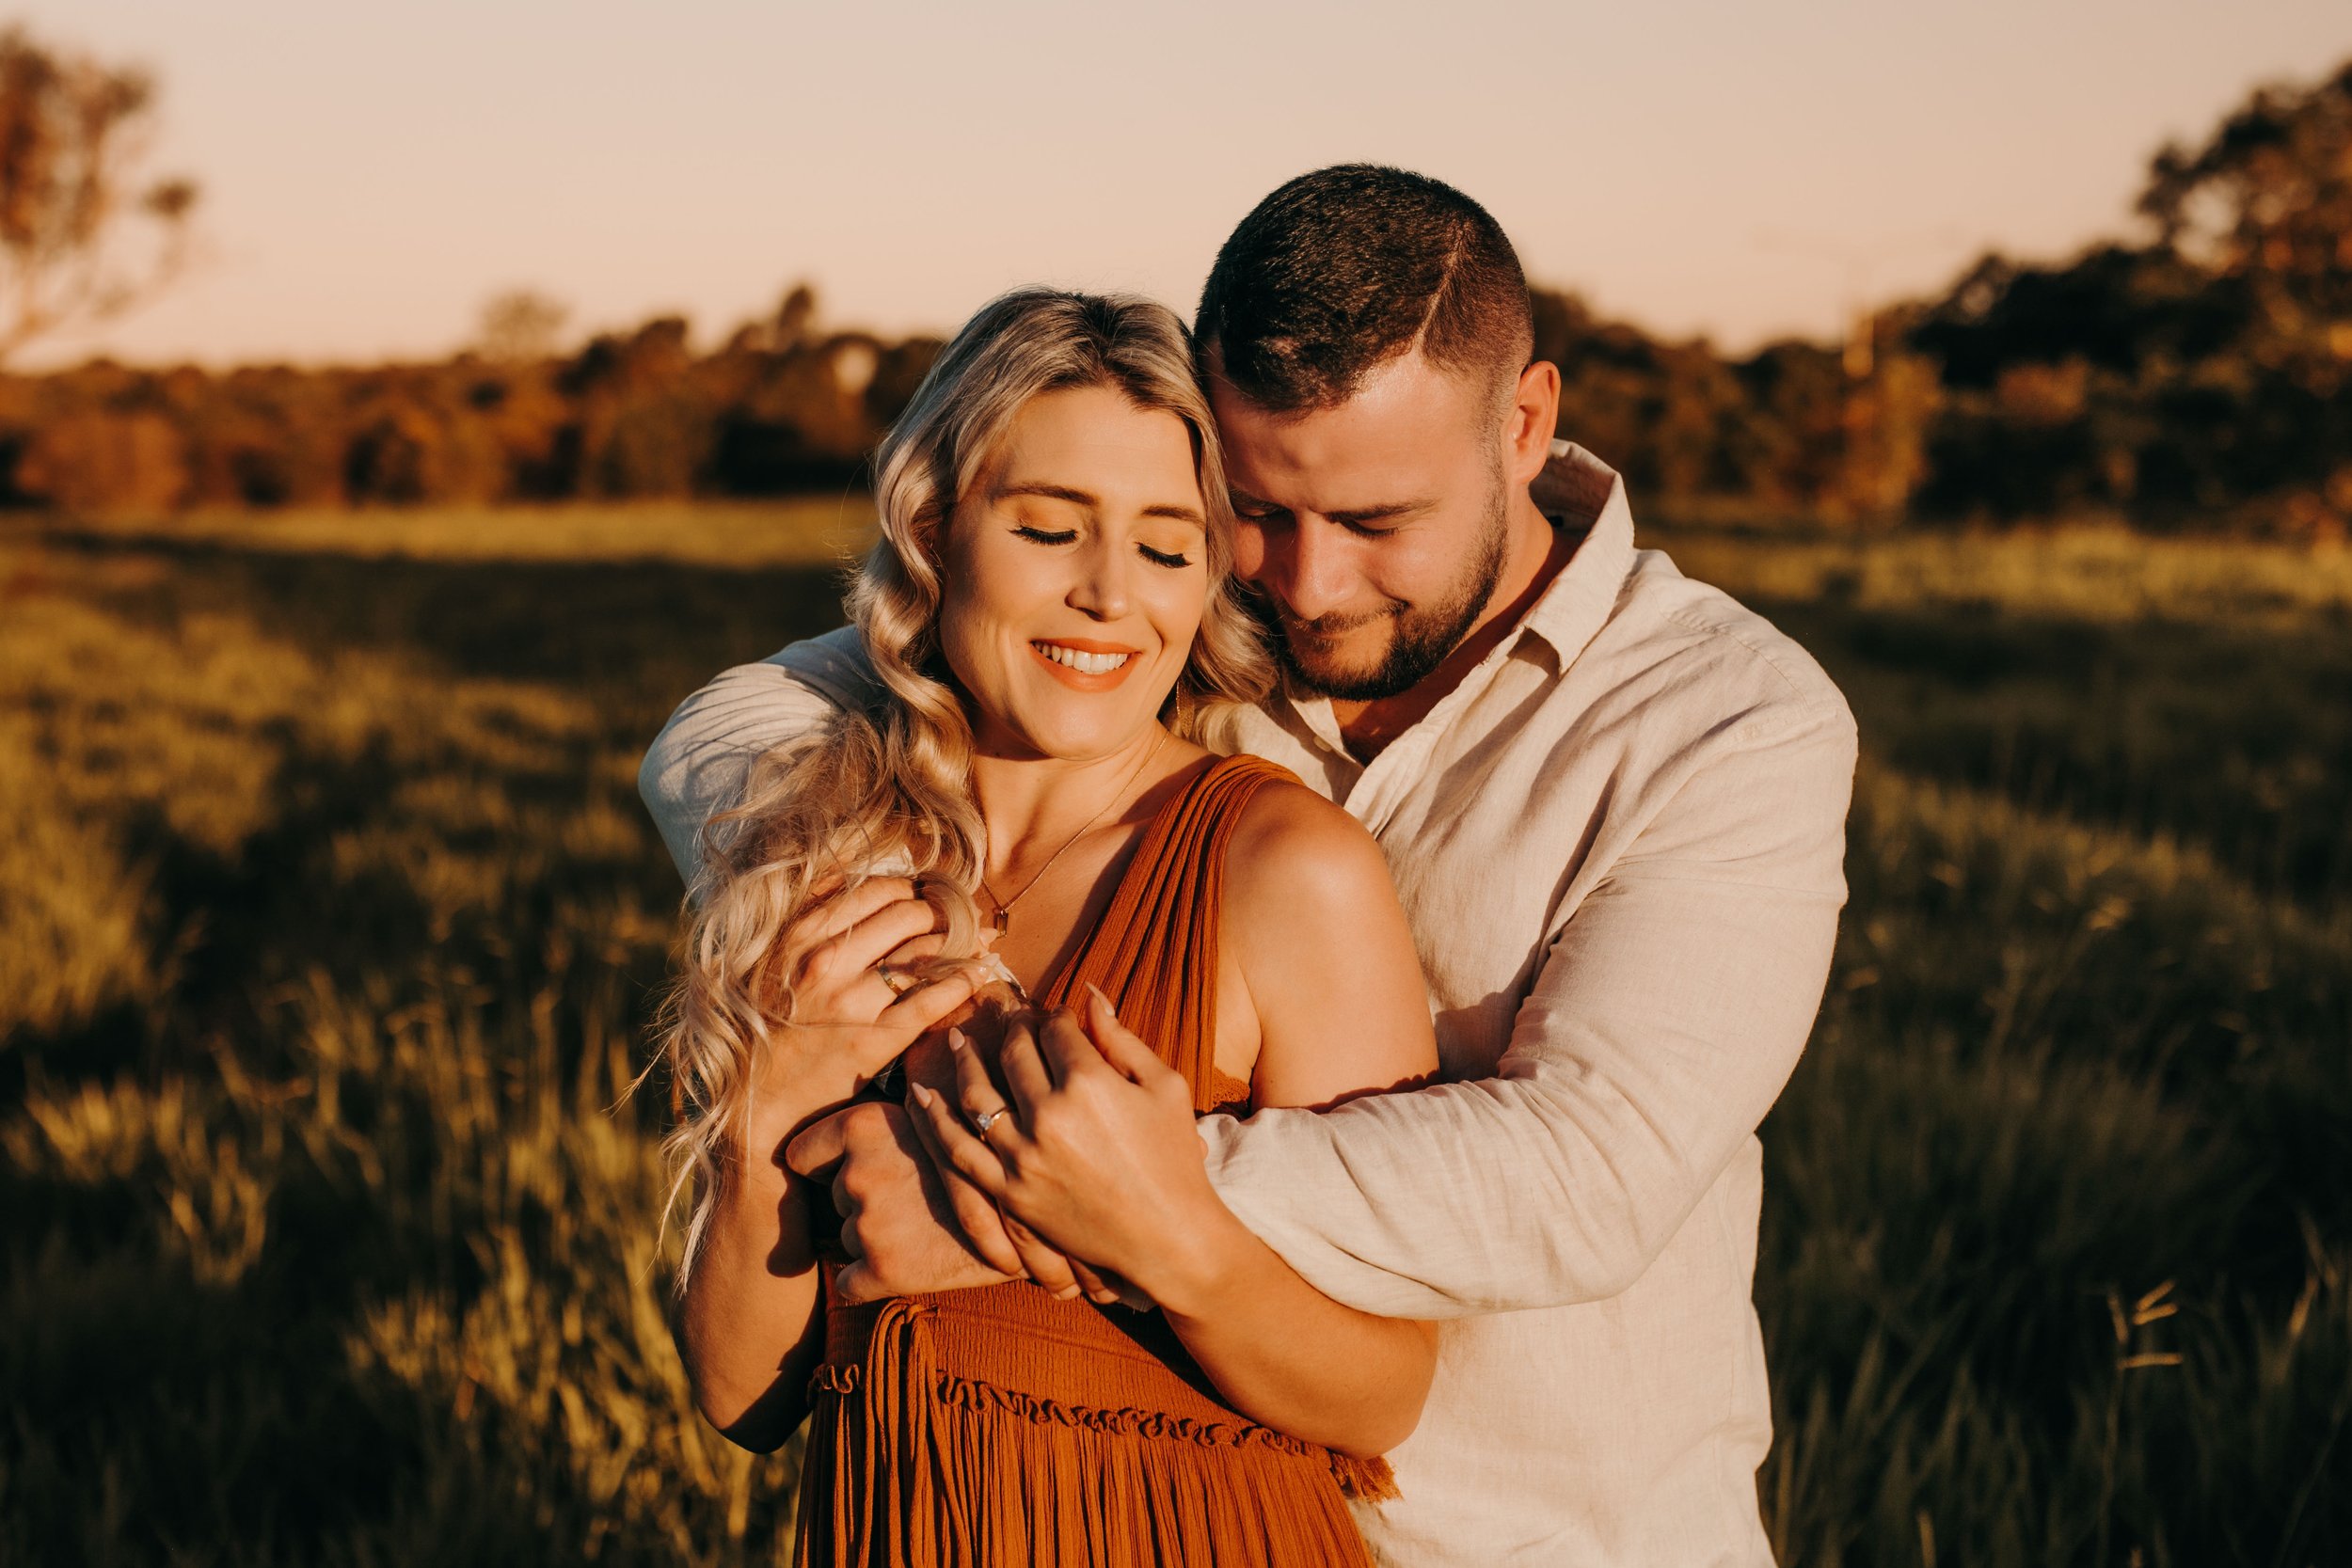
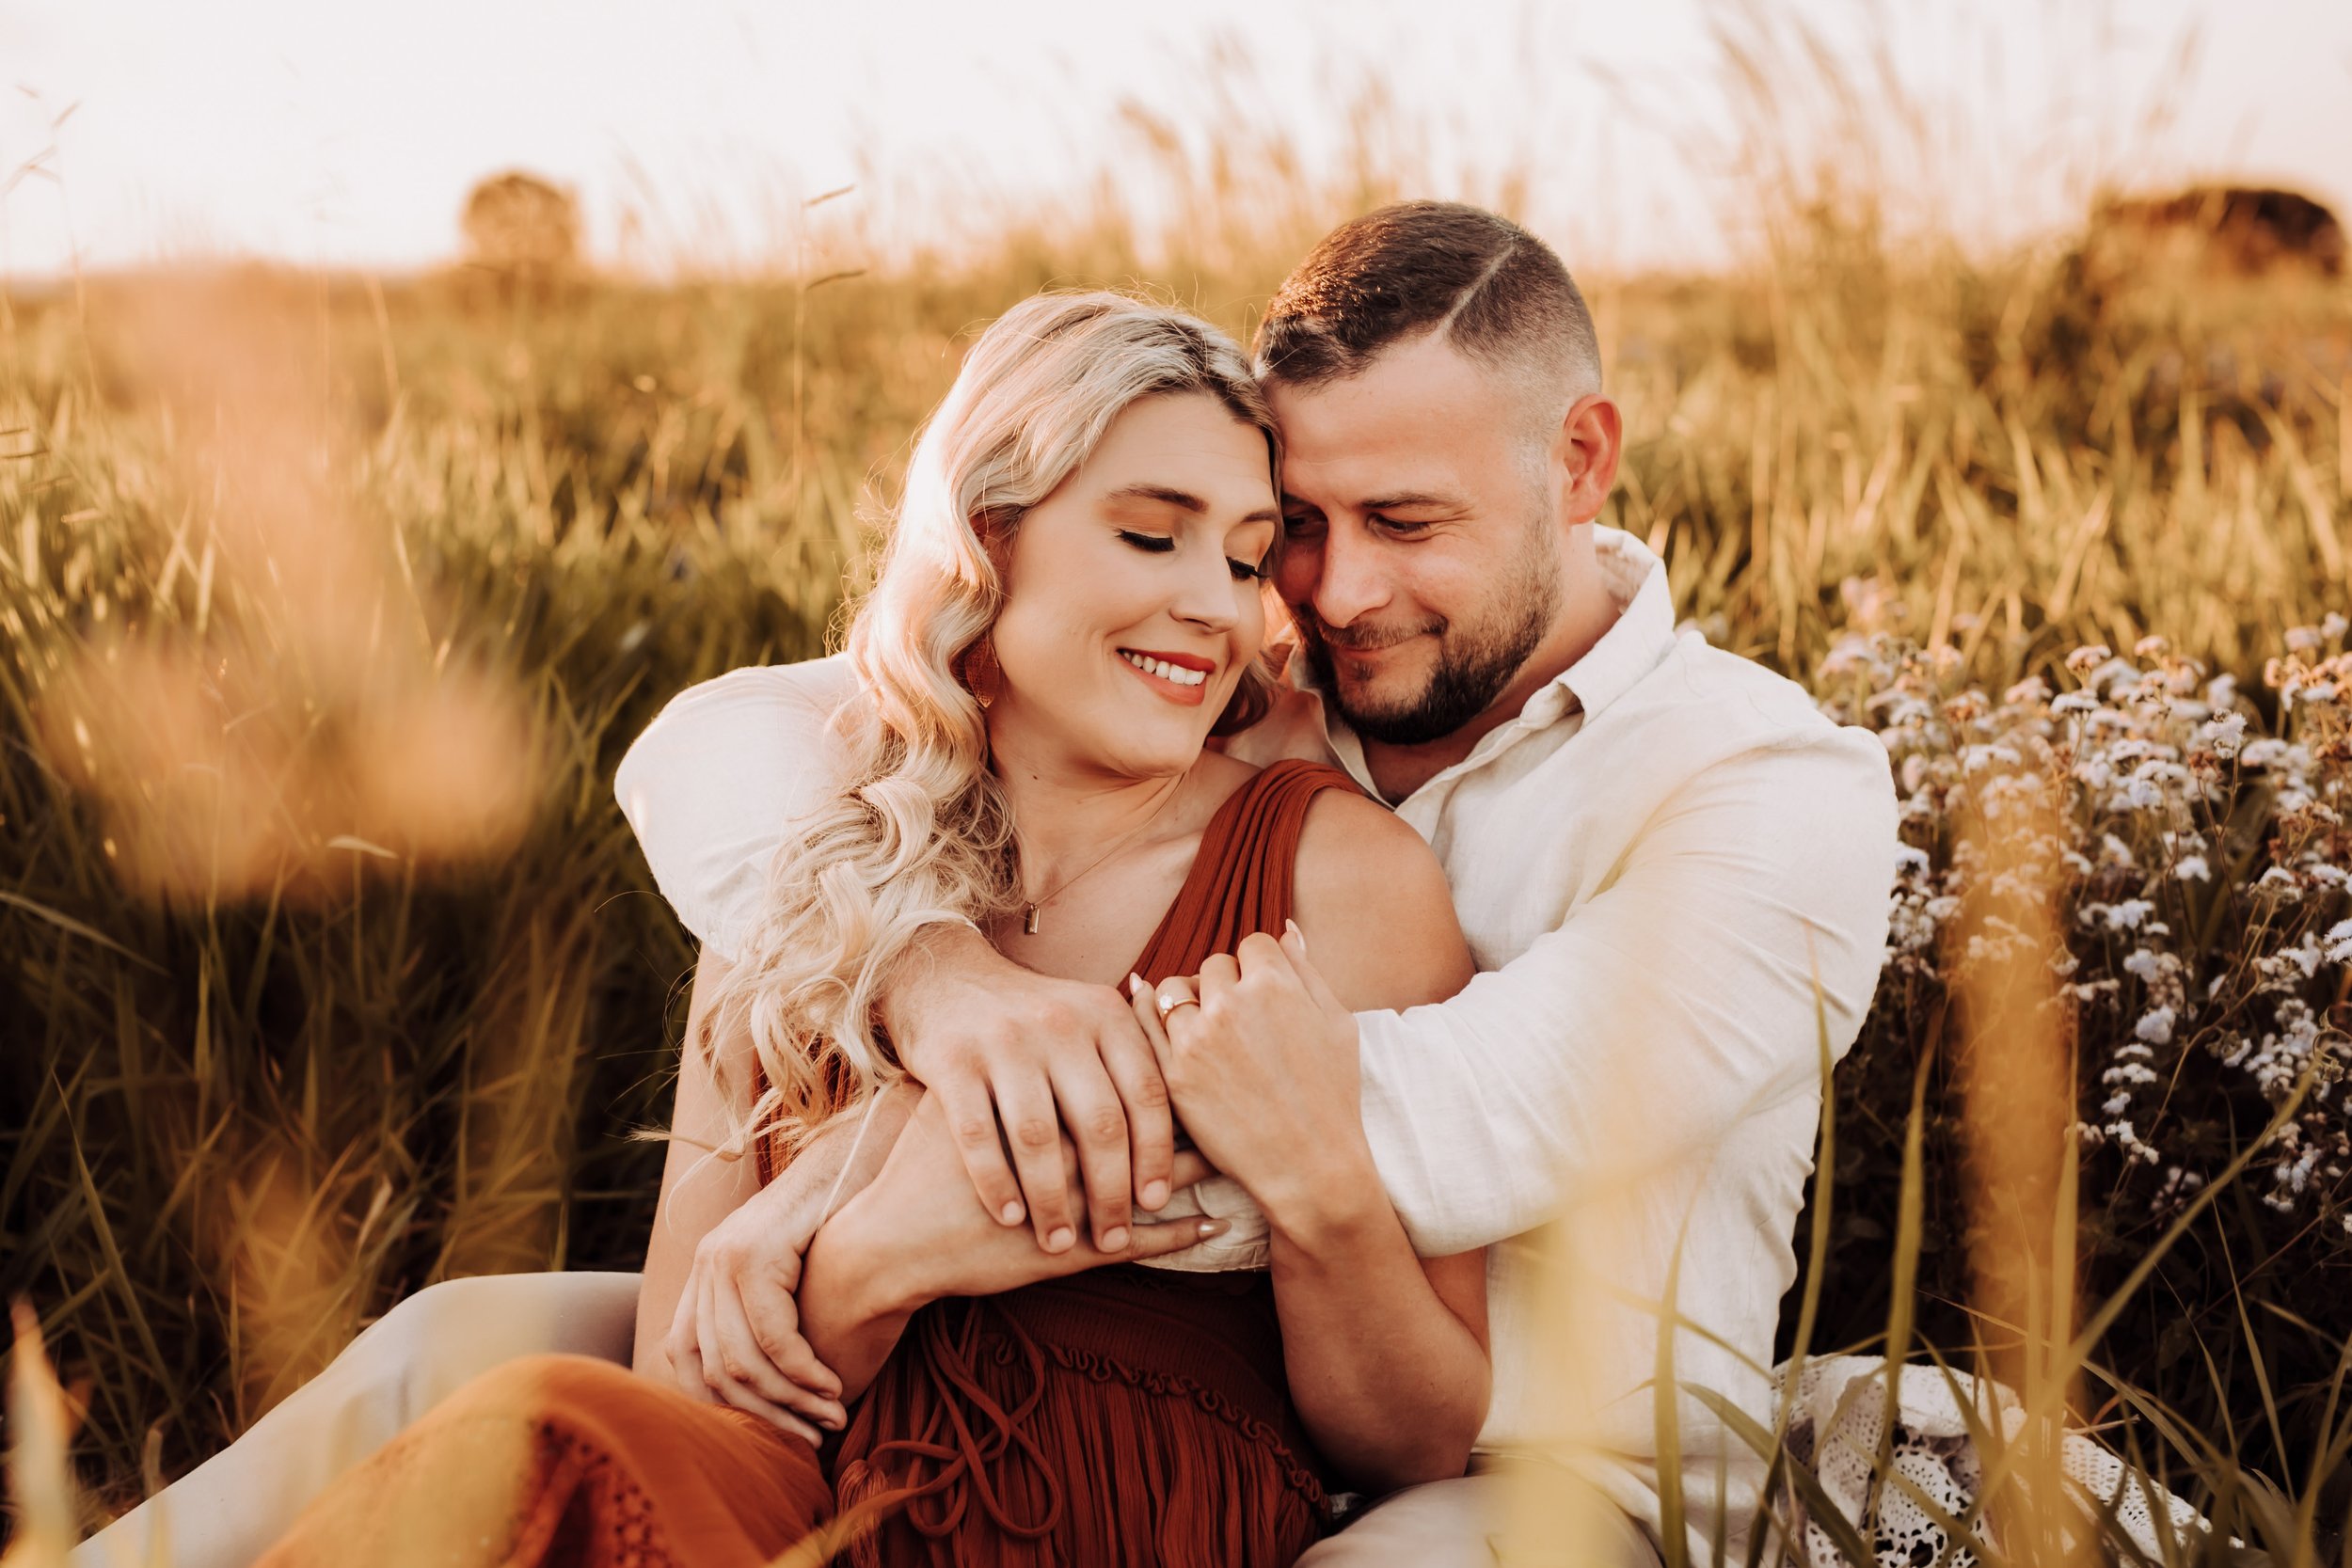
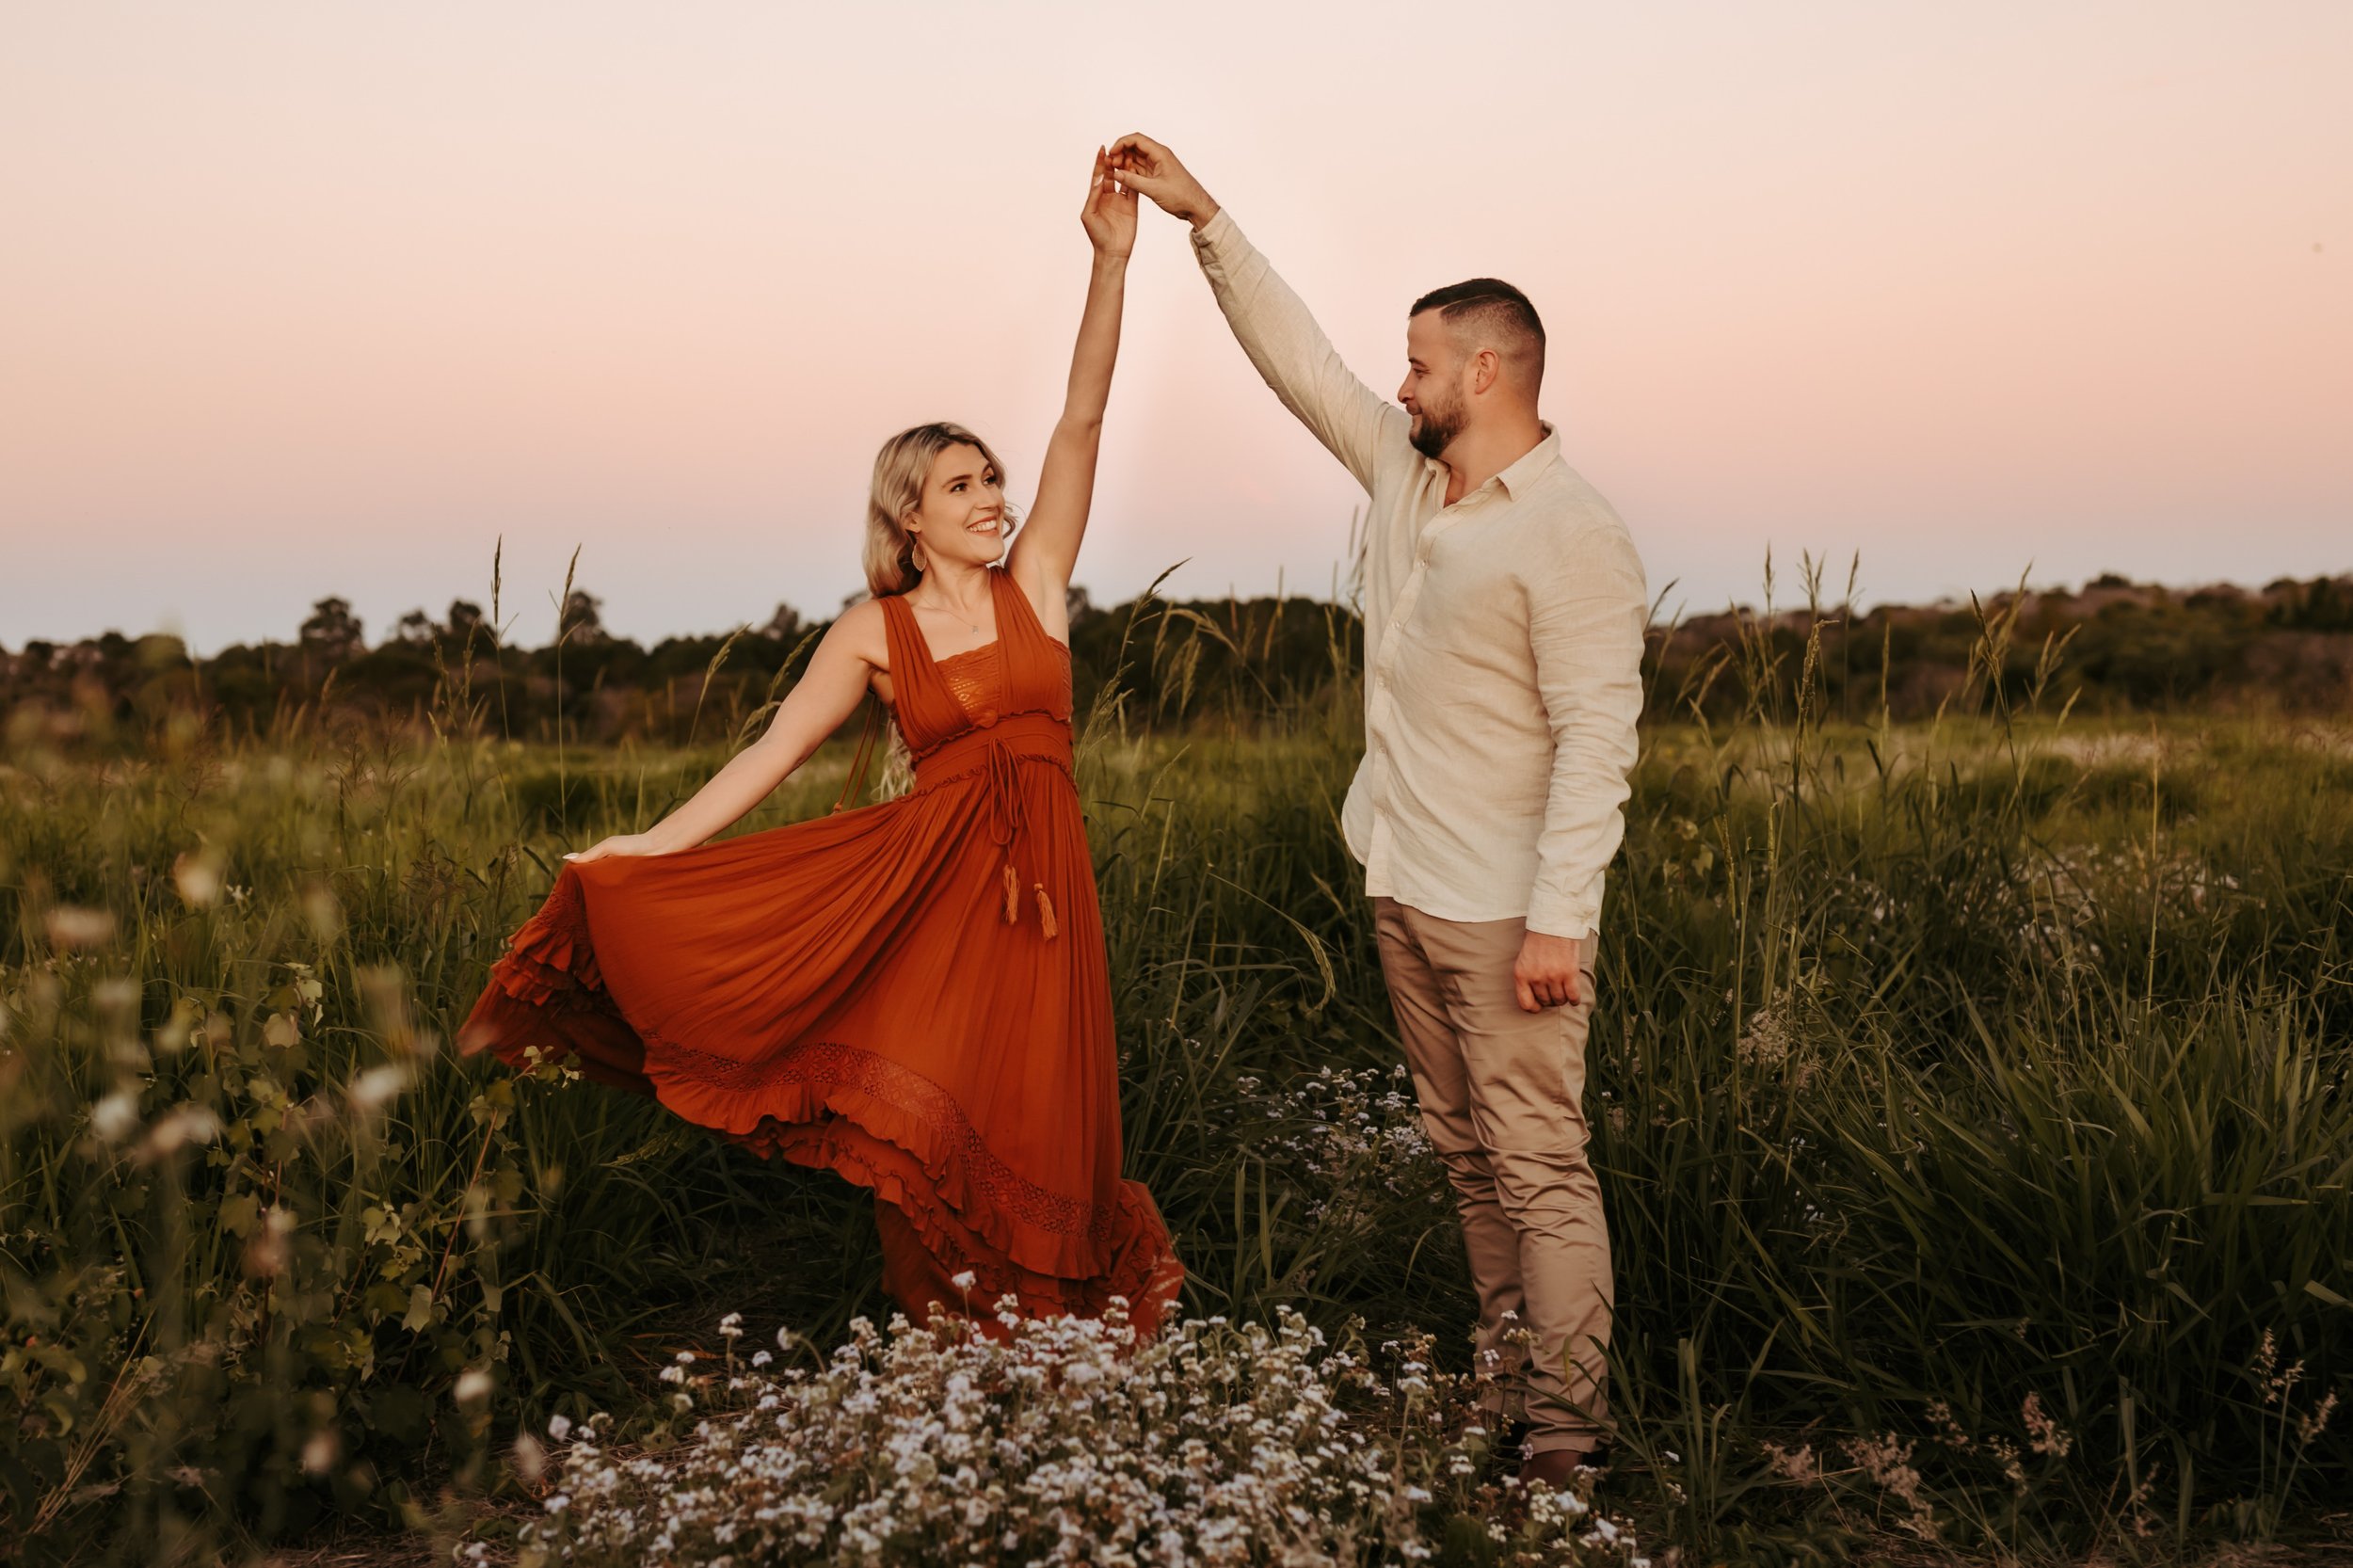
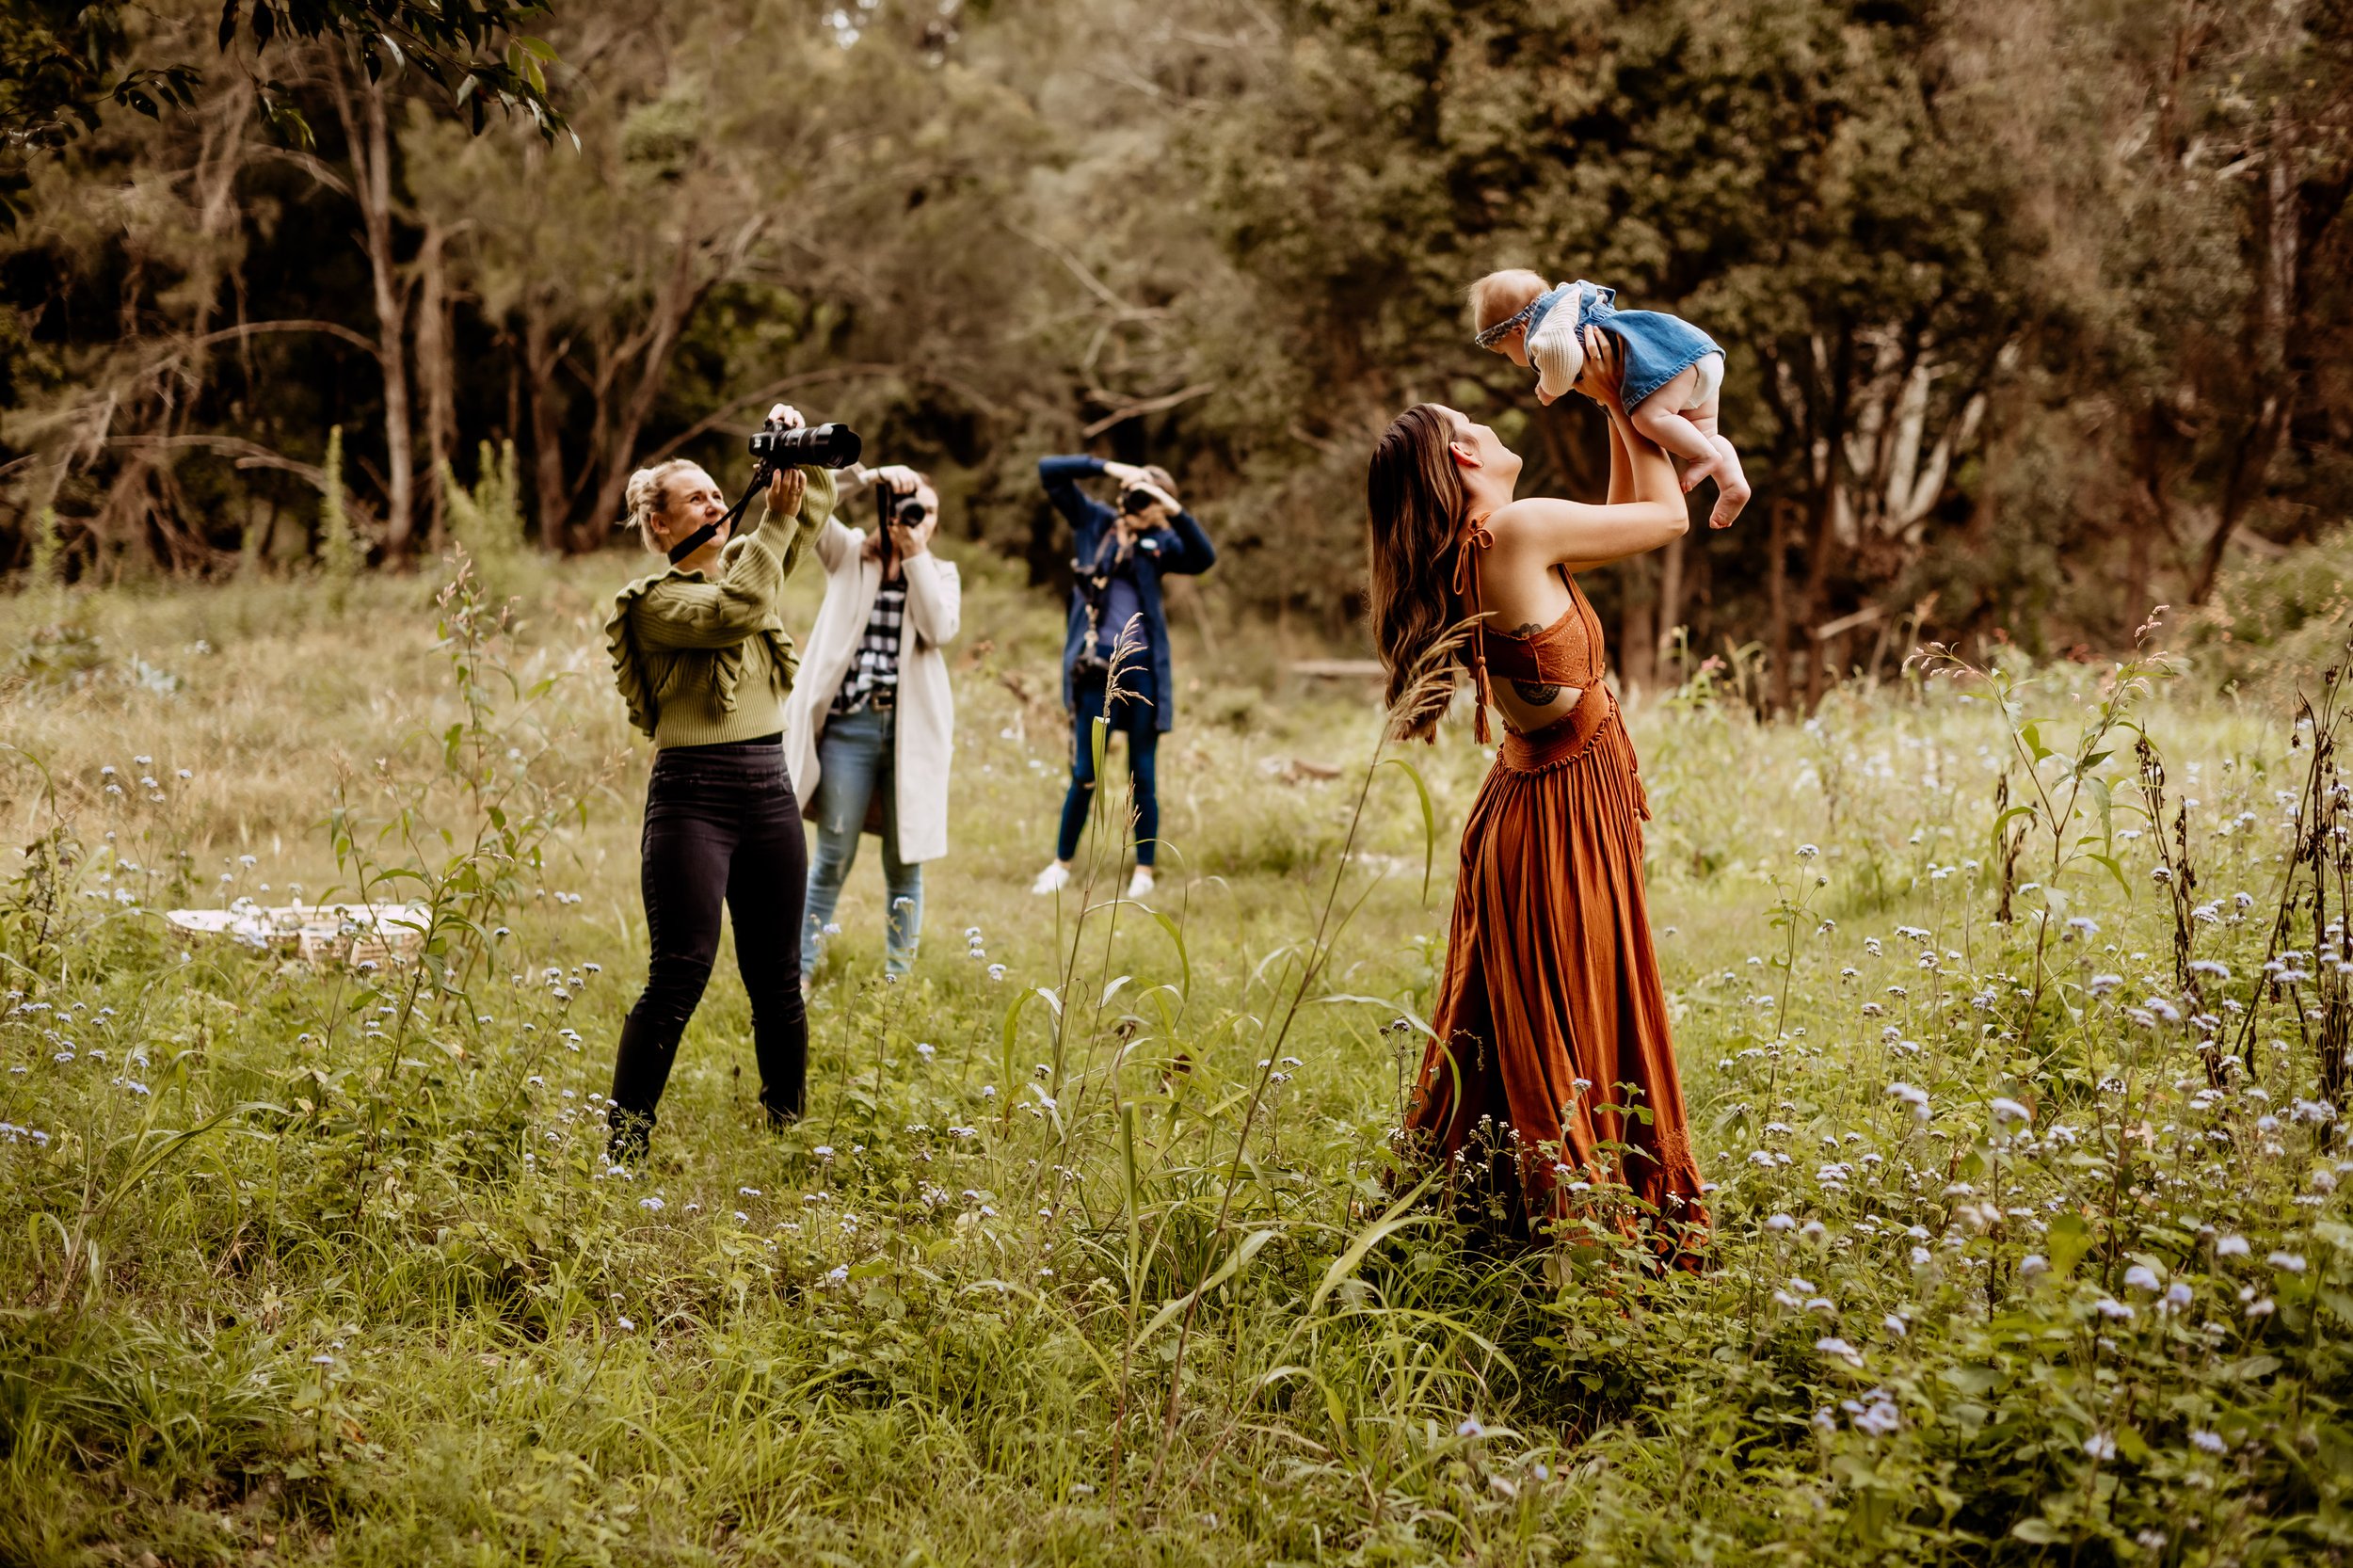
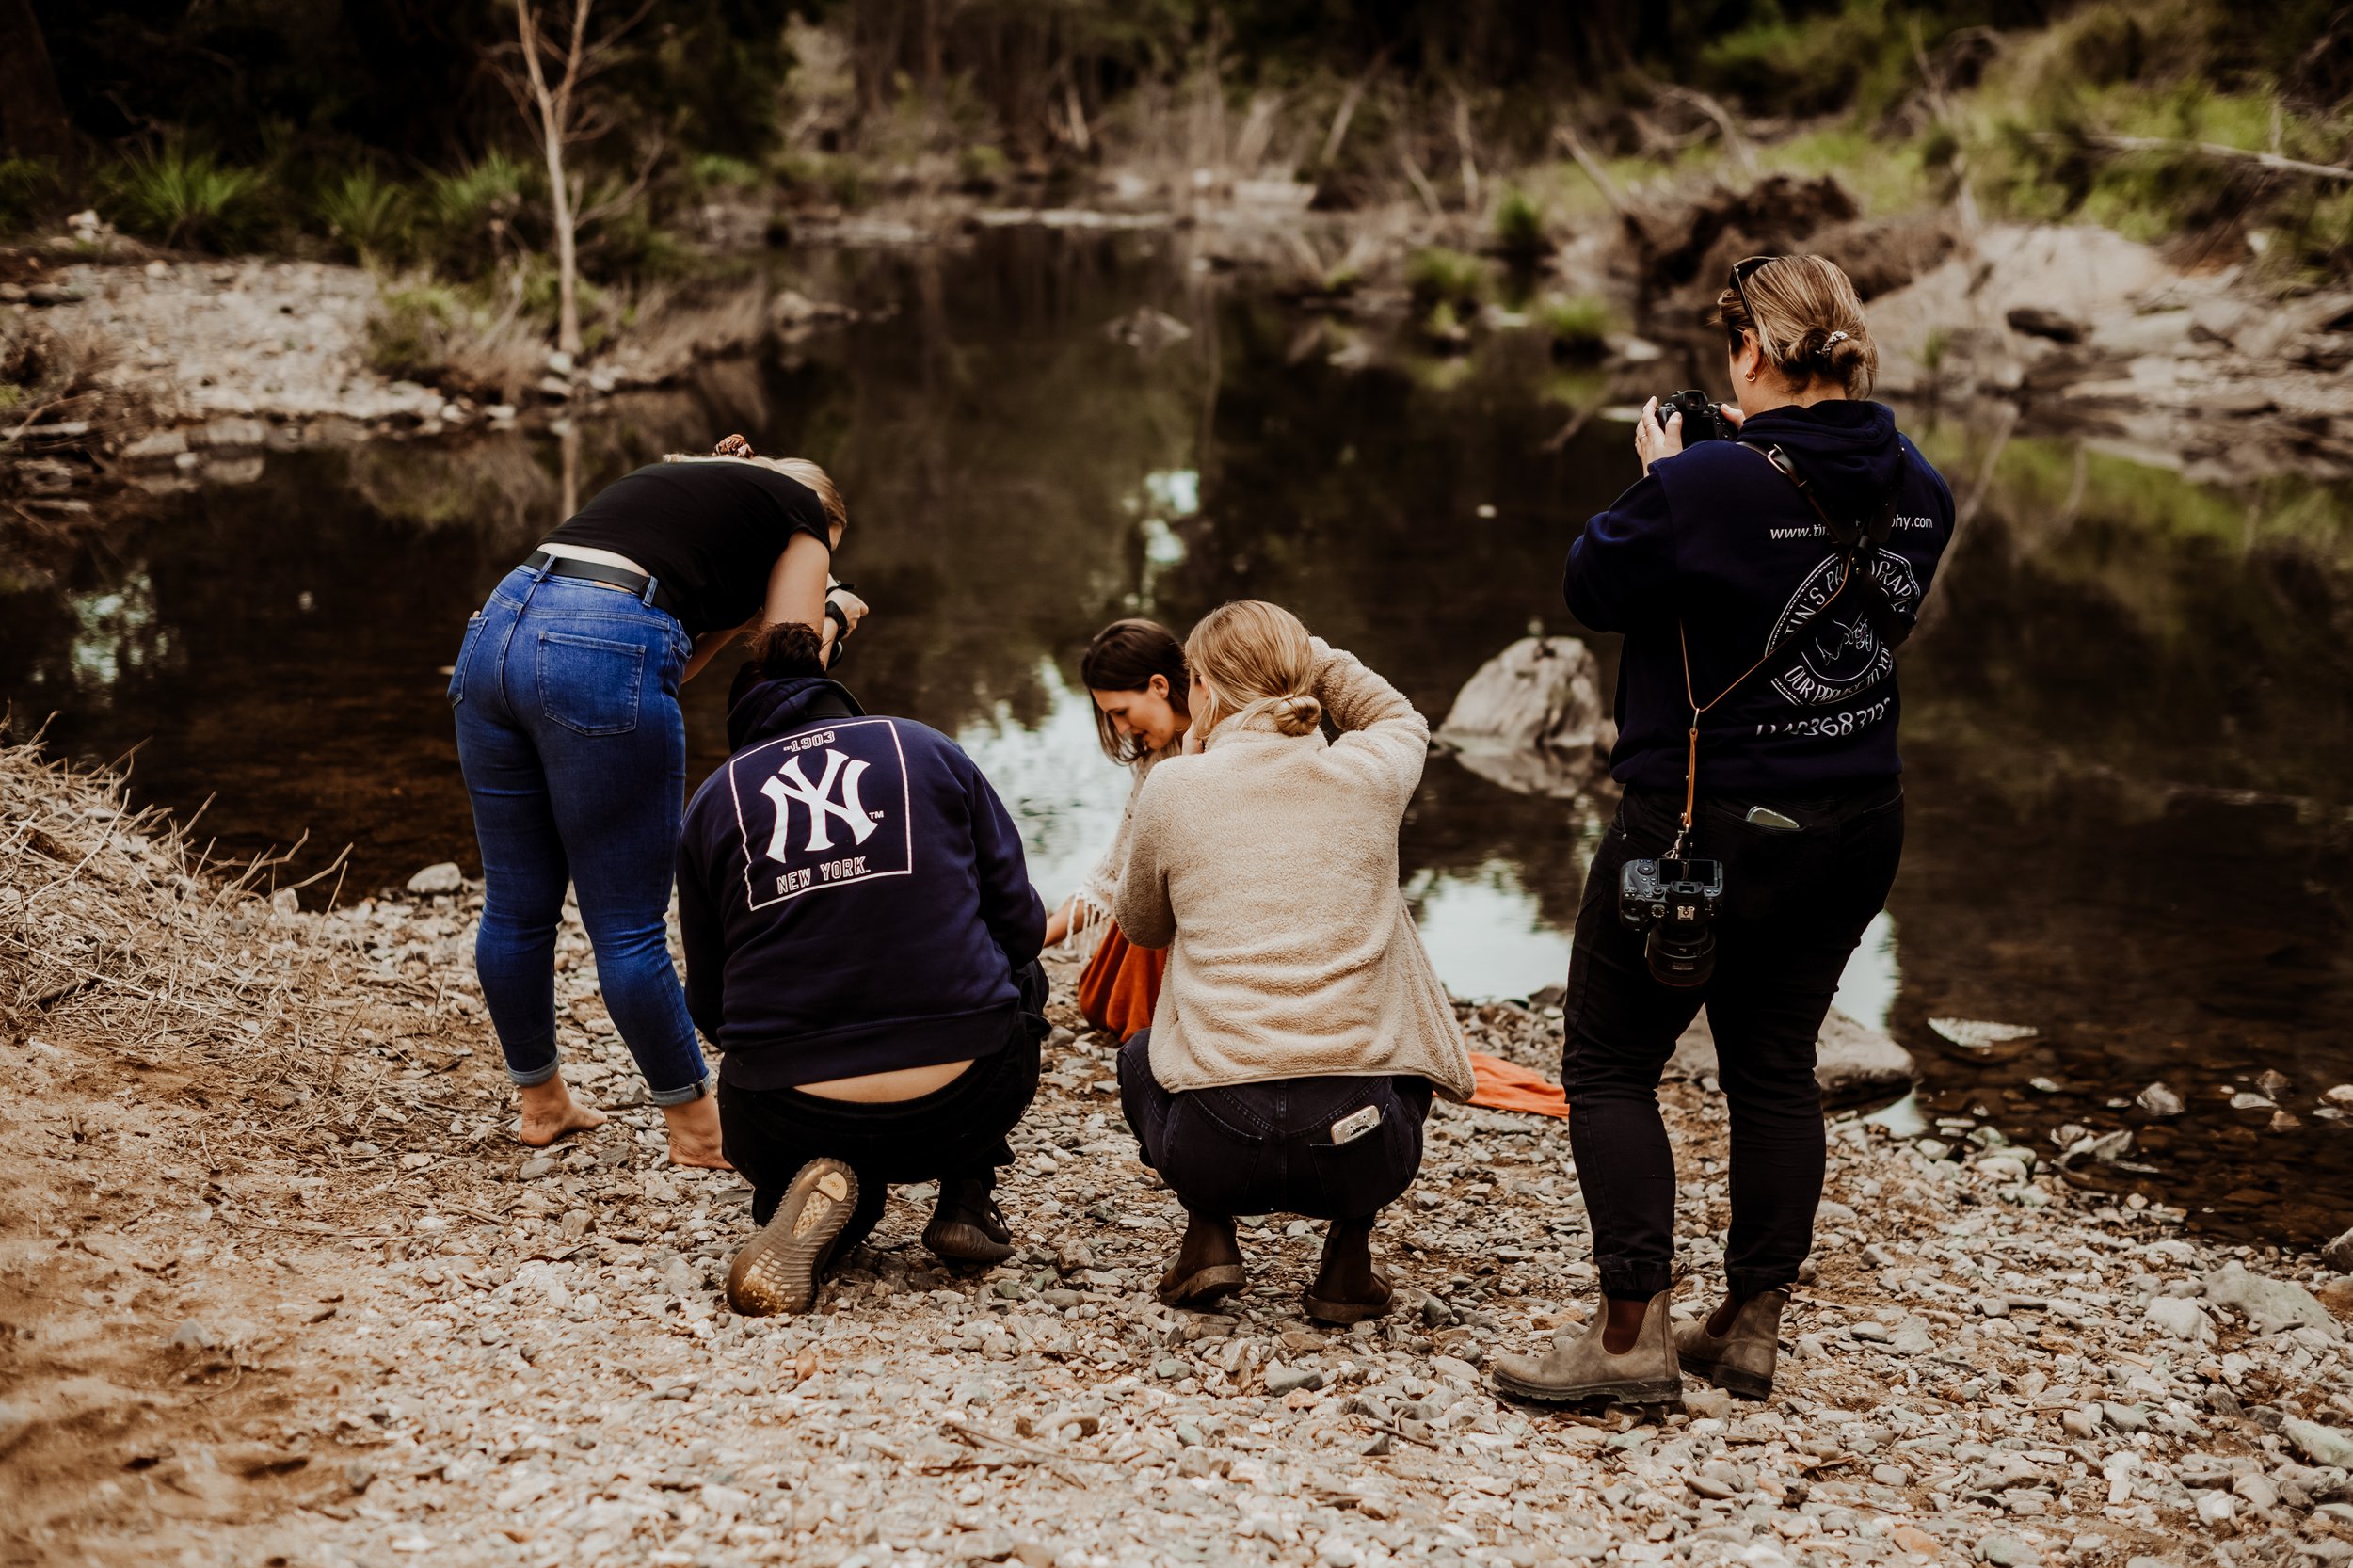
A broad source of lighting as an example would be anything outdoors and in the open. Your subject (person) facing away from any obstacle or building to avoid harsh light and unflattering shadows.
In front of a building facing outwards.
In front of a tree with the sun behind them.
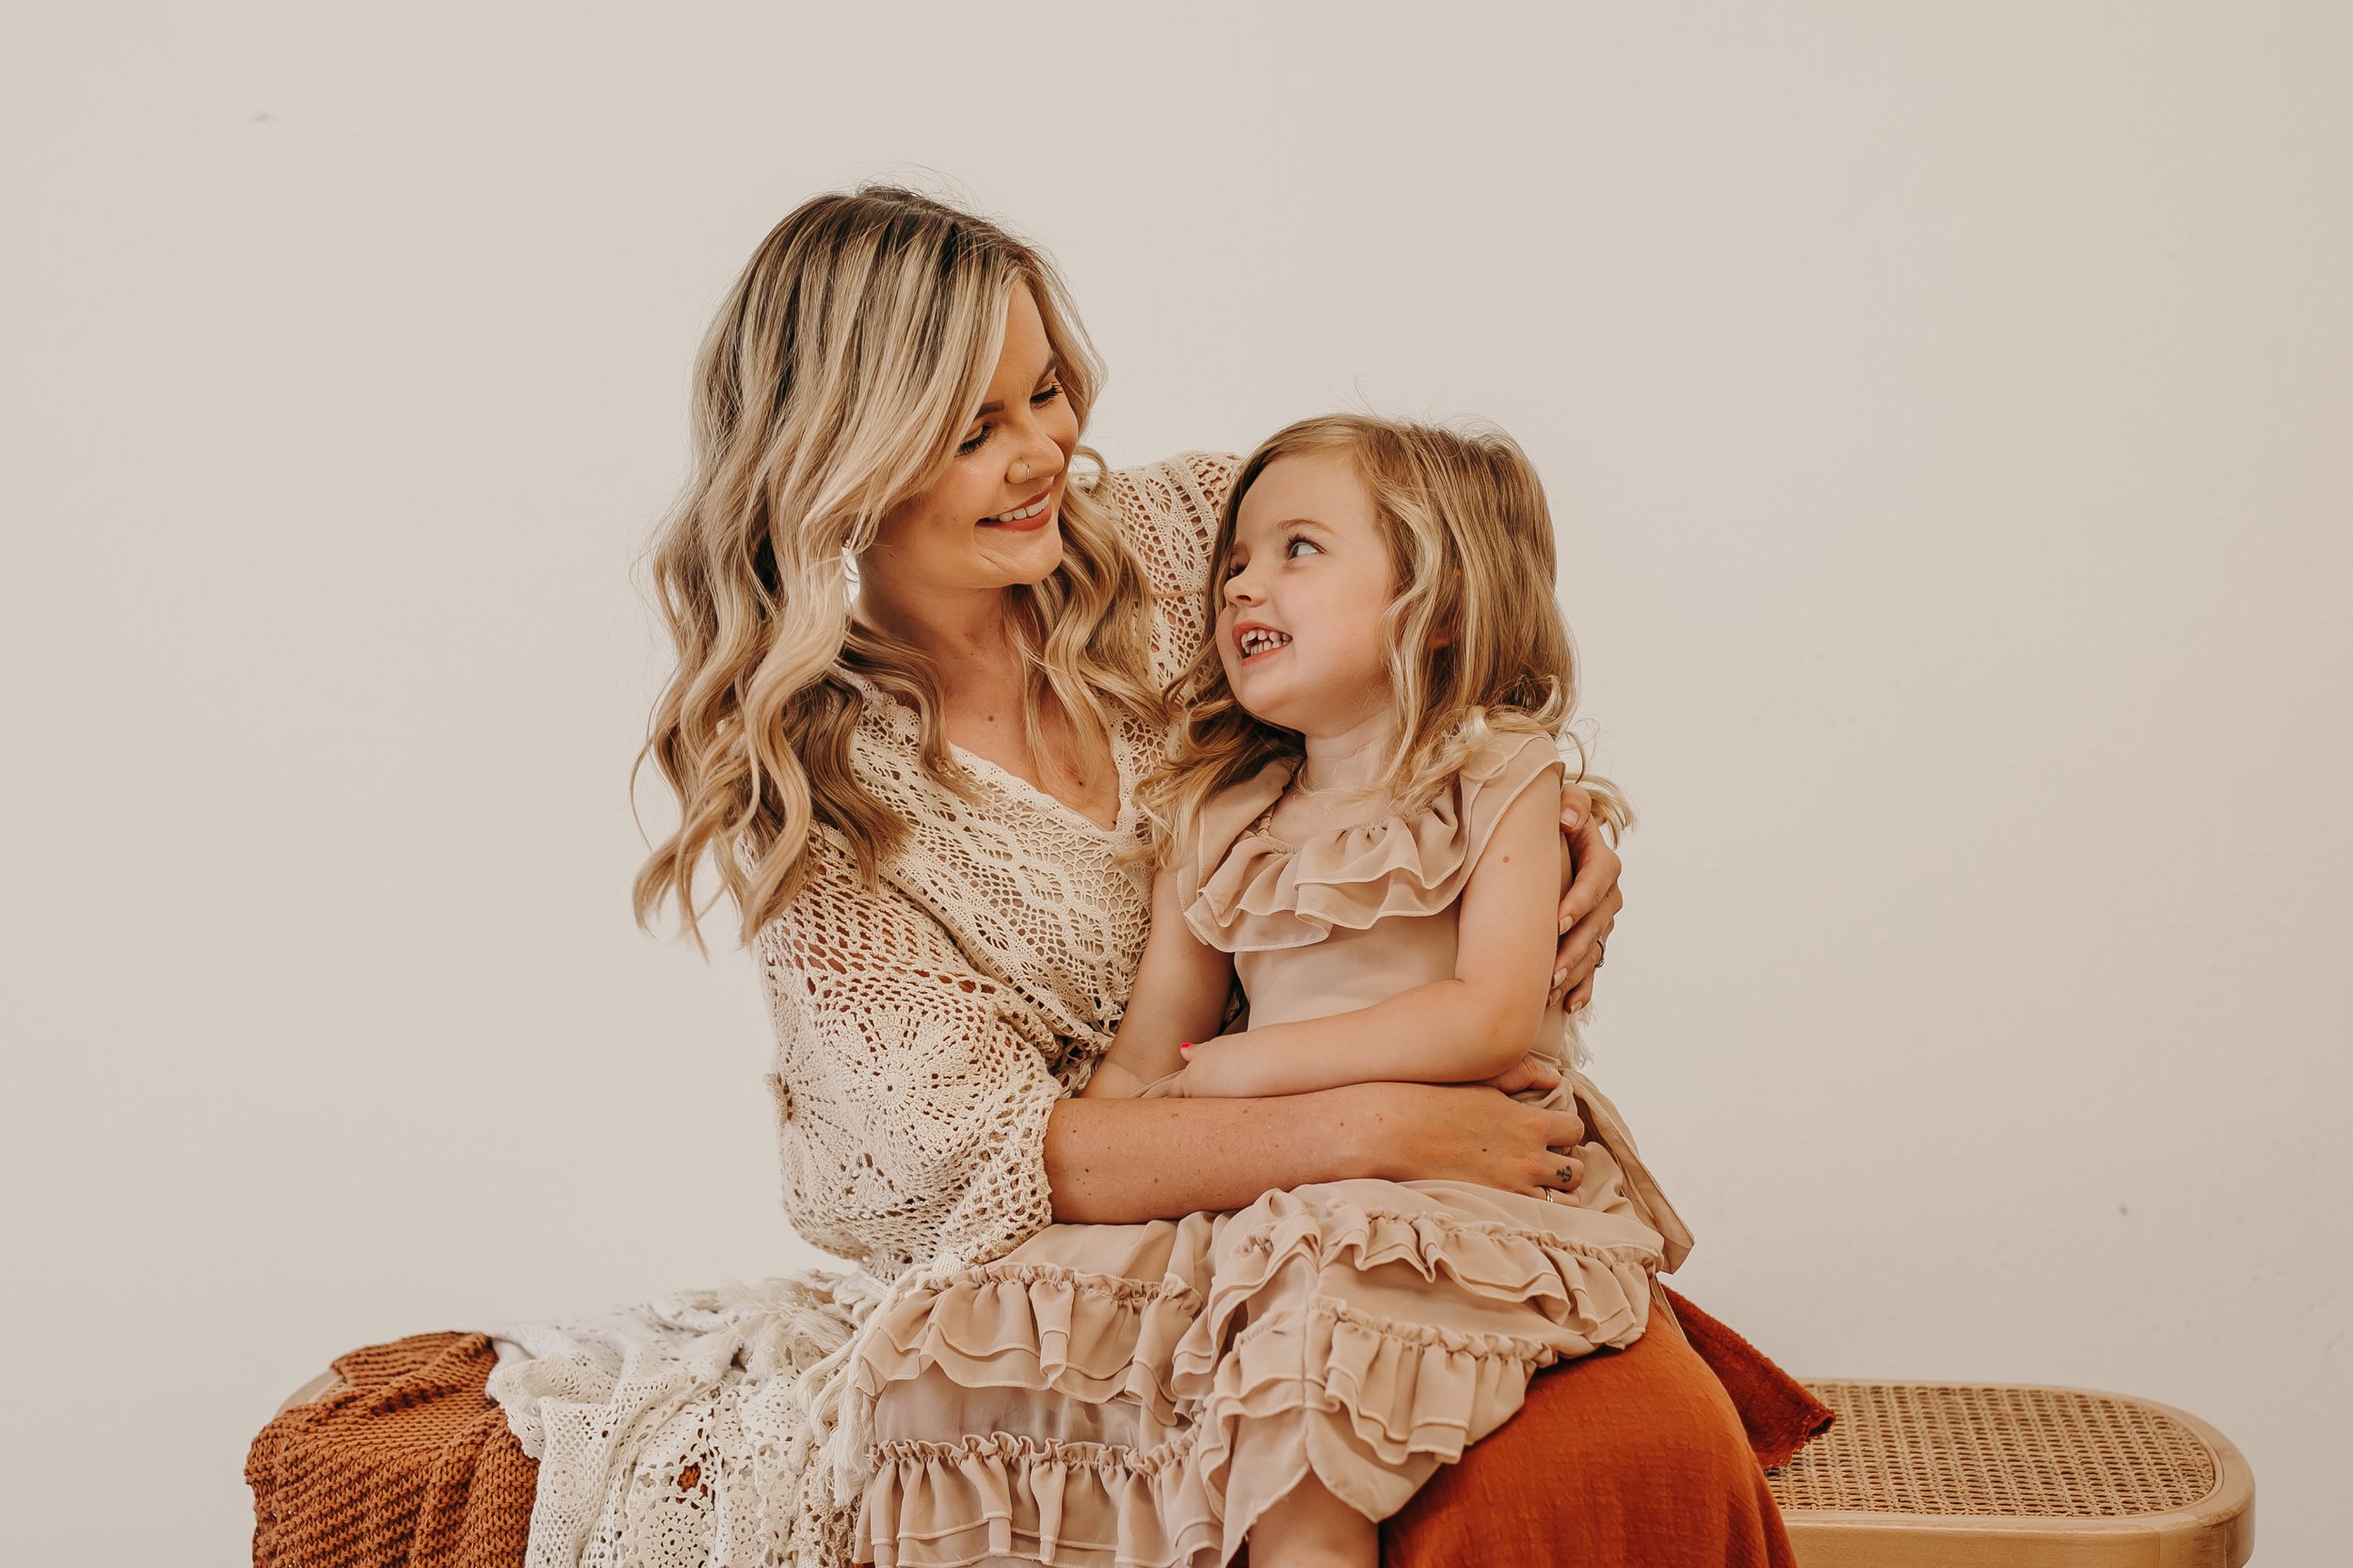
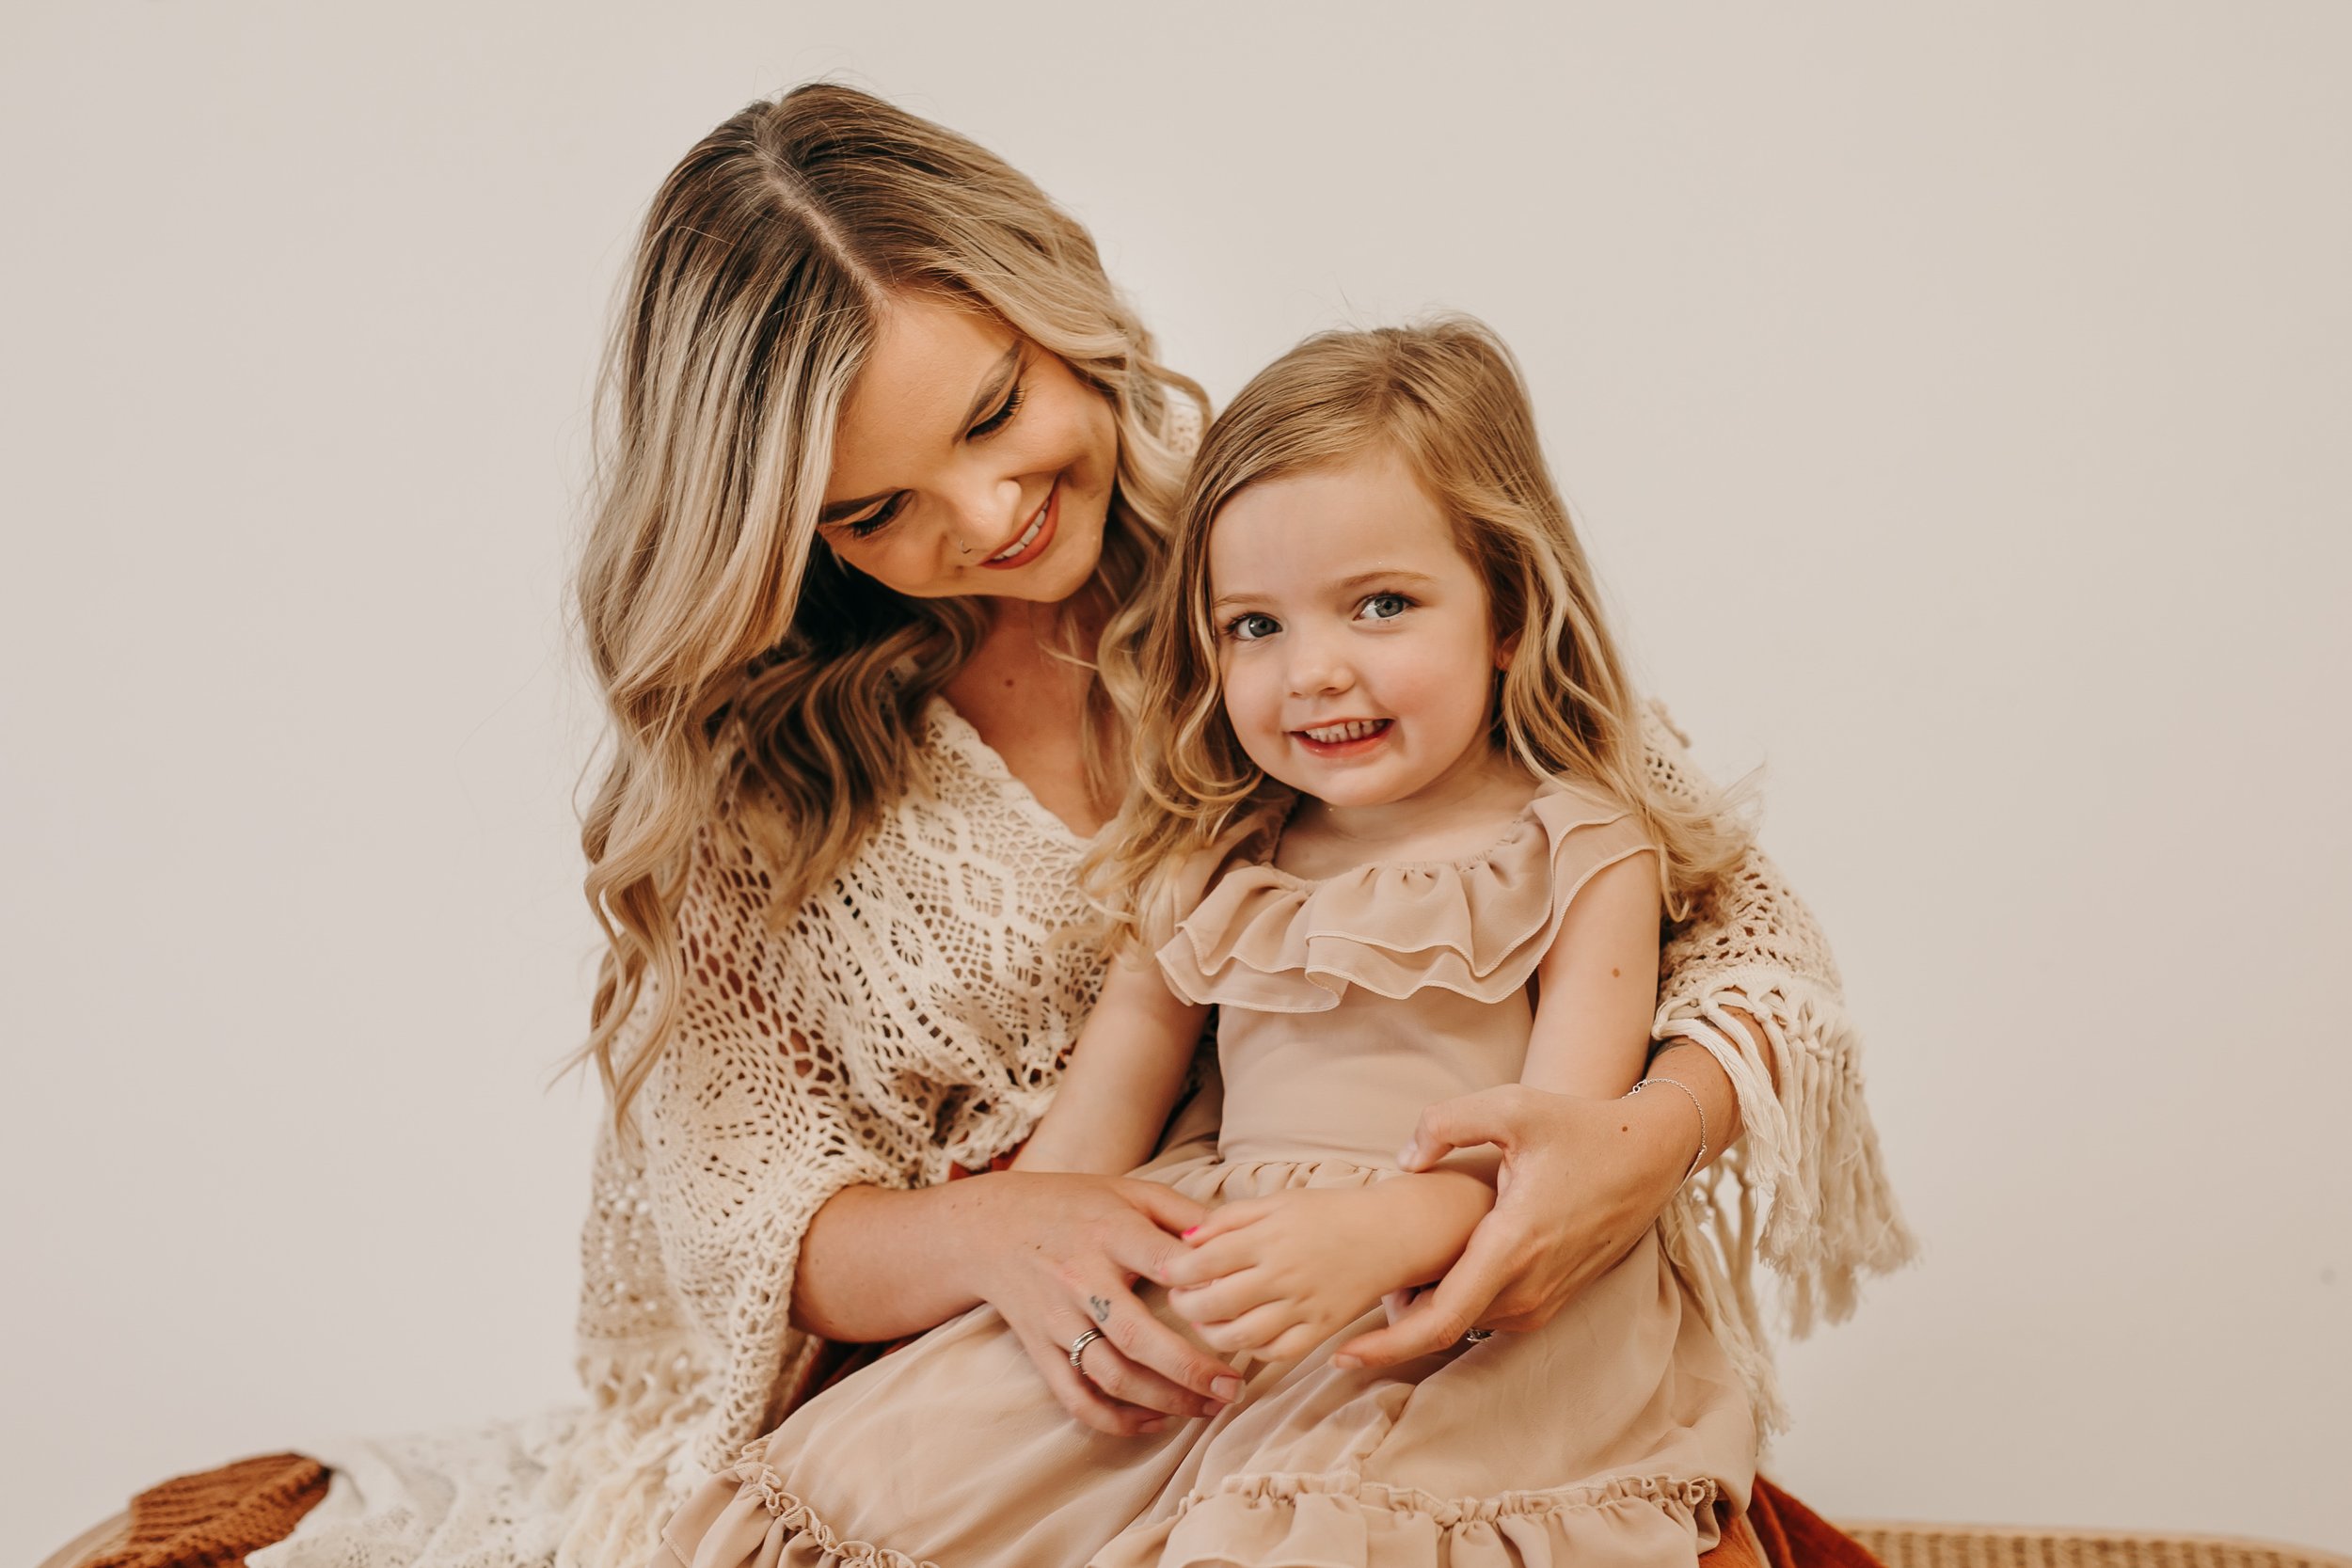
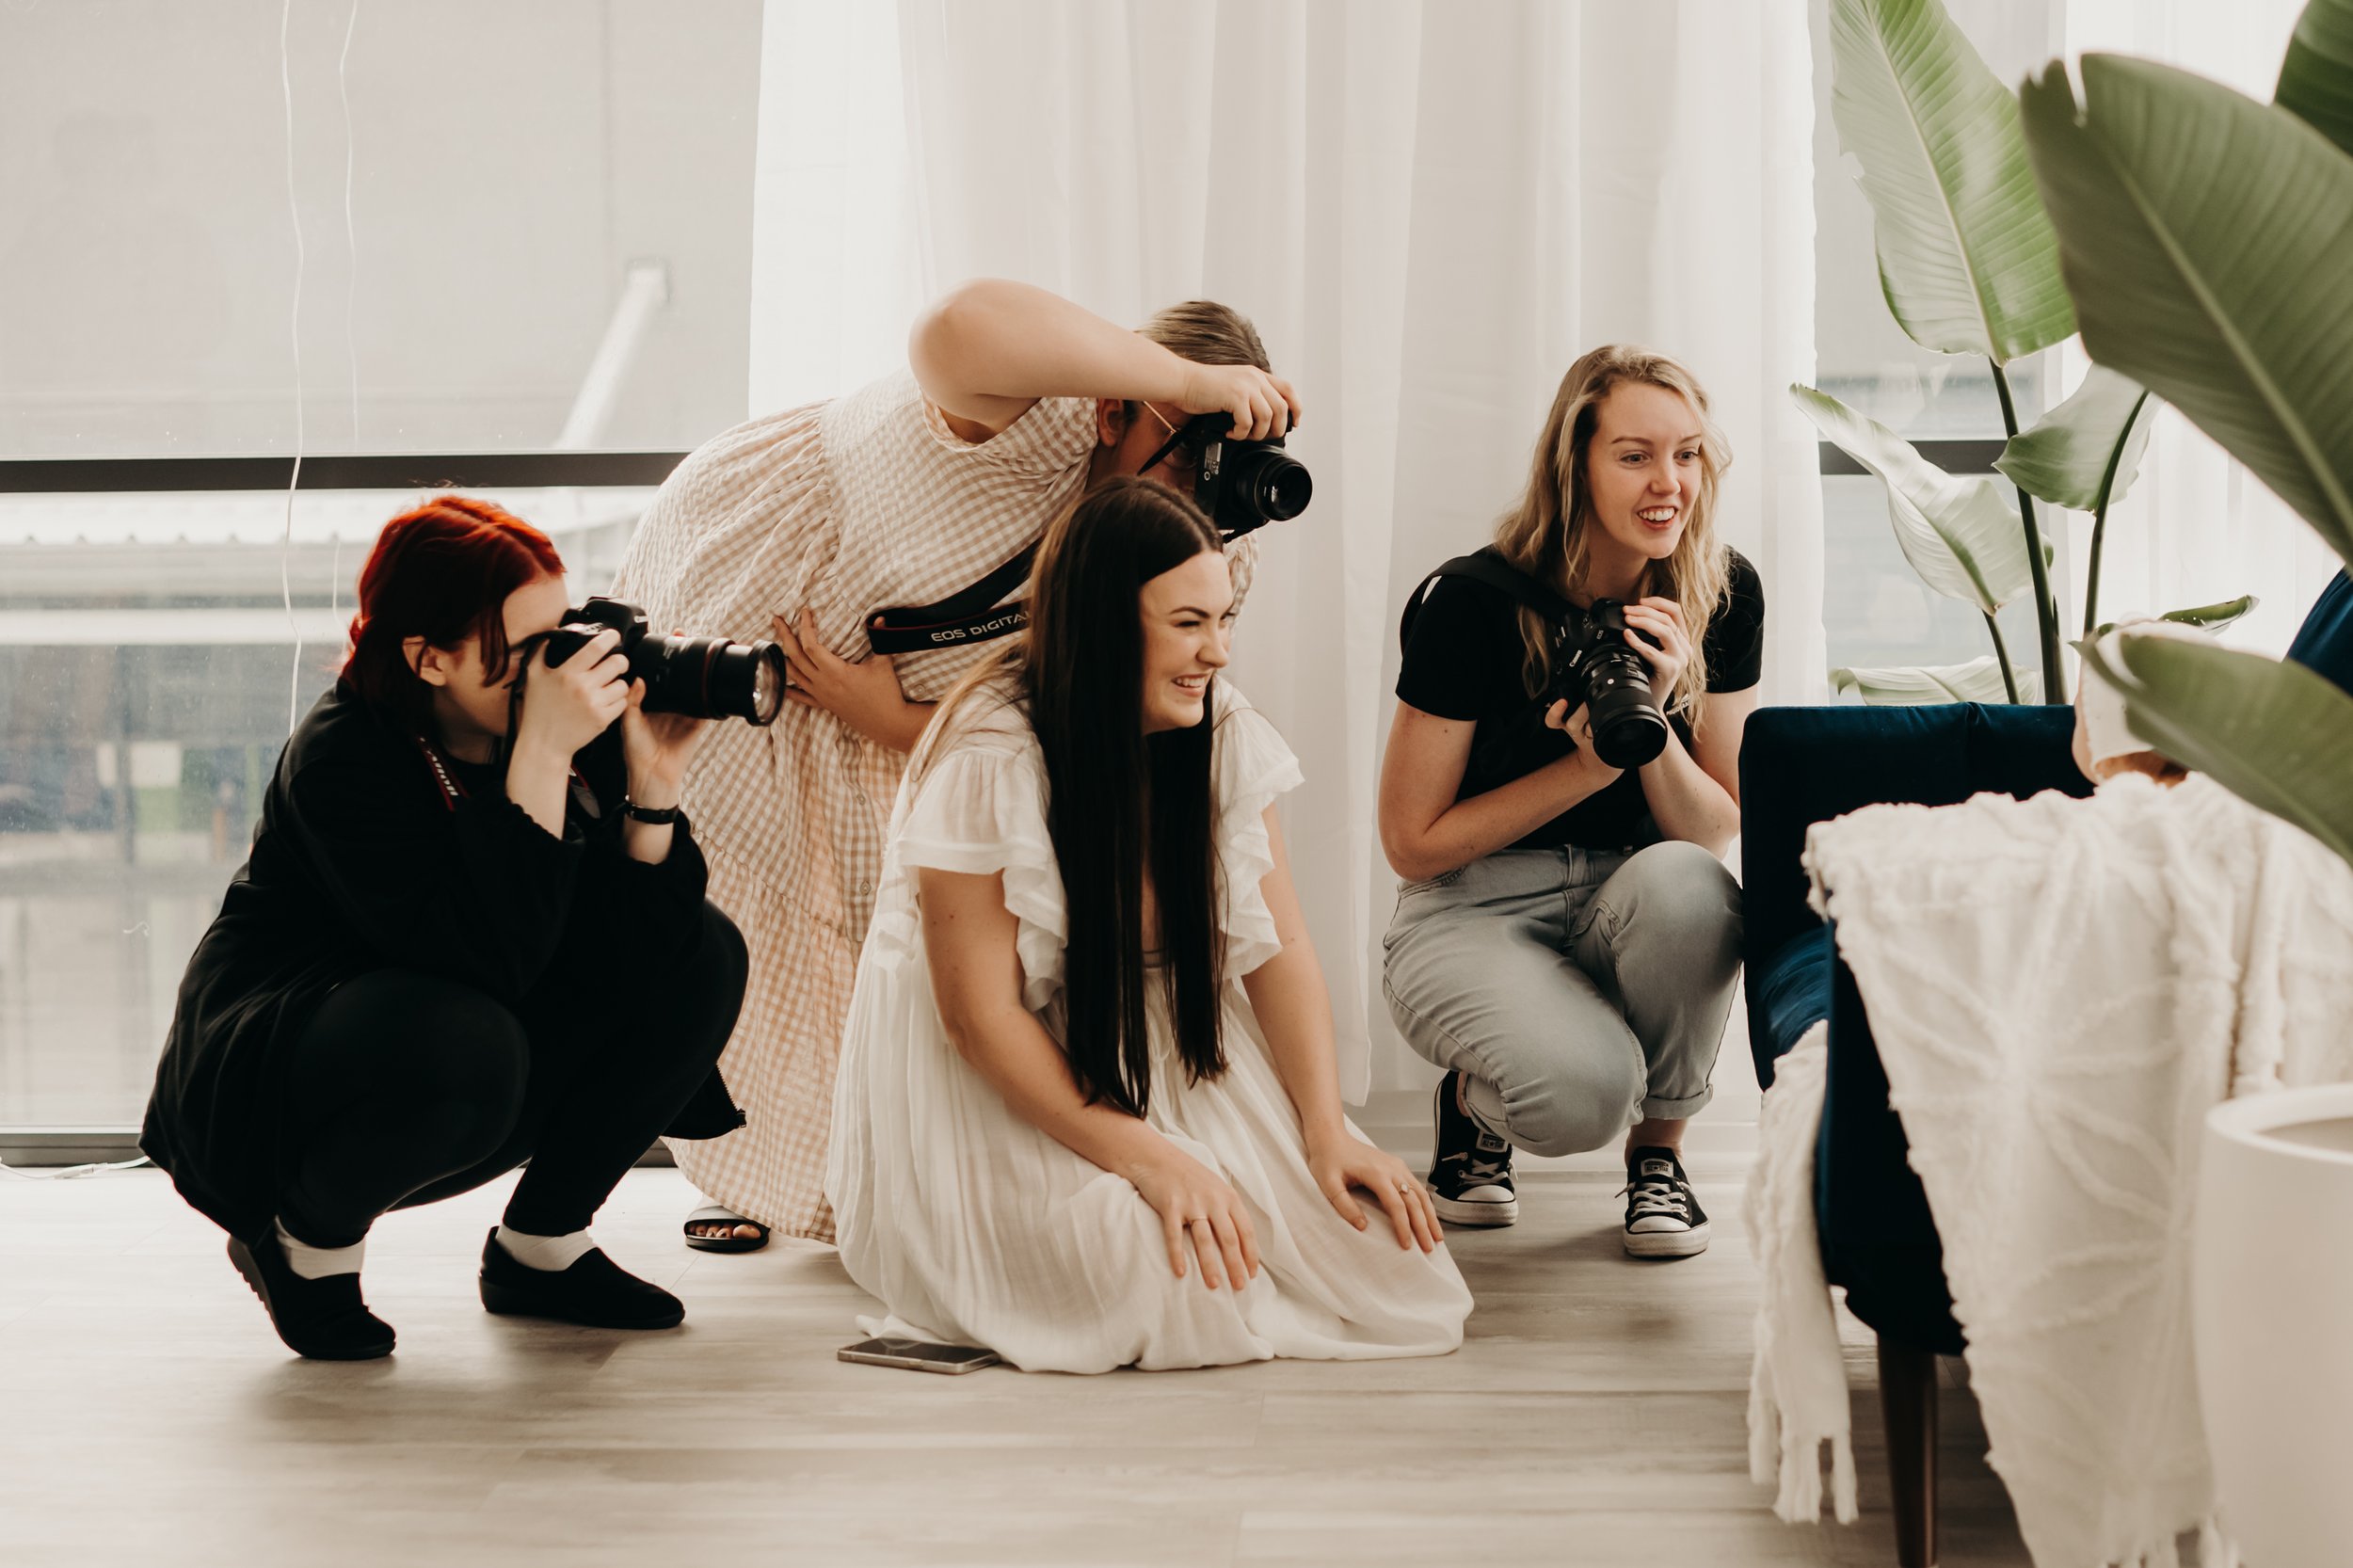
Indoors facing towards a large open window or glass doors.
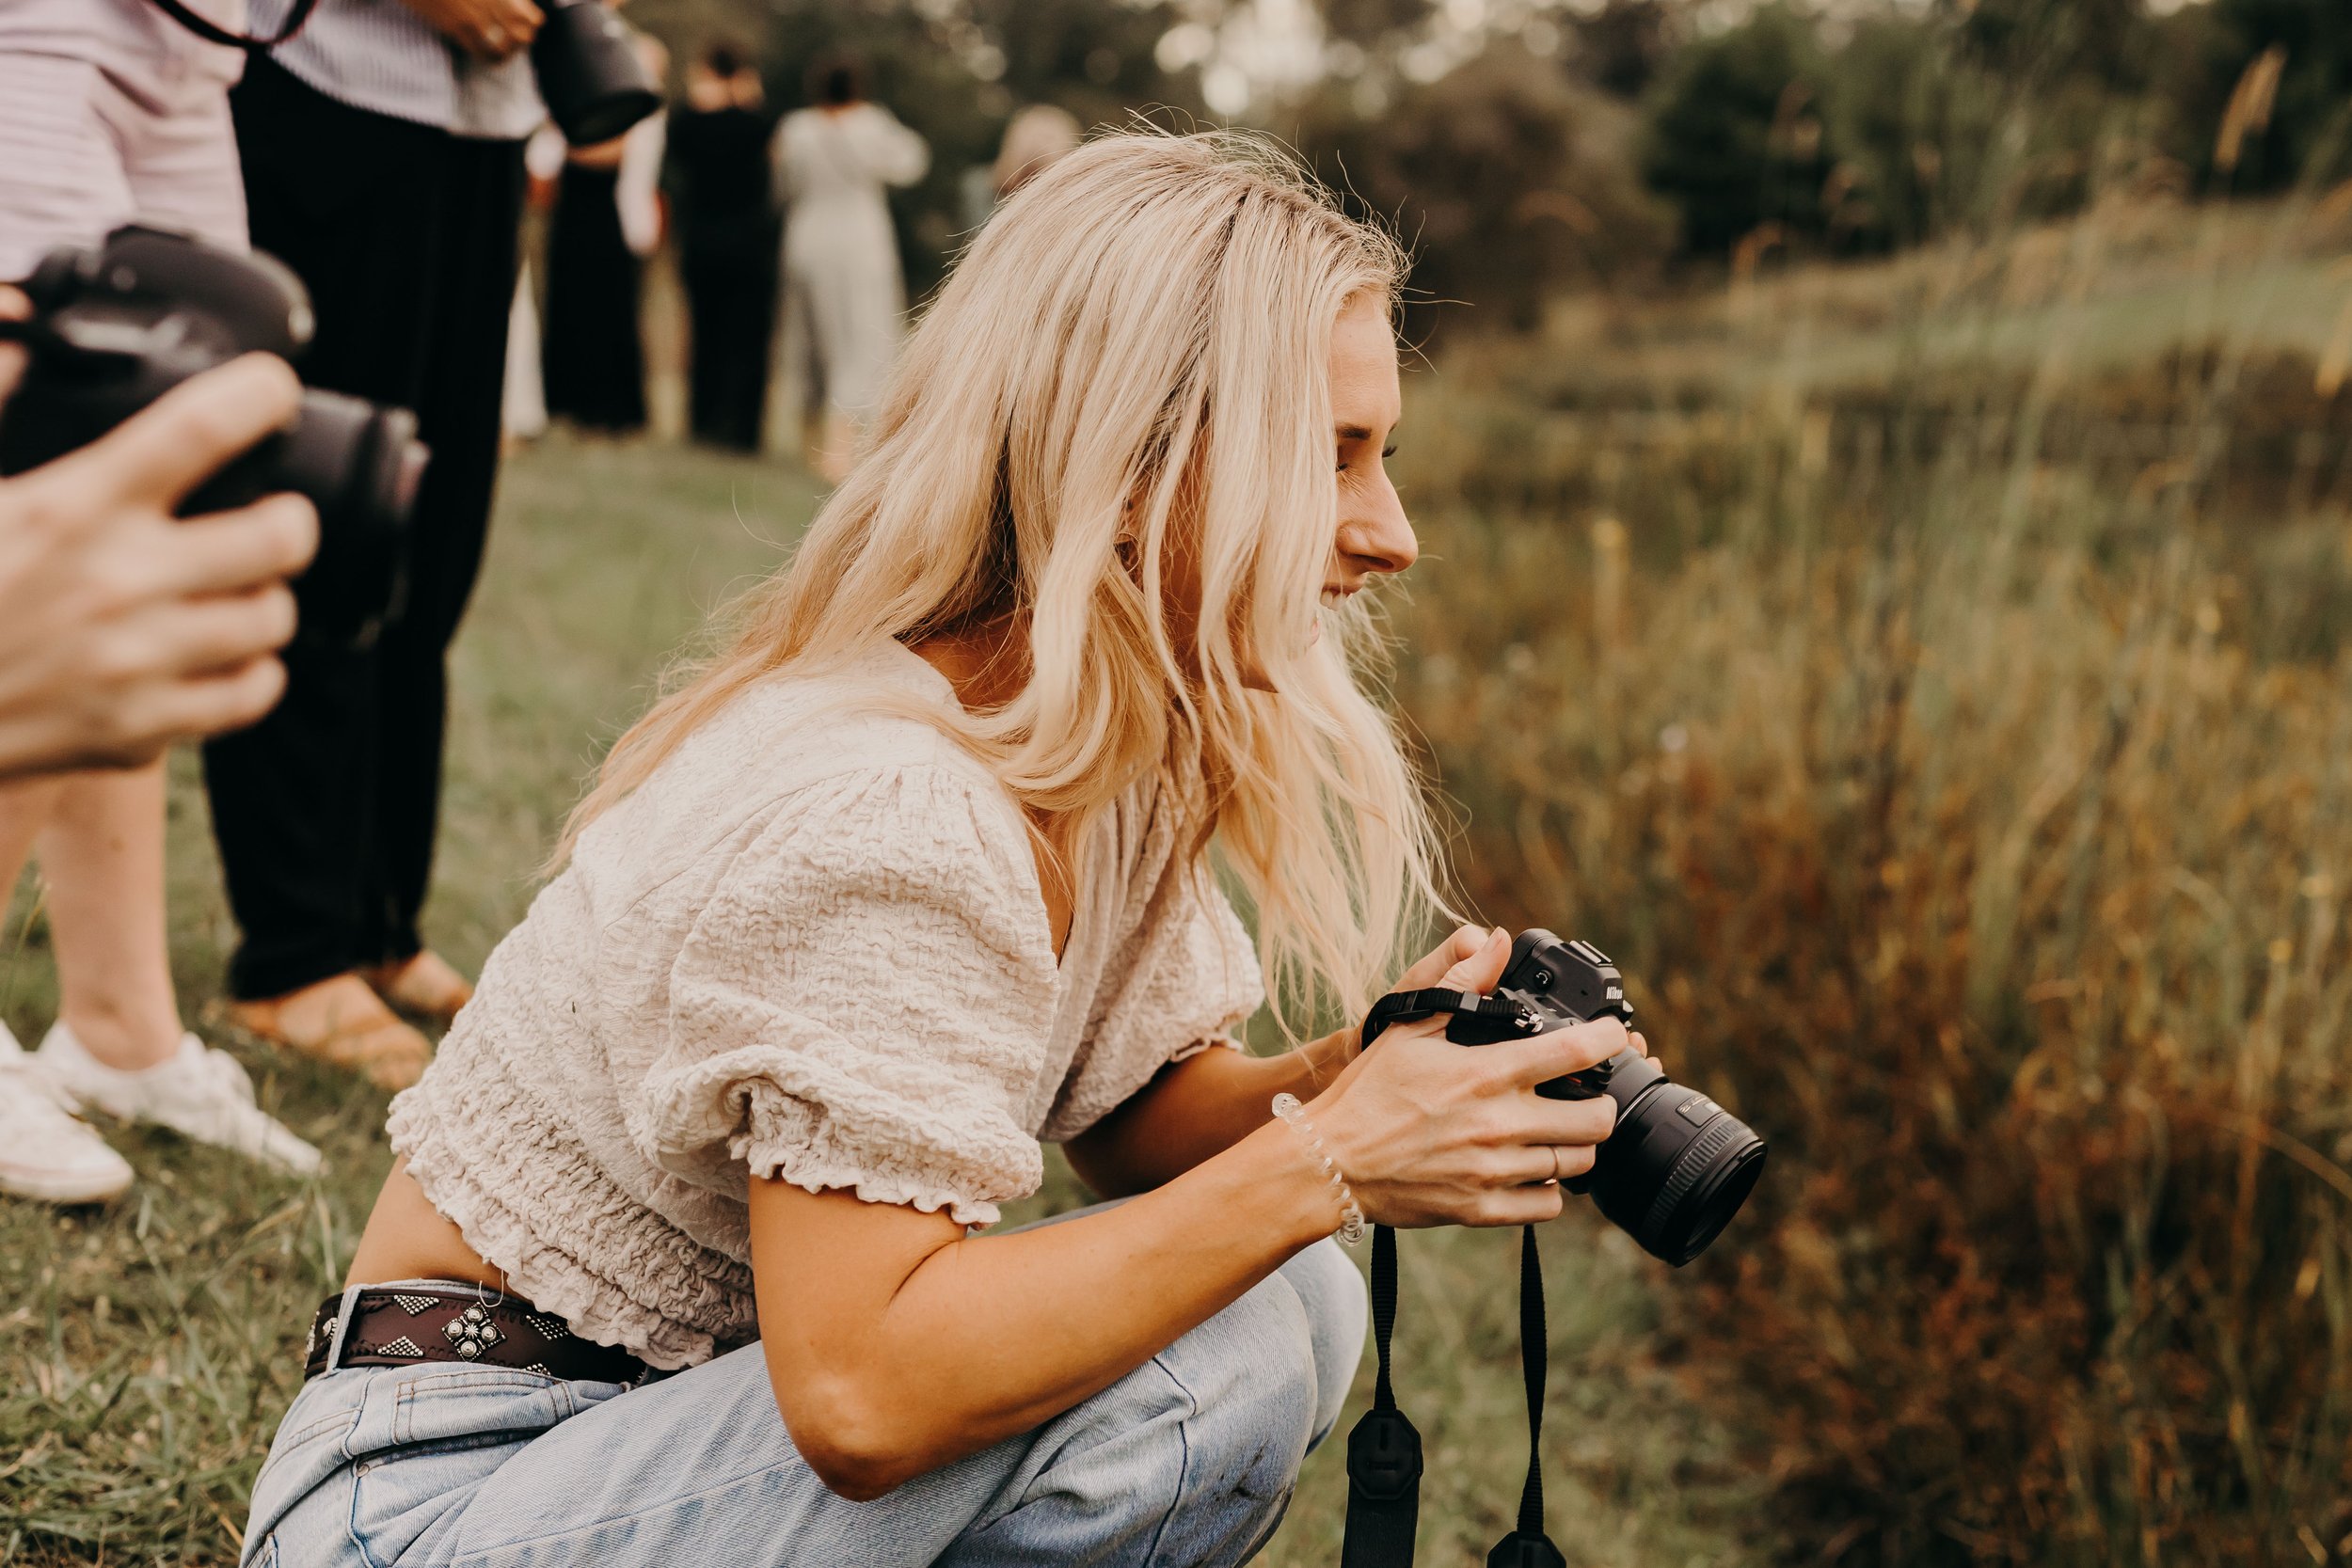
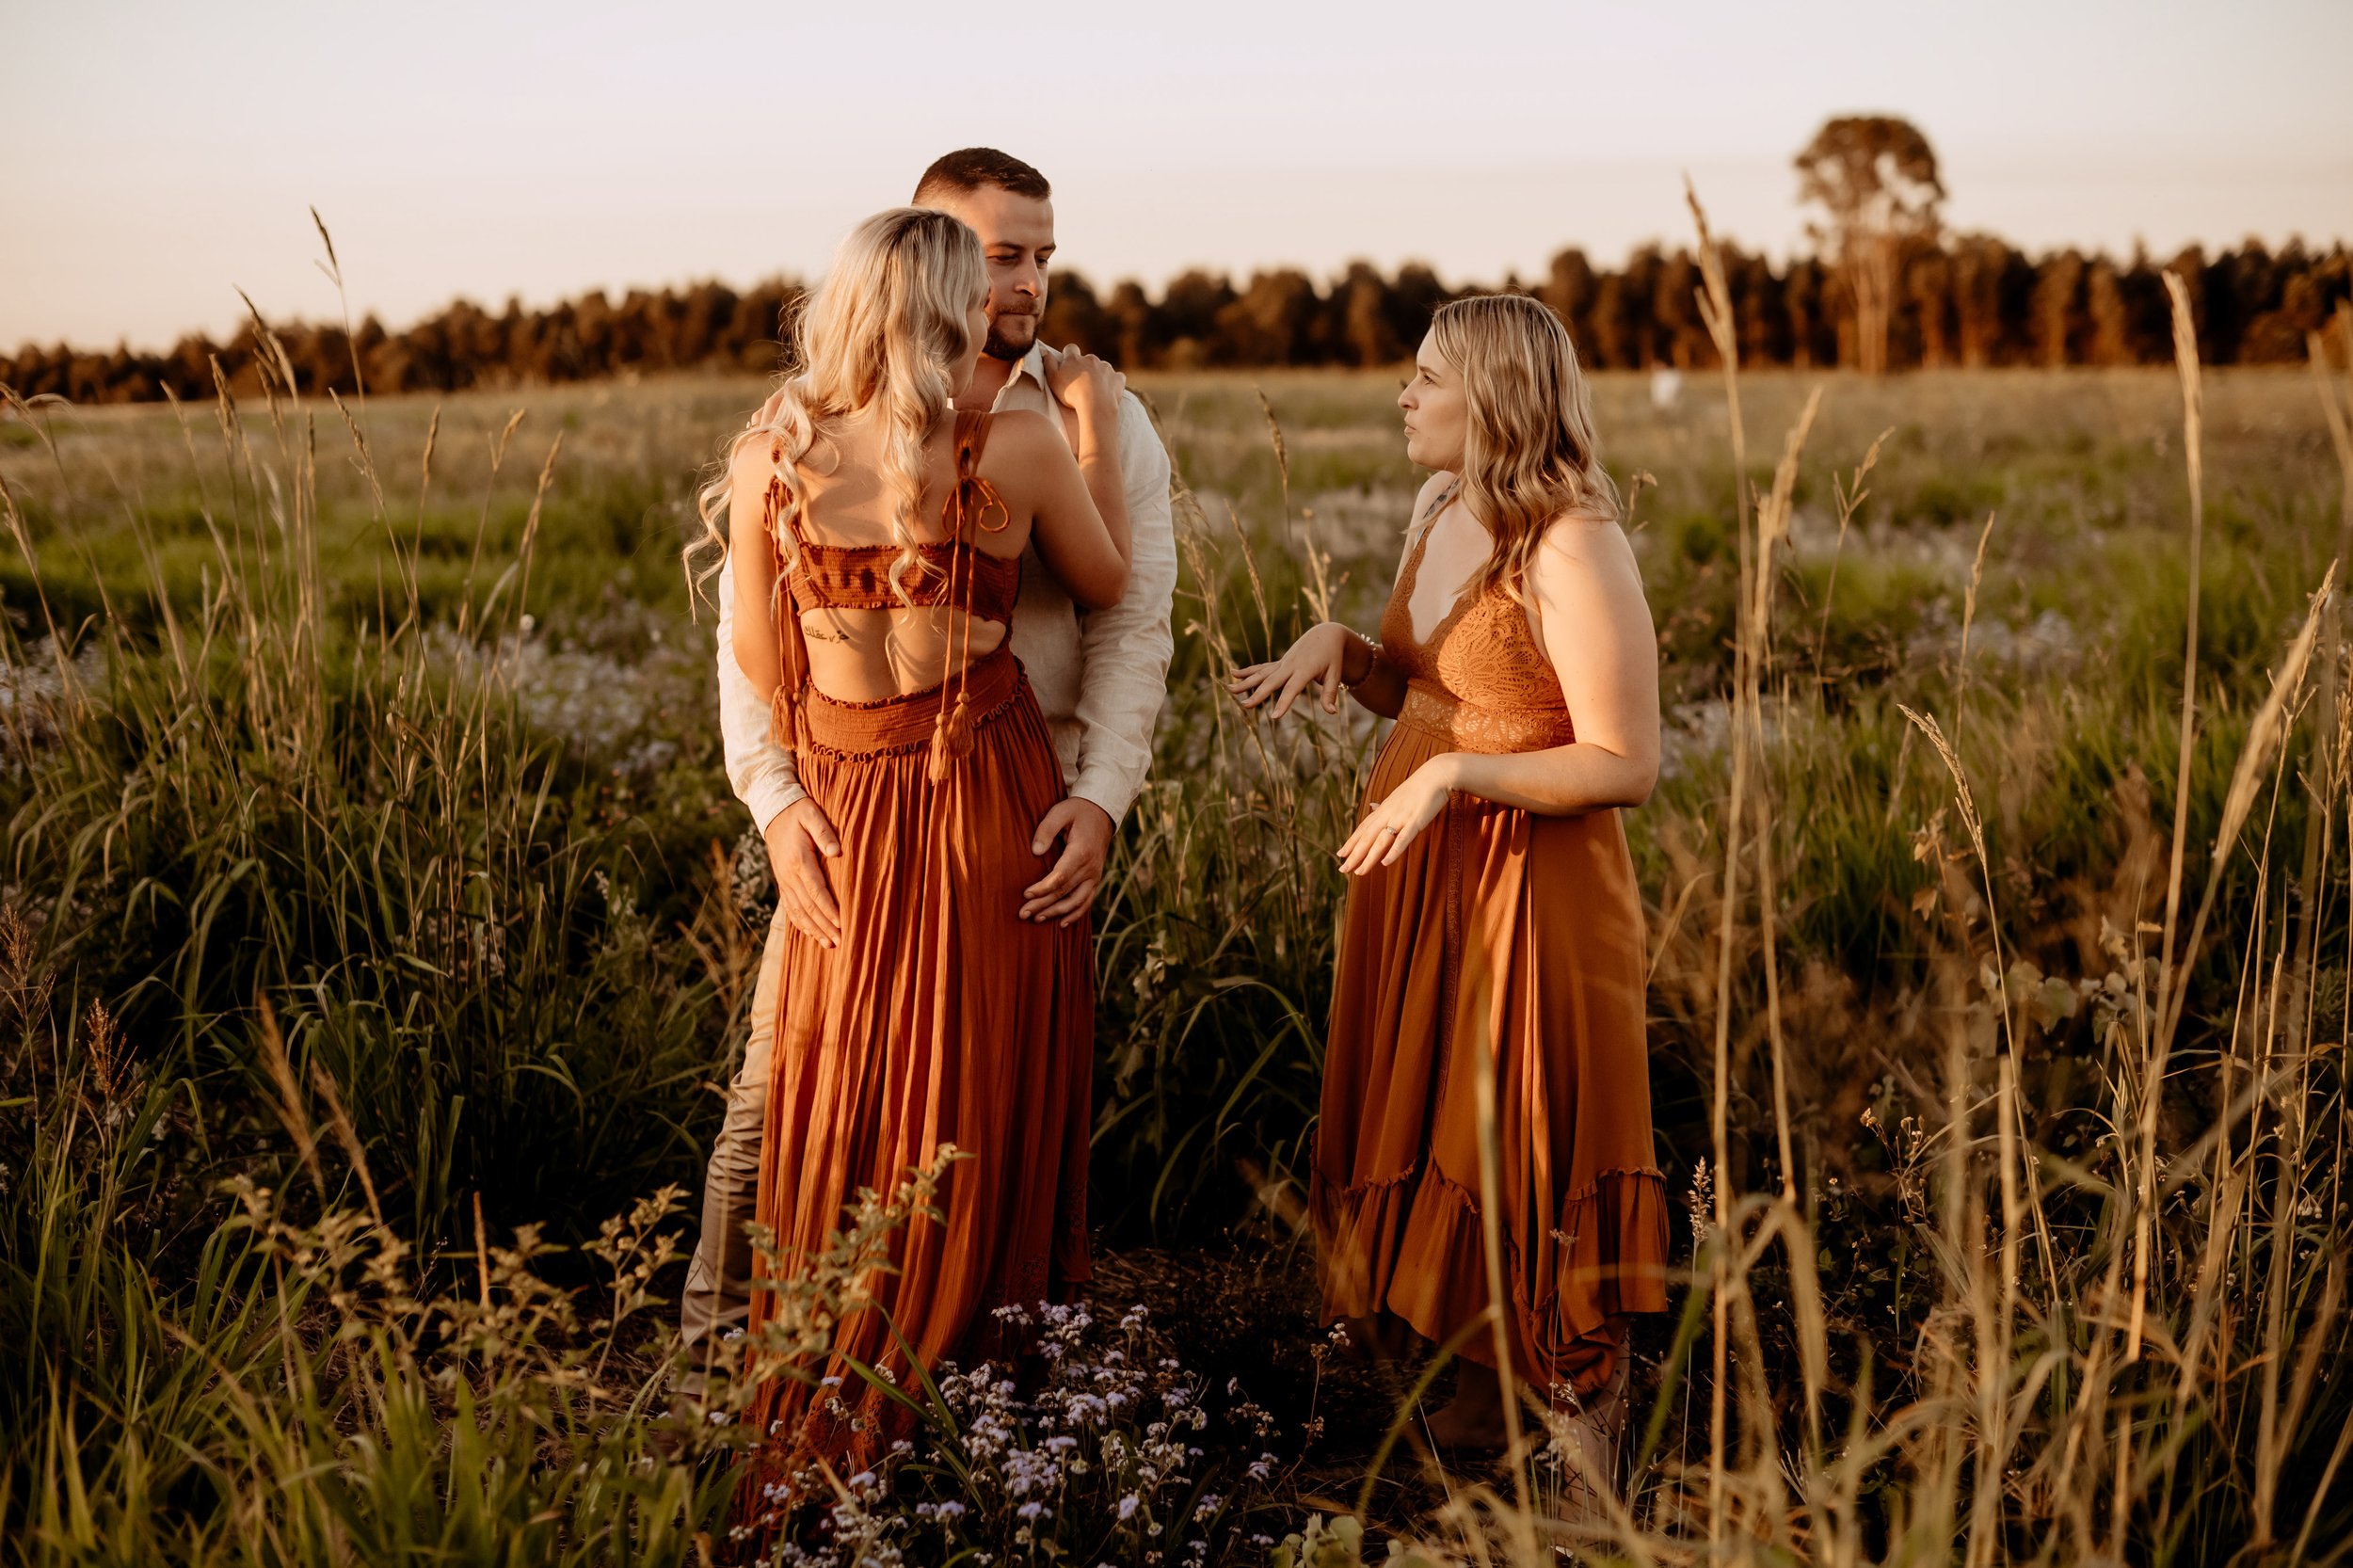
2. Strategically Place Your Subject
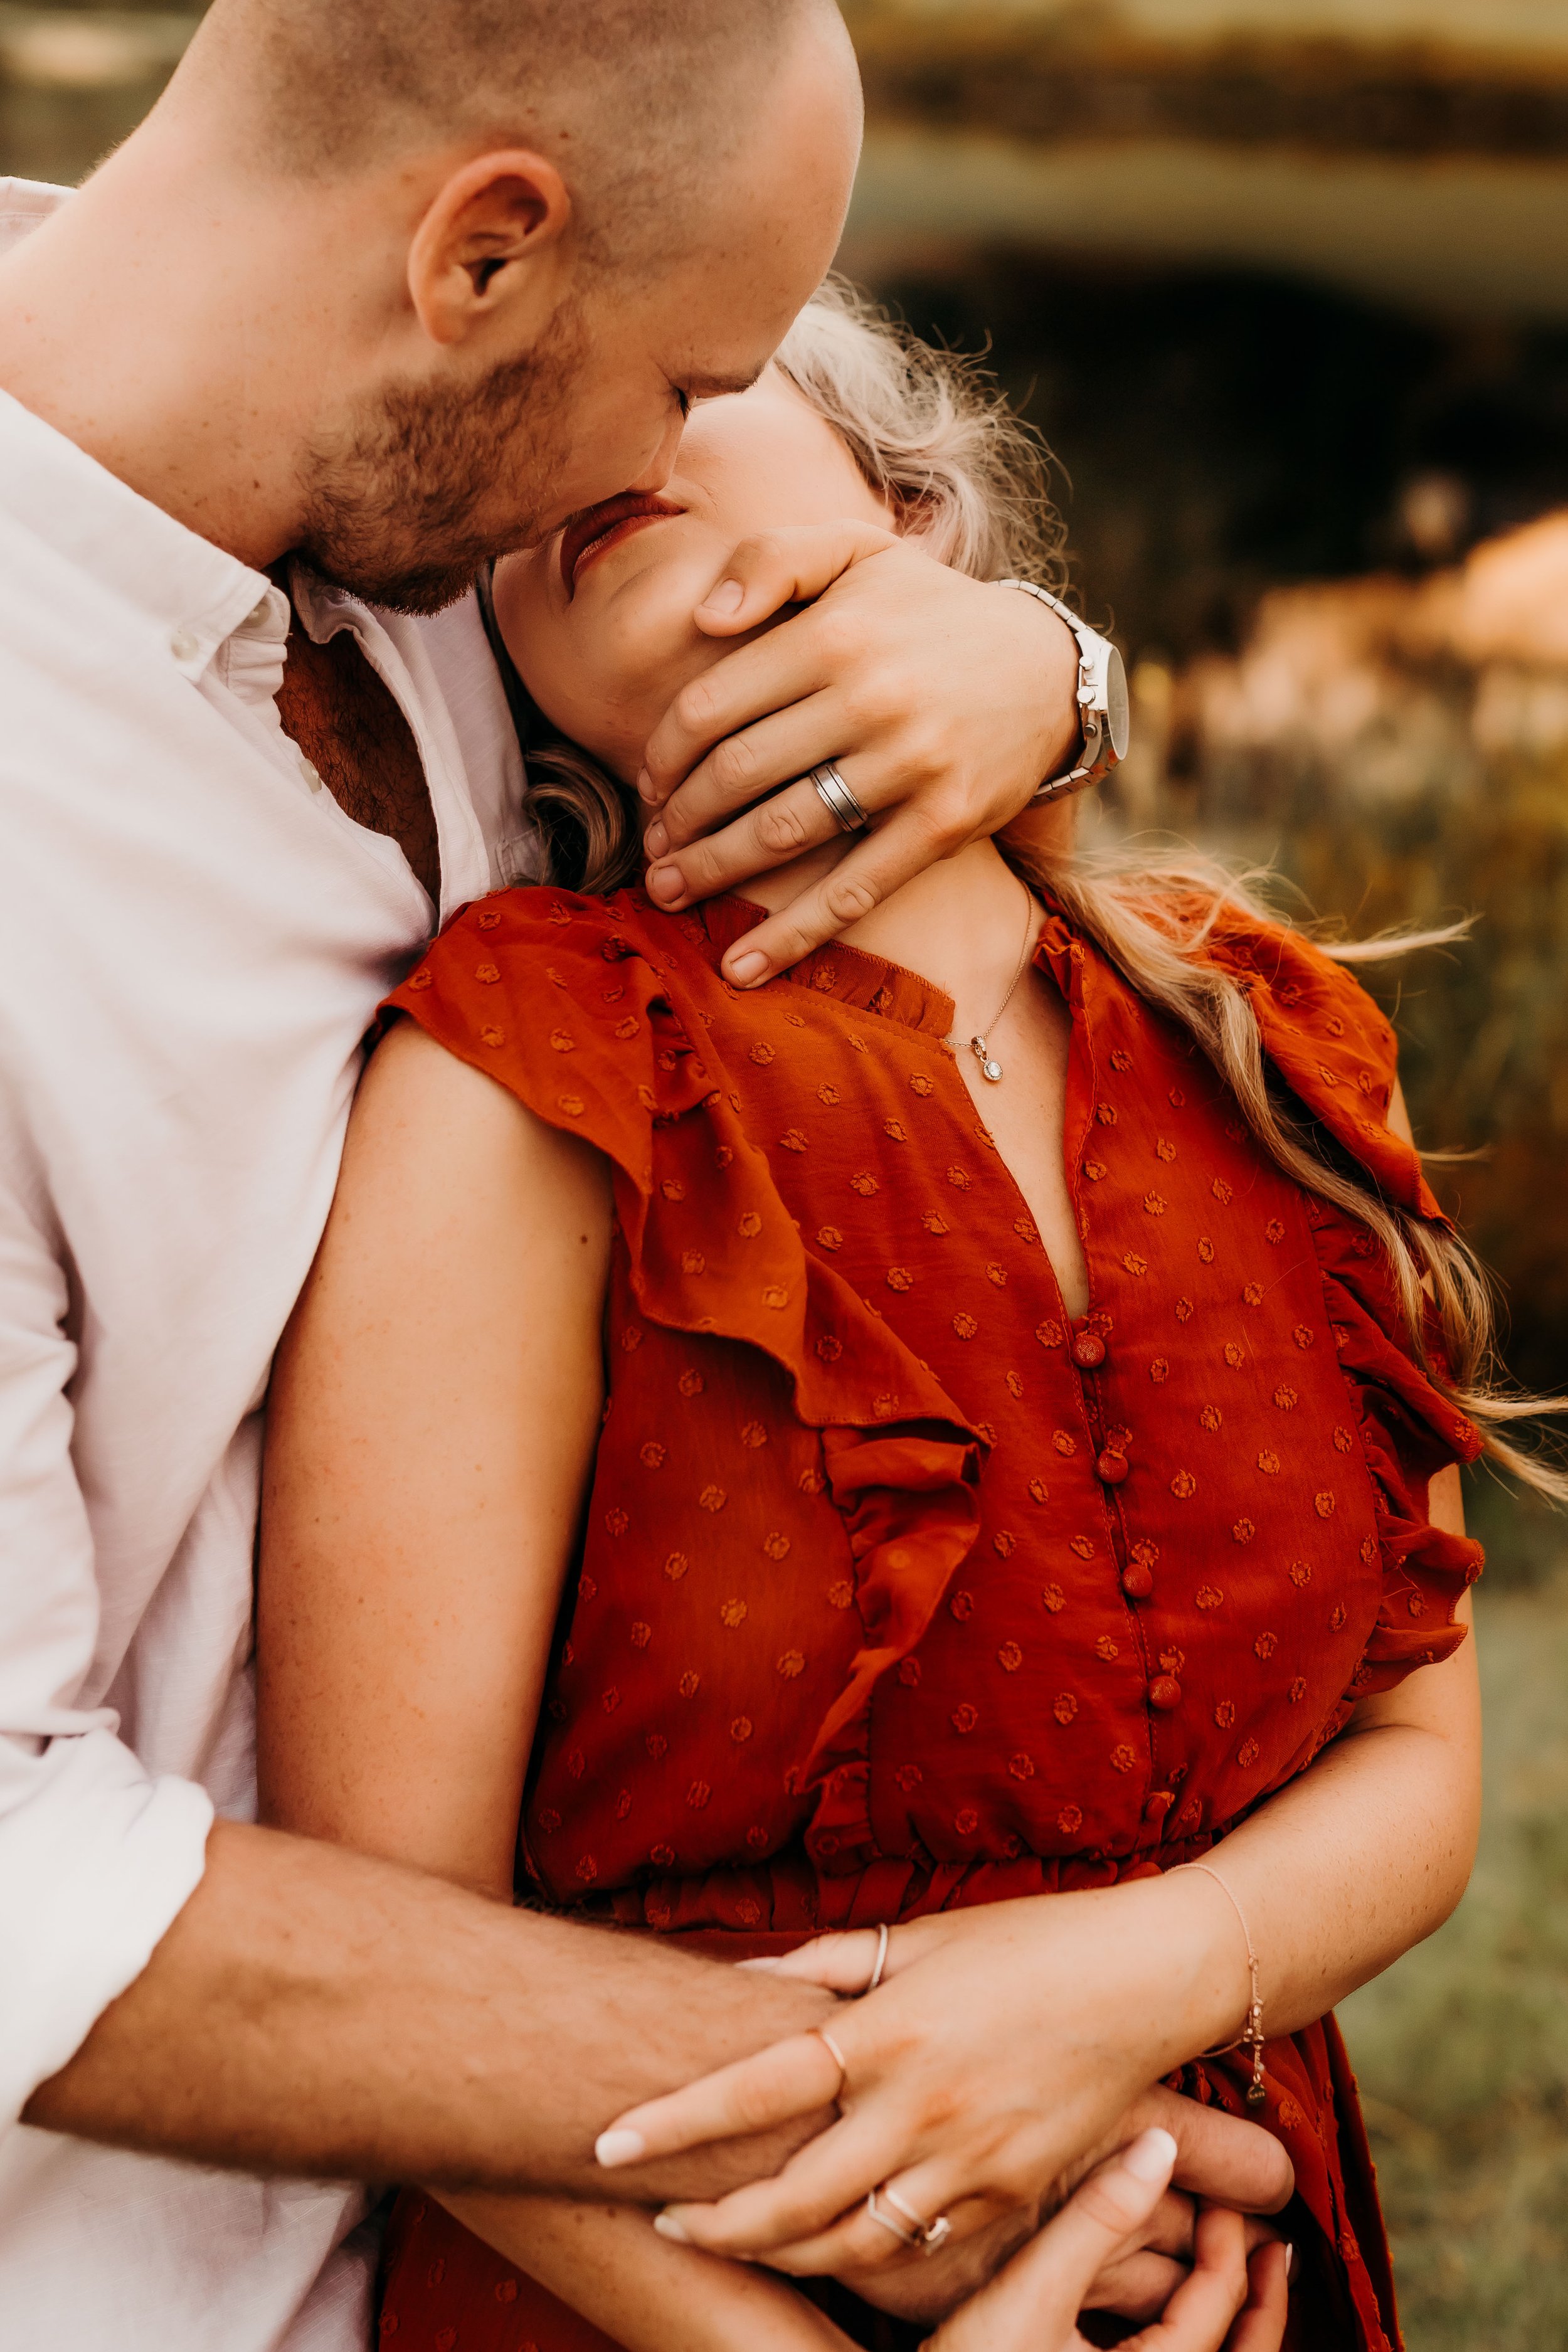
If the lighting isn’t soft on your subjects faces and is creating harsh shadows it will be much less flattering for any lines/ wrinkles/ imperfections they have. (Those pesky eye bags we tend to get will look much more prominent too)
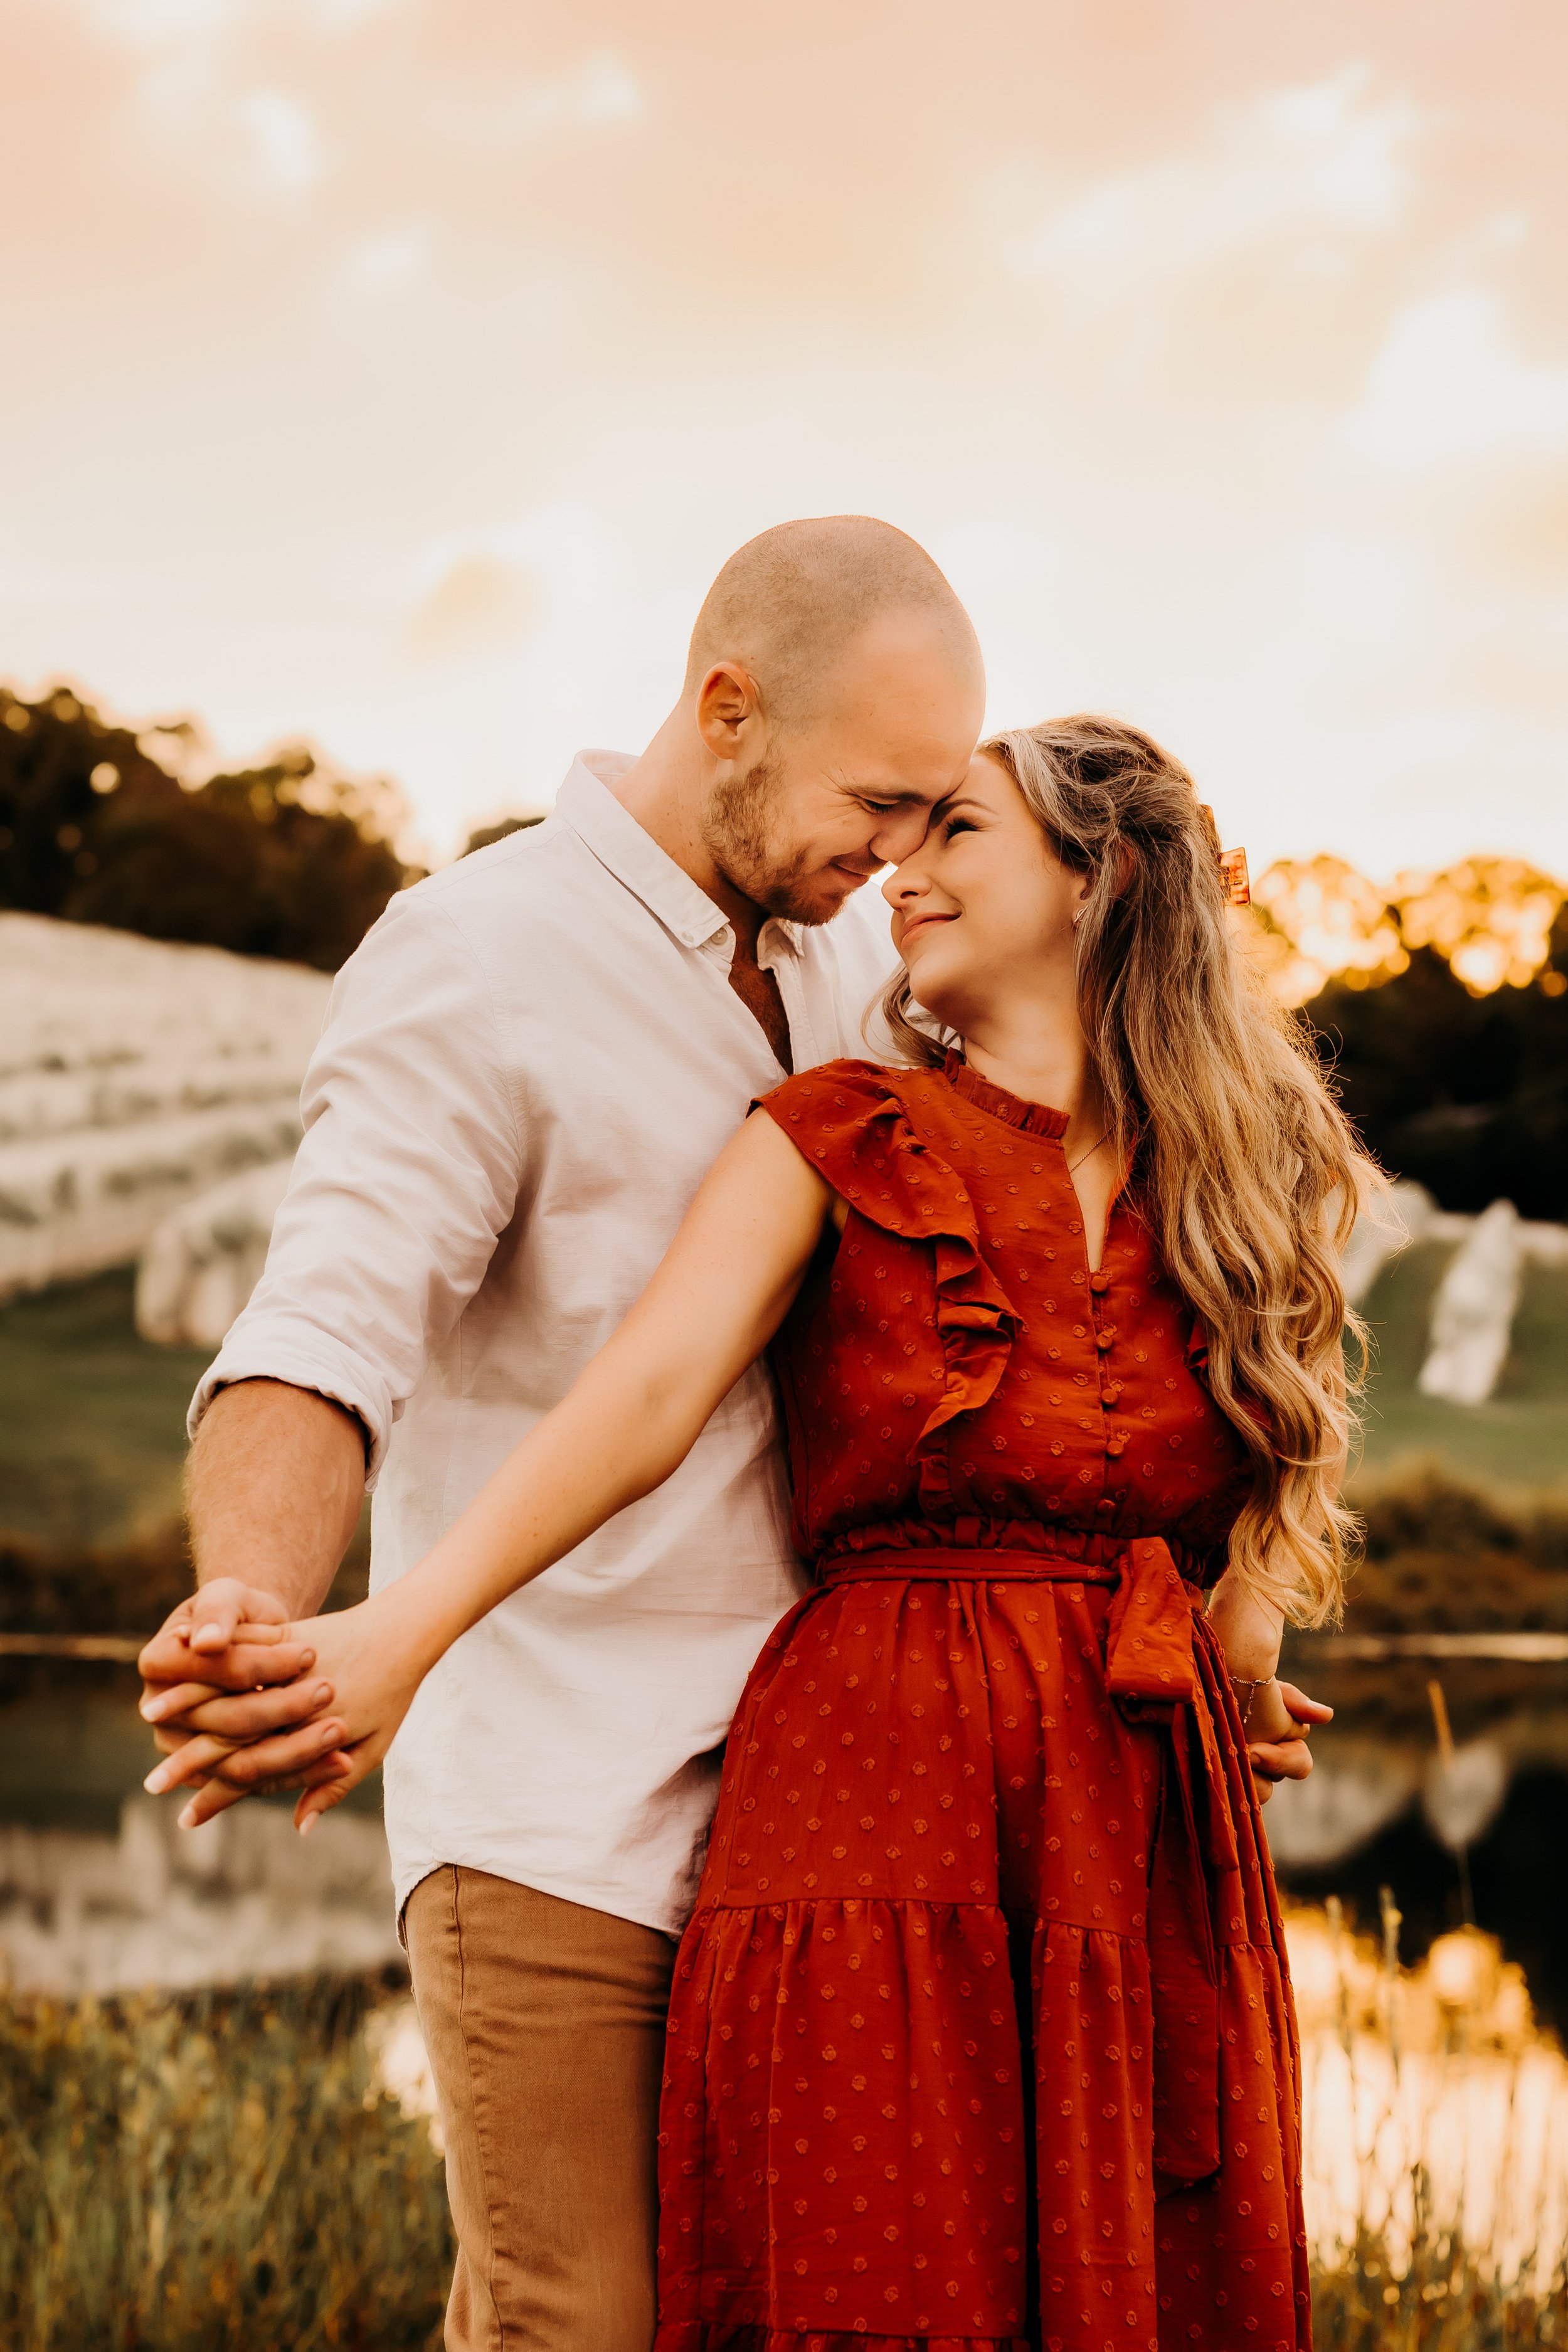
- If outdoors have the sun behind your subject.
- When indoors have your subject on a 90 degree angle to the window or door
- In a building or city environment have you subject face away from the building where the light is most even on their face and not shadowed on one side.
3. Flash Lighting
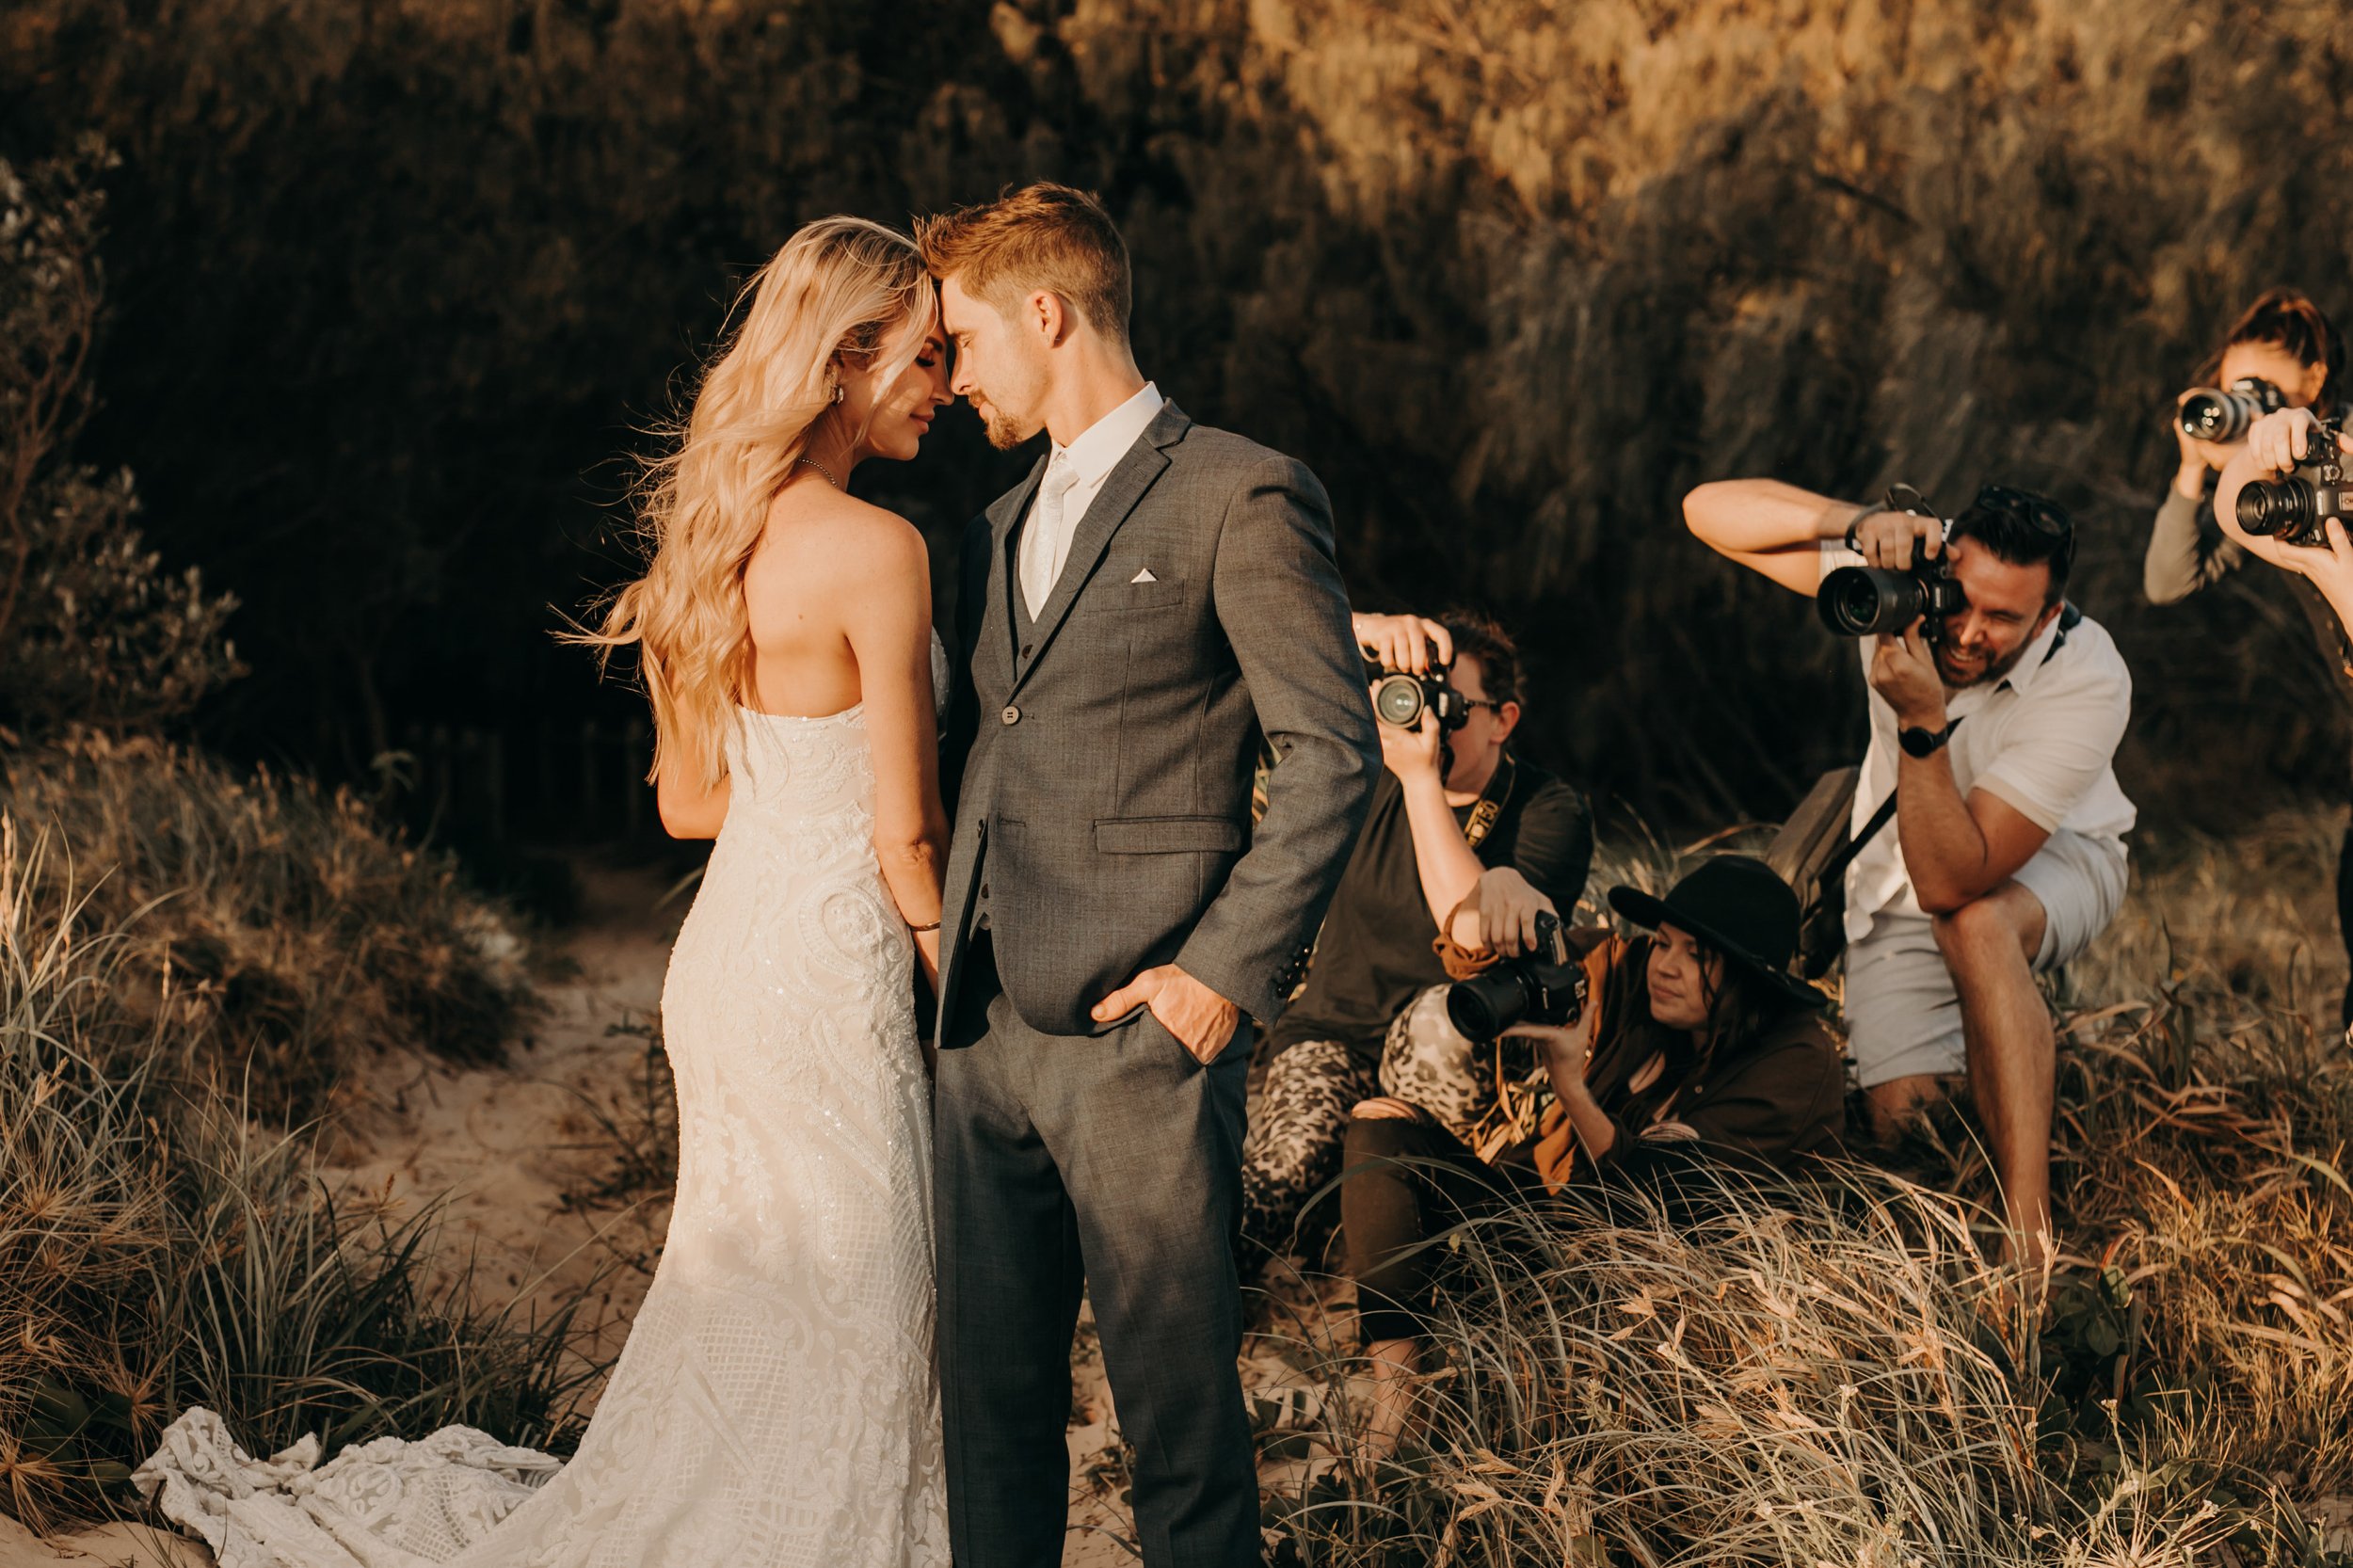
For our style of photography we shoot natural light as often as possible. There are some situations however when we would need to use a flash such as a Wedding Reception or Event Photography. When we use a flash, we use an external speedlight attached to our camera with a diffuser. Most will come with a diffuser filter but an extra level of softening the light is to use a dome diffuser.
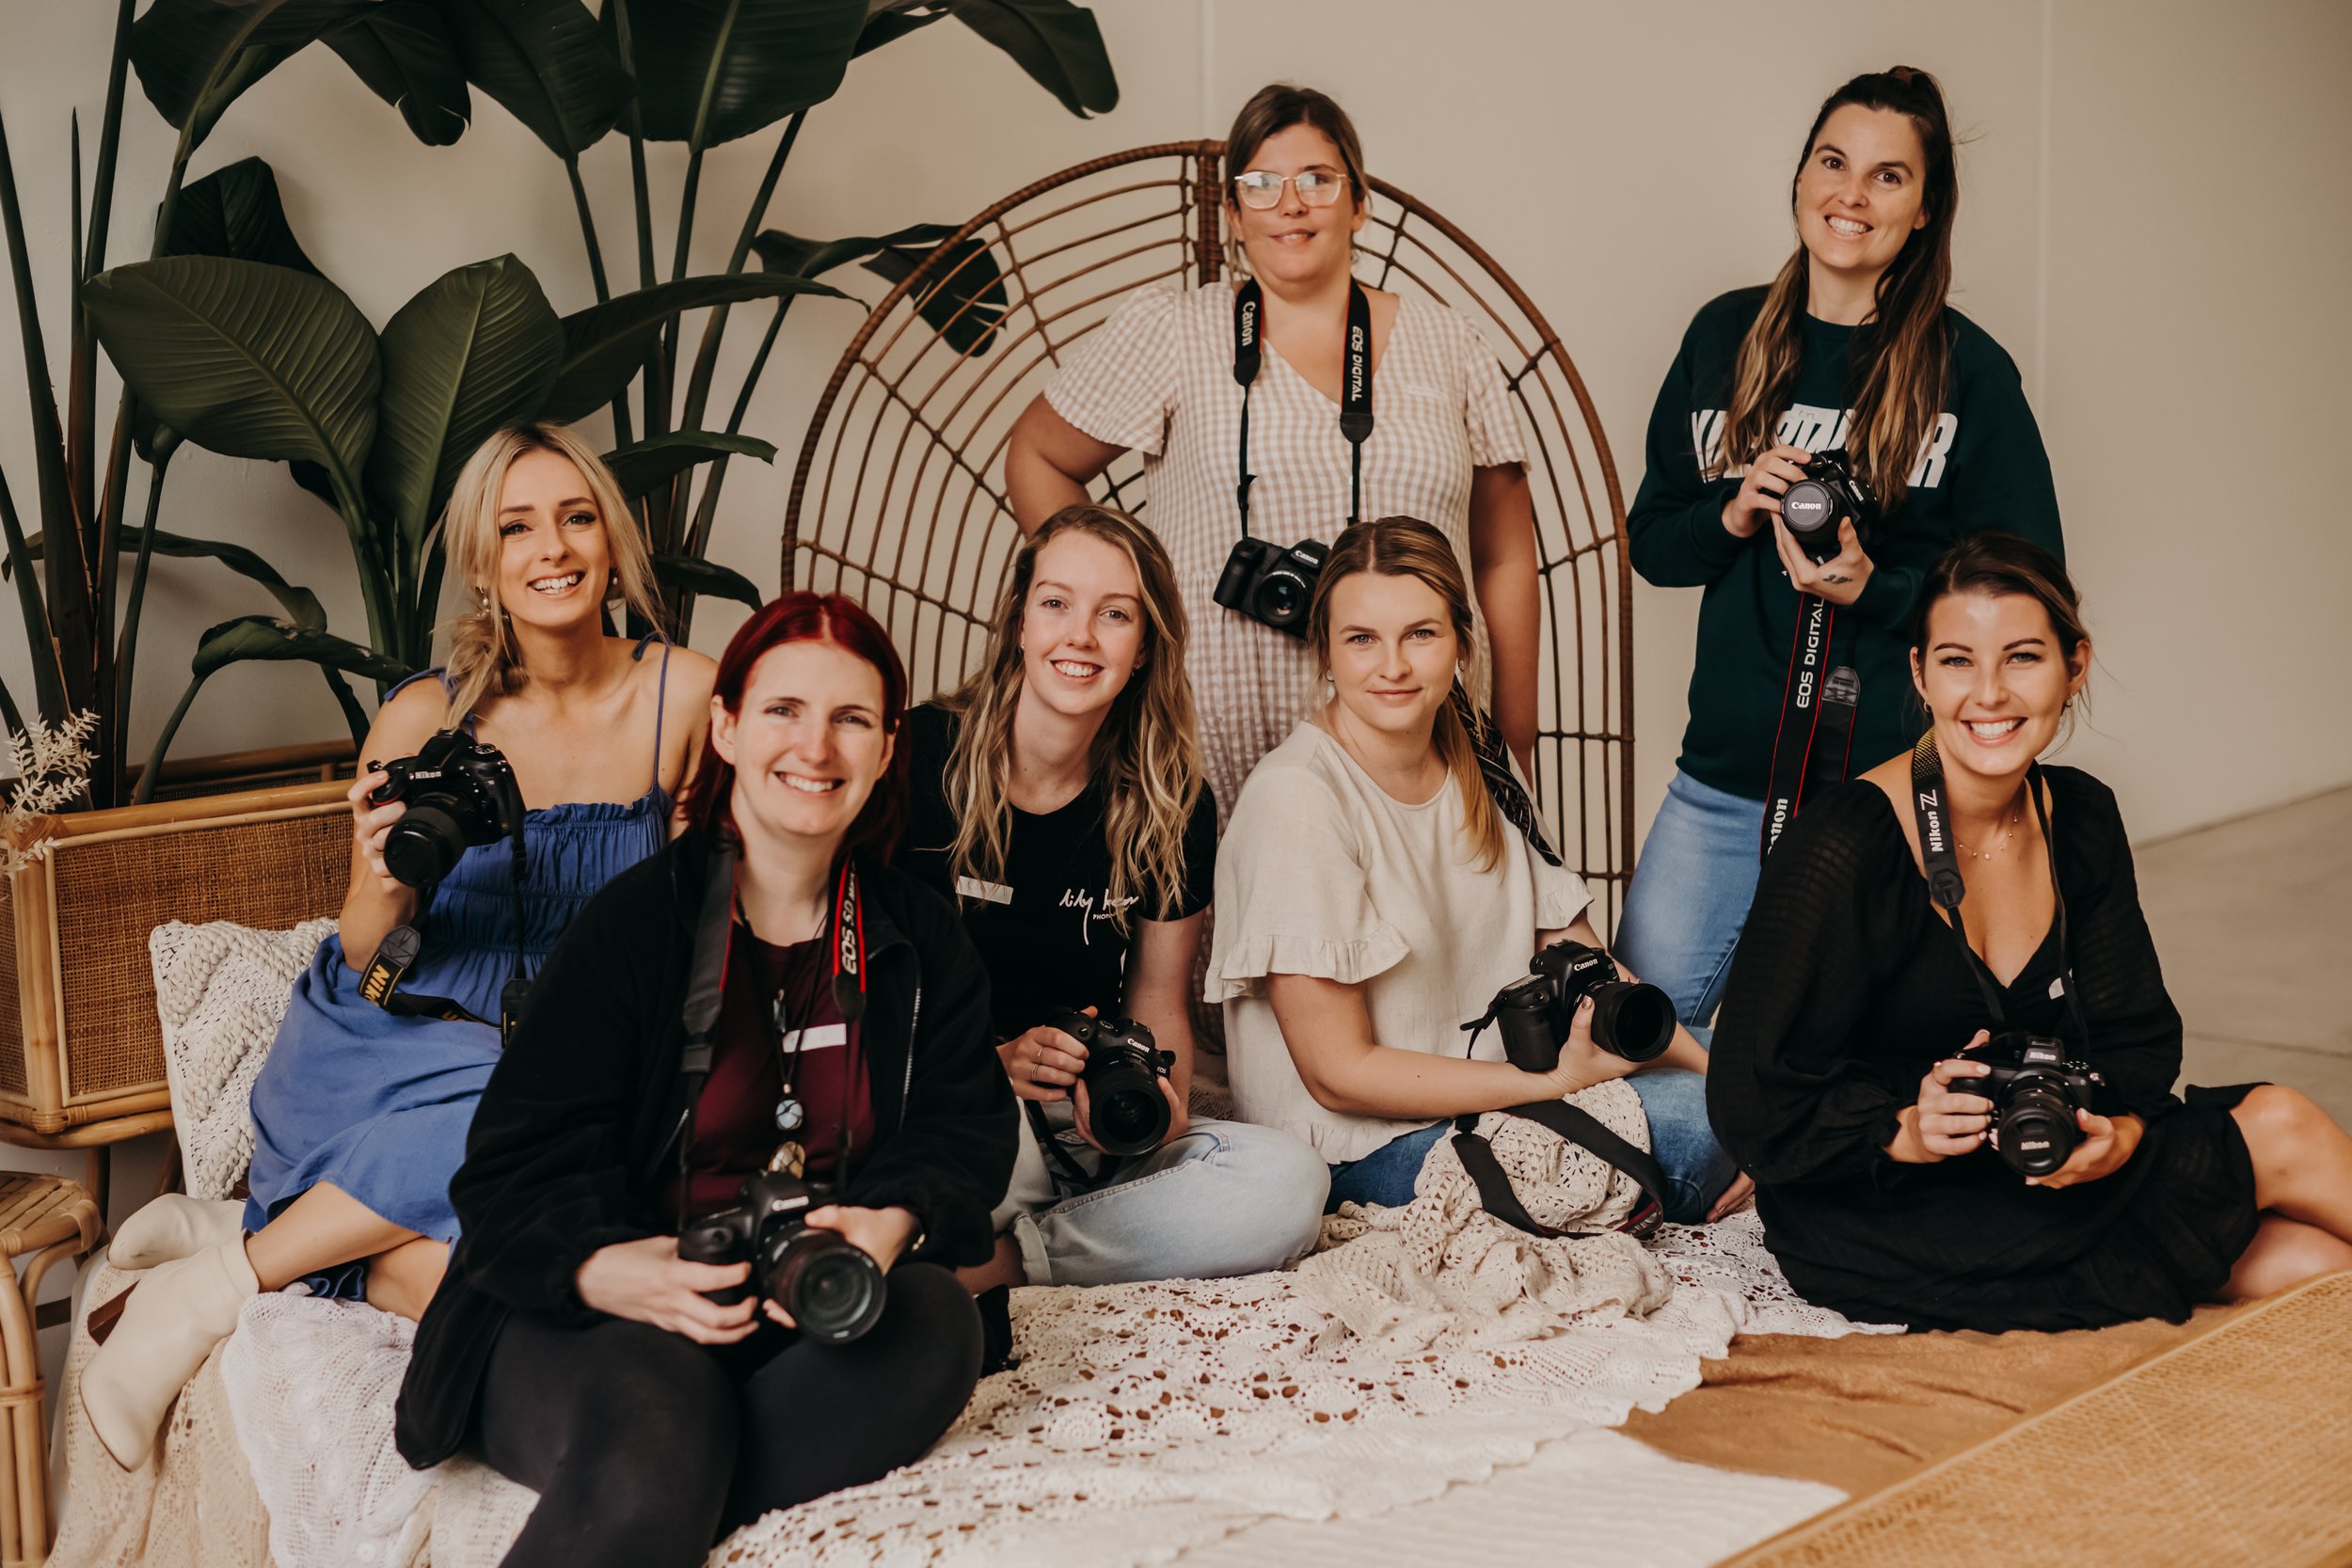
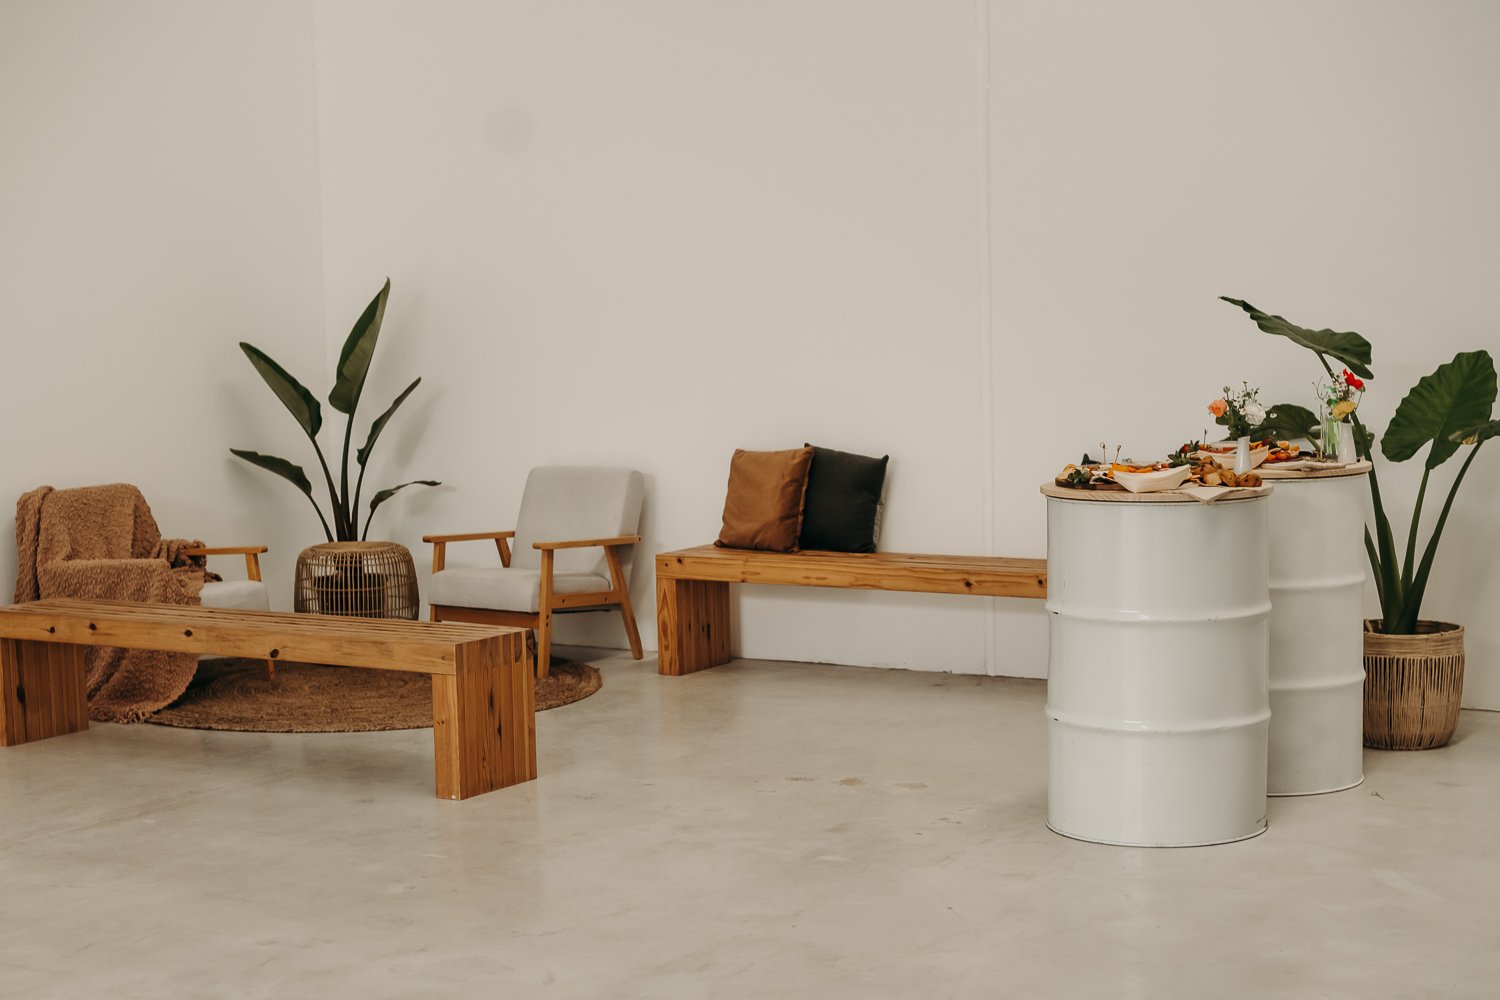
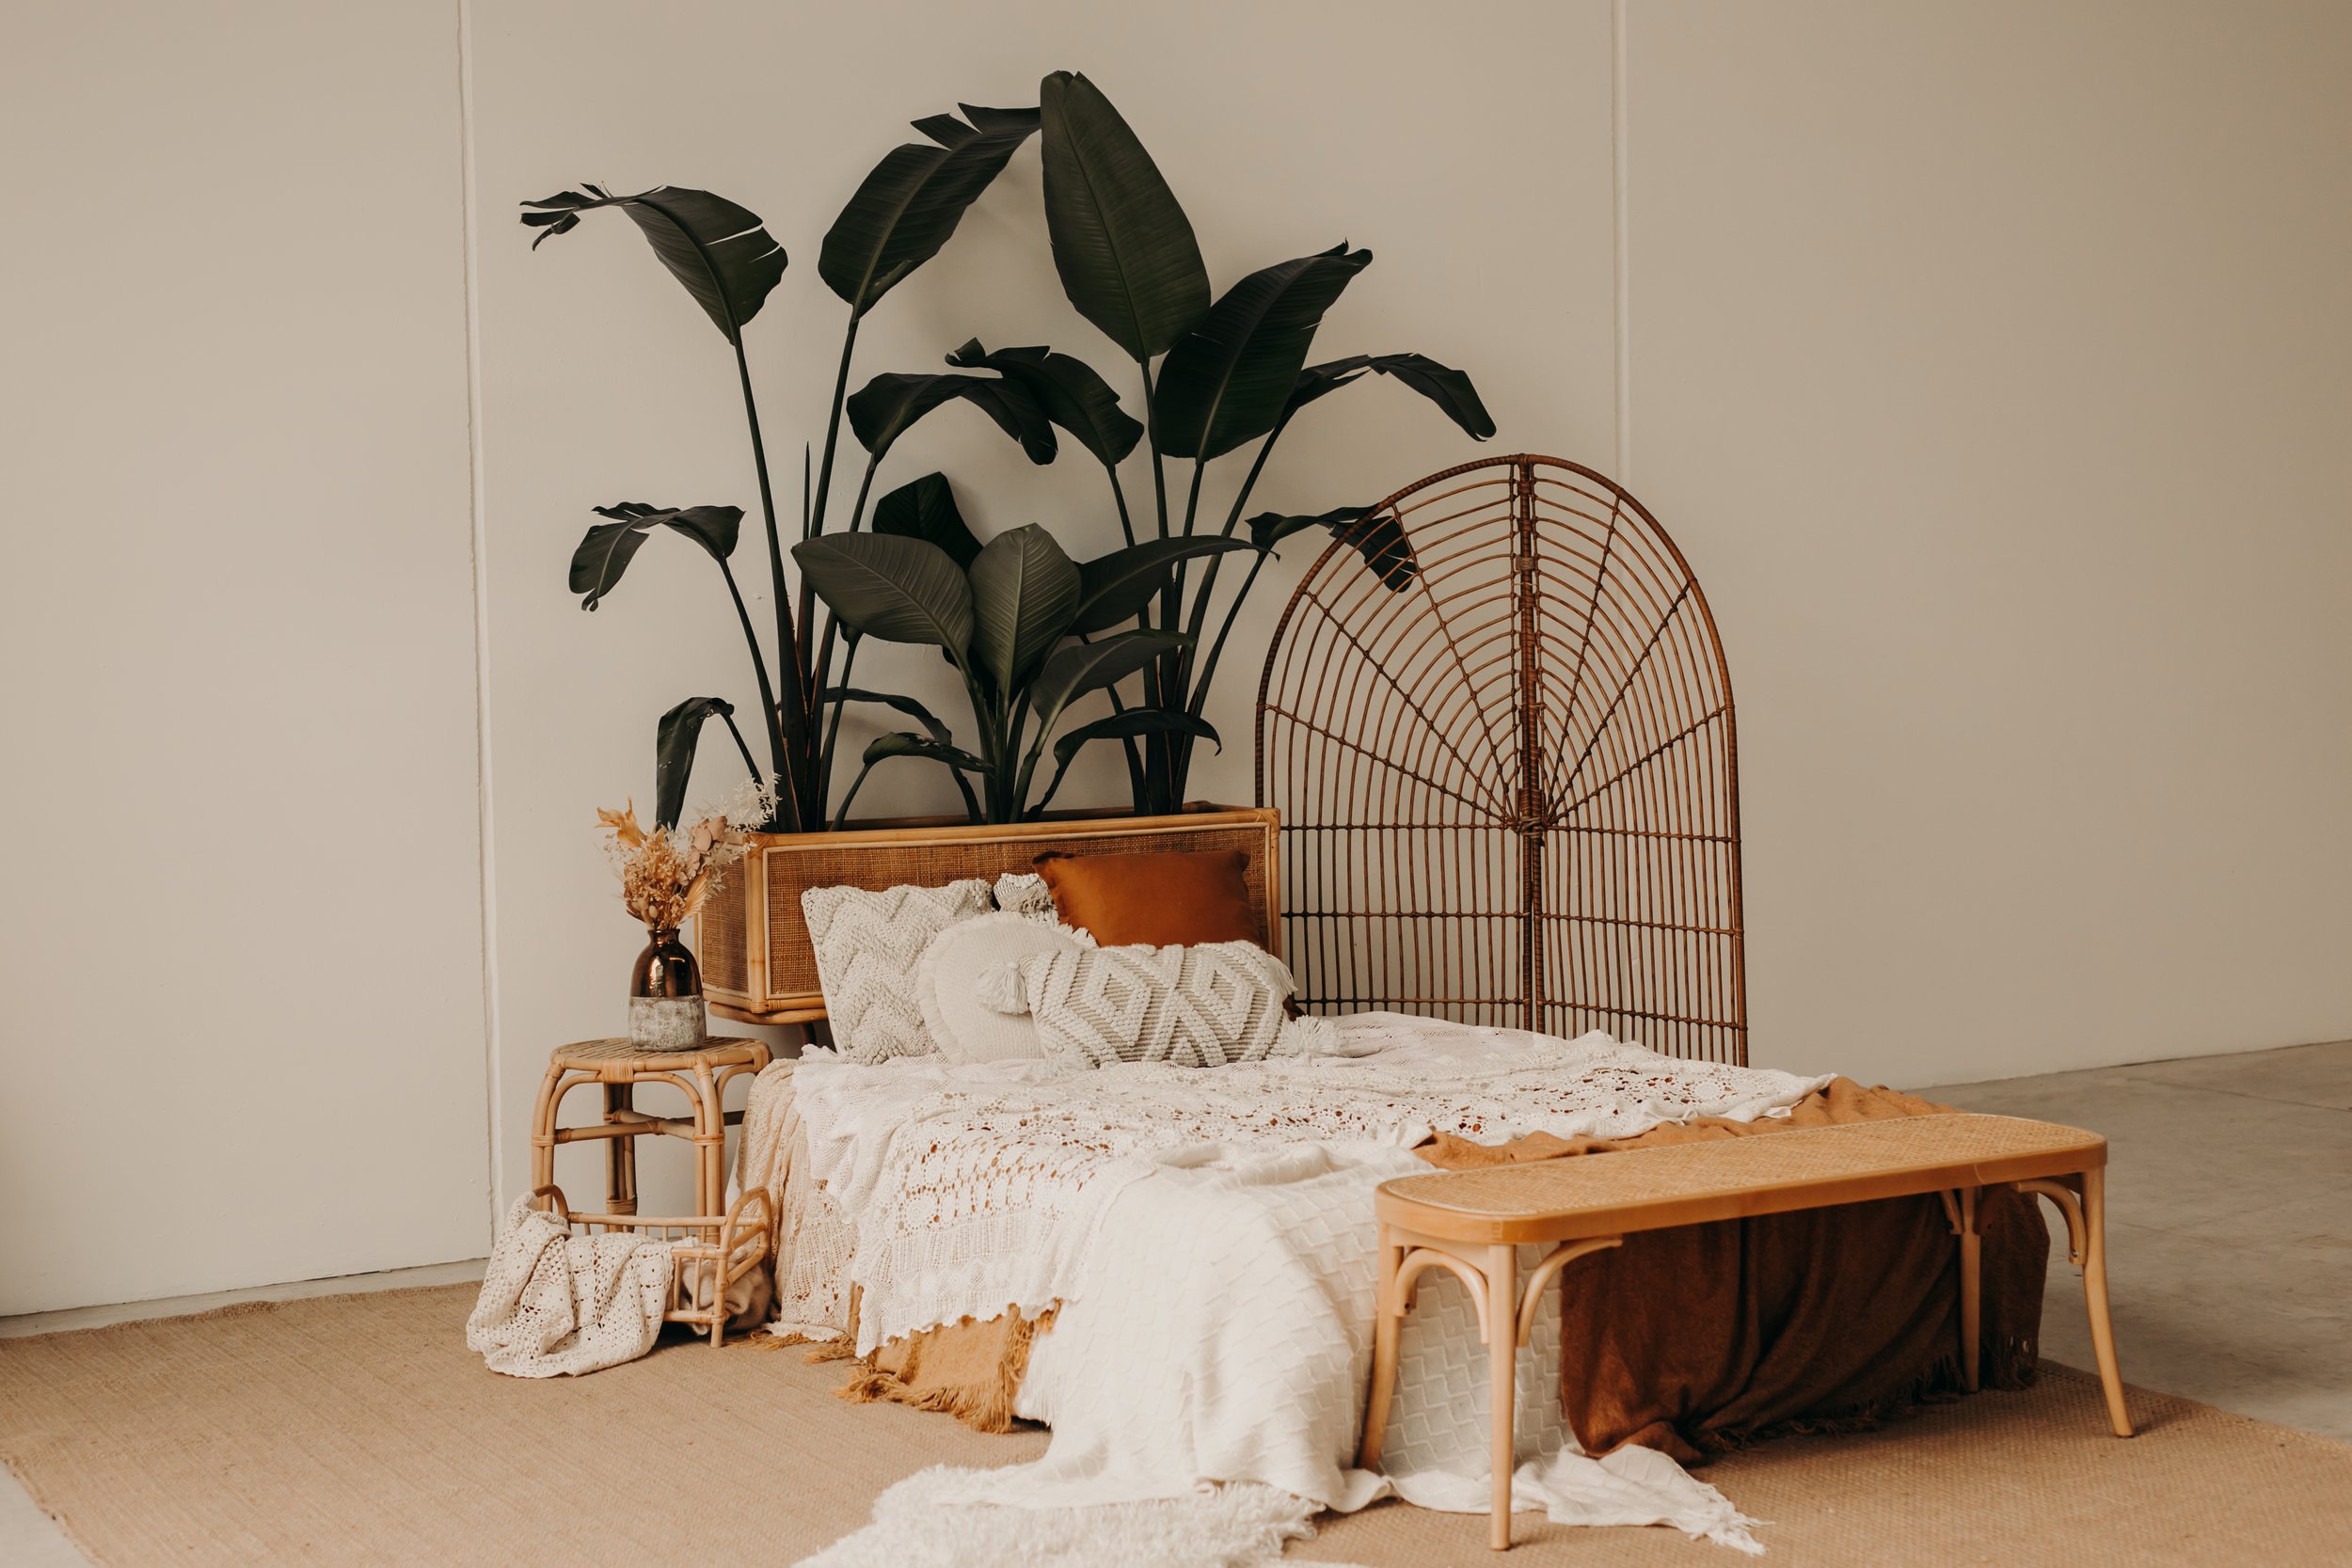
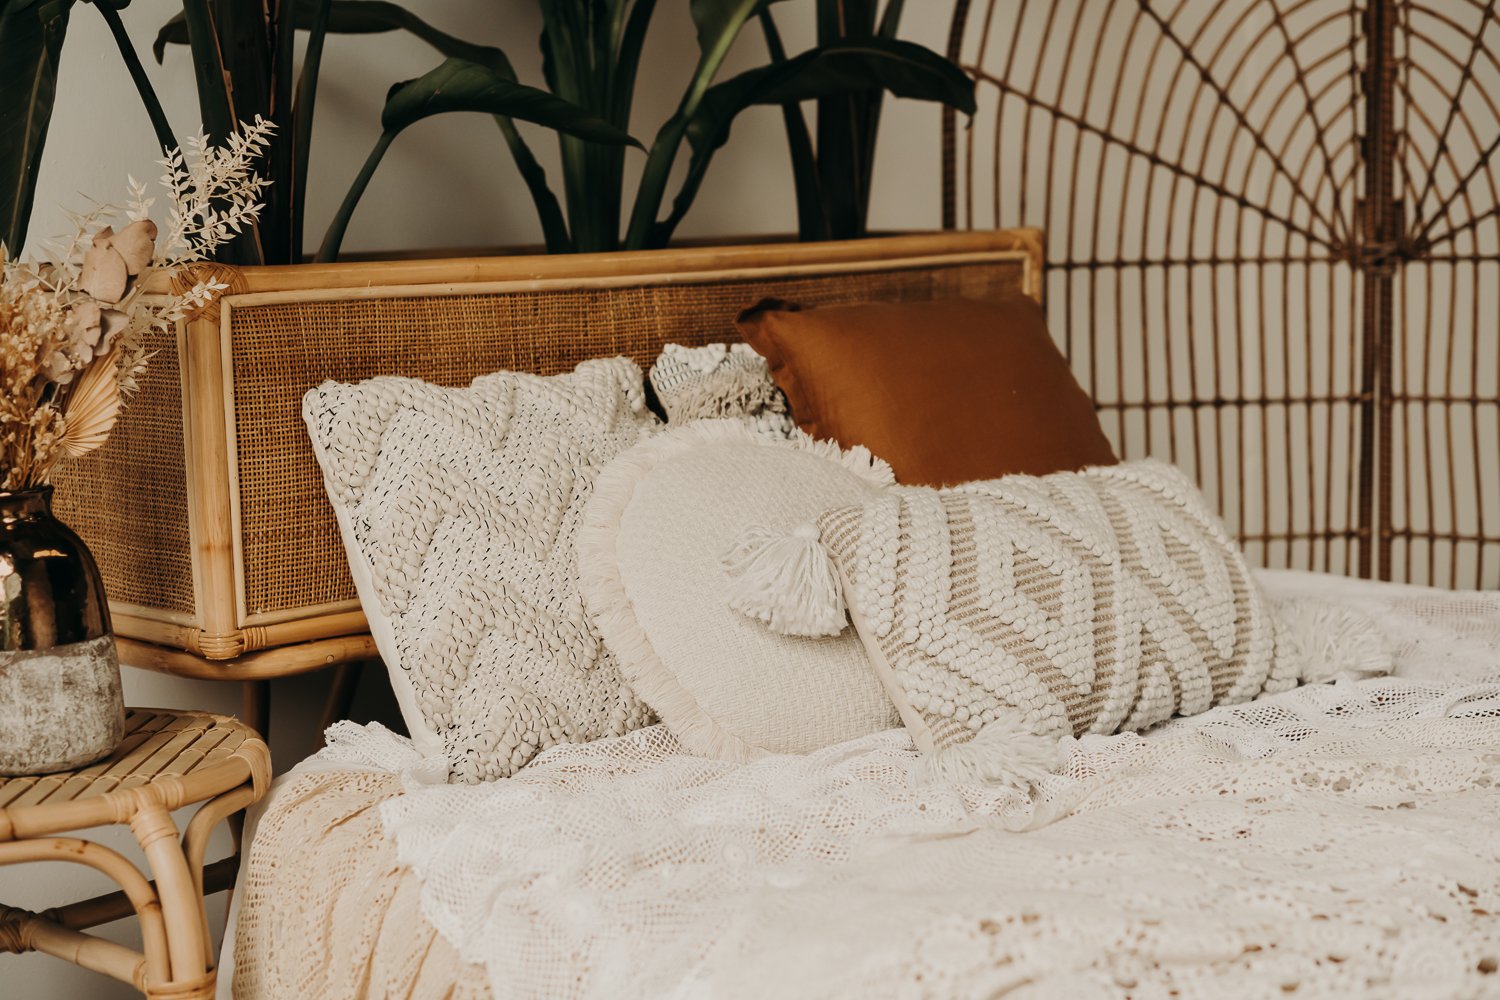
4. Neutral Colours for Indoor Shoots
When setting up a room to take some photos, use neutral colours on your walls that won’t bounce back any colours onto your image. If don’t use rooms that may have heavy colours like reds or greens that will reflect into your shot to interfere with the colour balance of your image or subjects face.
If you decide to dedicate the room to photography, get a roller and paint the walls with the same light neutral colour/ white is probable best. Cheap white backdrops can be found on Amazon or Ebay if you aren’t able to paint the walls.
5. Light from the Side for Landscapes
For landscapes, shadows are wanted to bring out textures within. Lighting from the side will give better emphasis for textures such as trees, buildings, and rocks - helping to provide more of a 3-D look.
The more you can learn about lighting, the better. What’s really great is that you can read about what we use and how we light an image in our beginner workshops. The best way to see this work and improve – get out your camera and practice, practice, practice!
- Amanda and Bel x